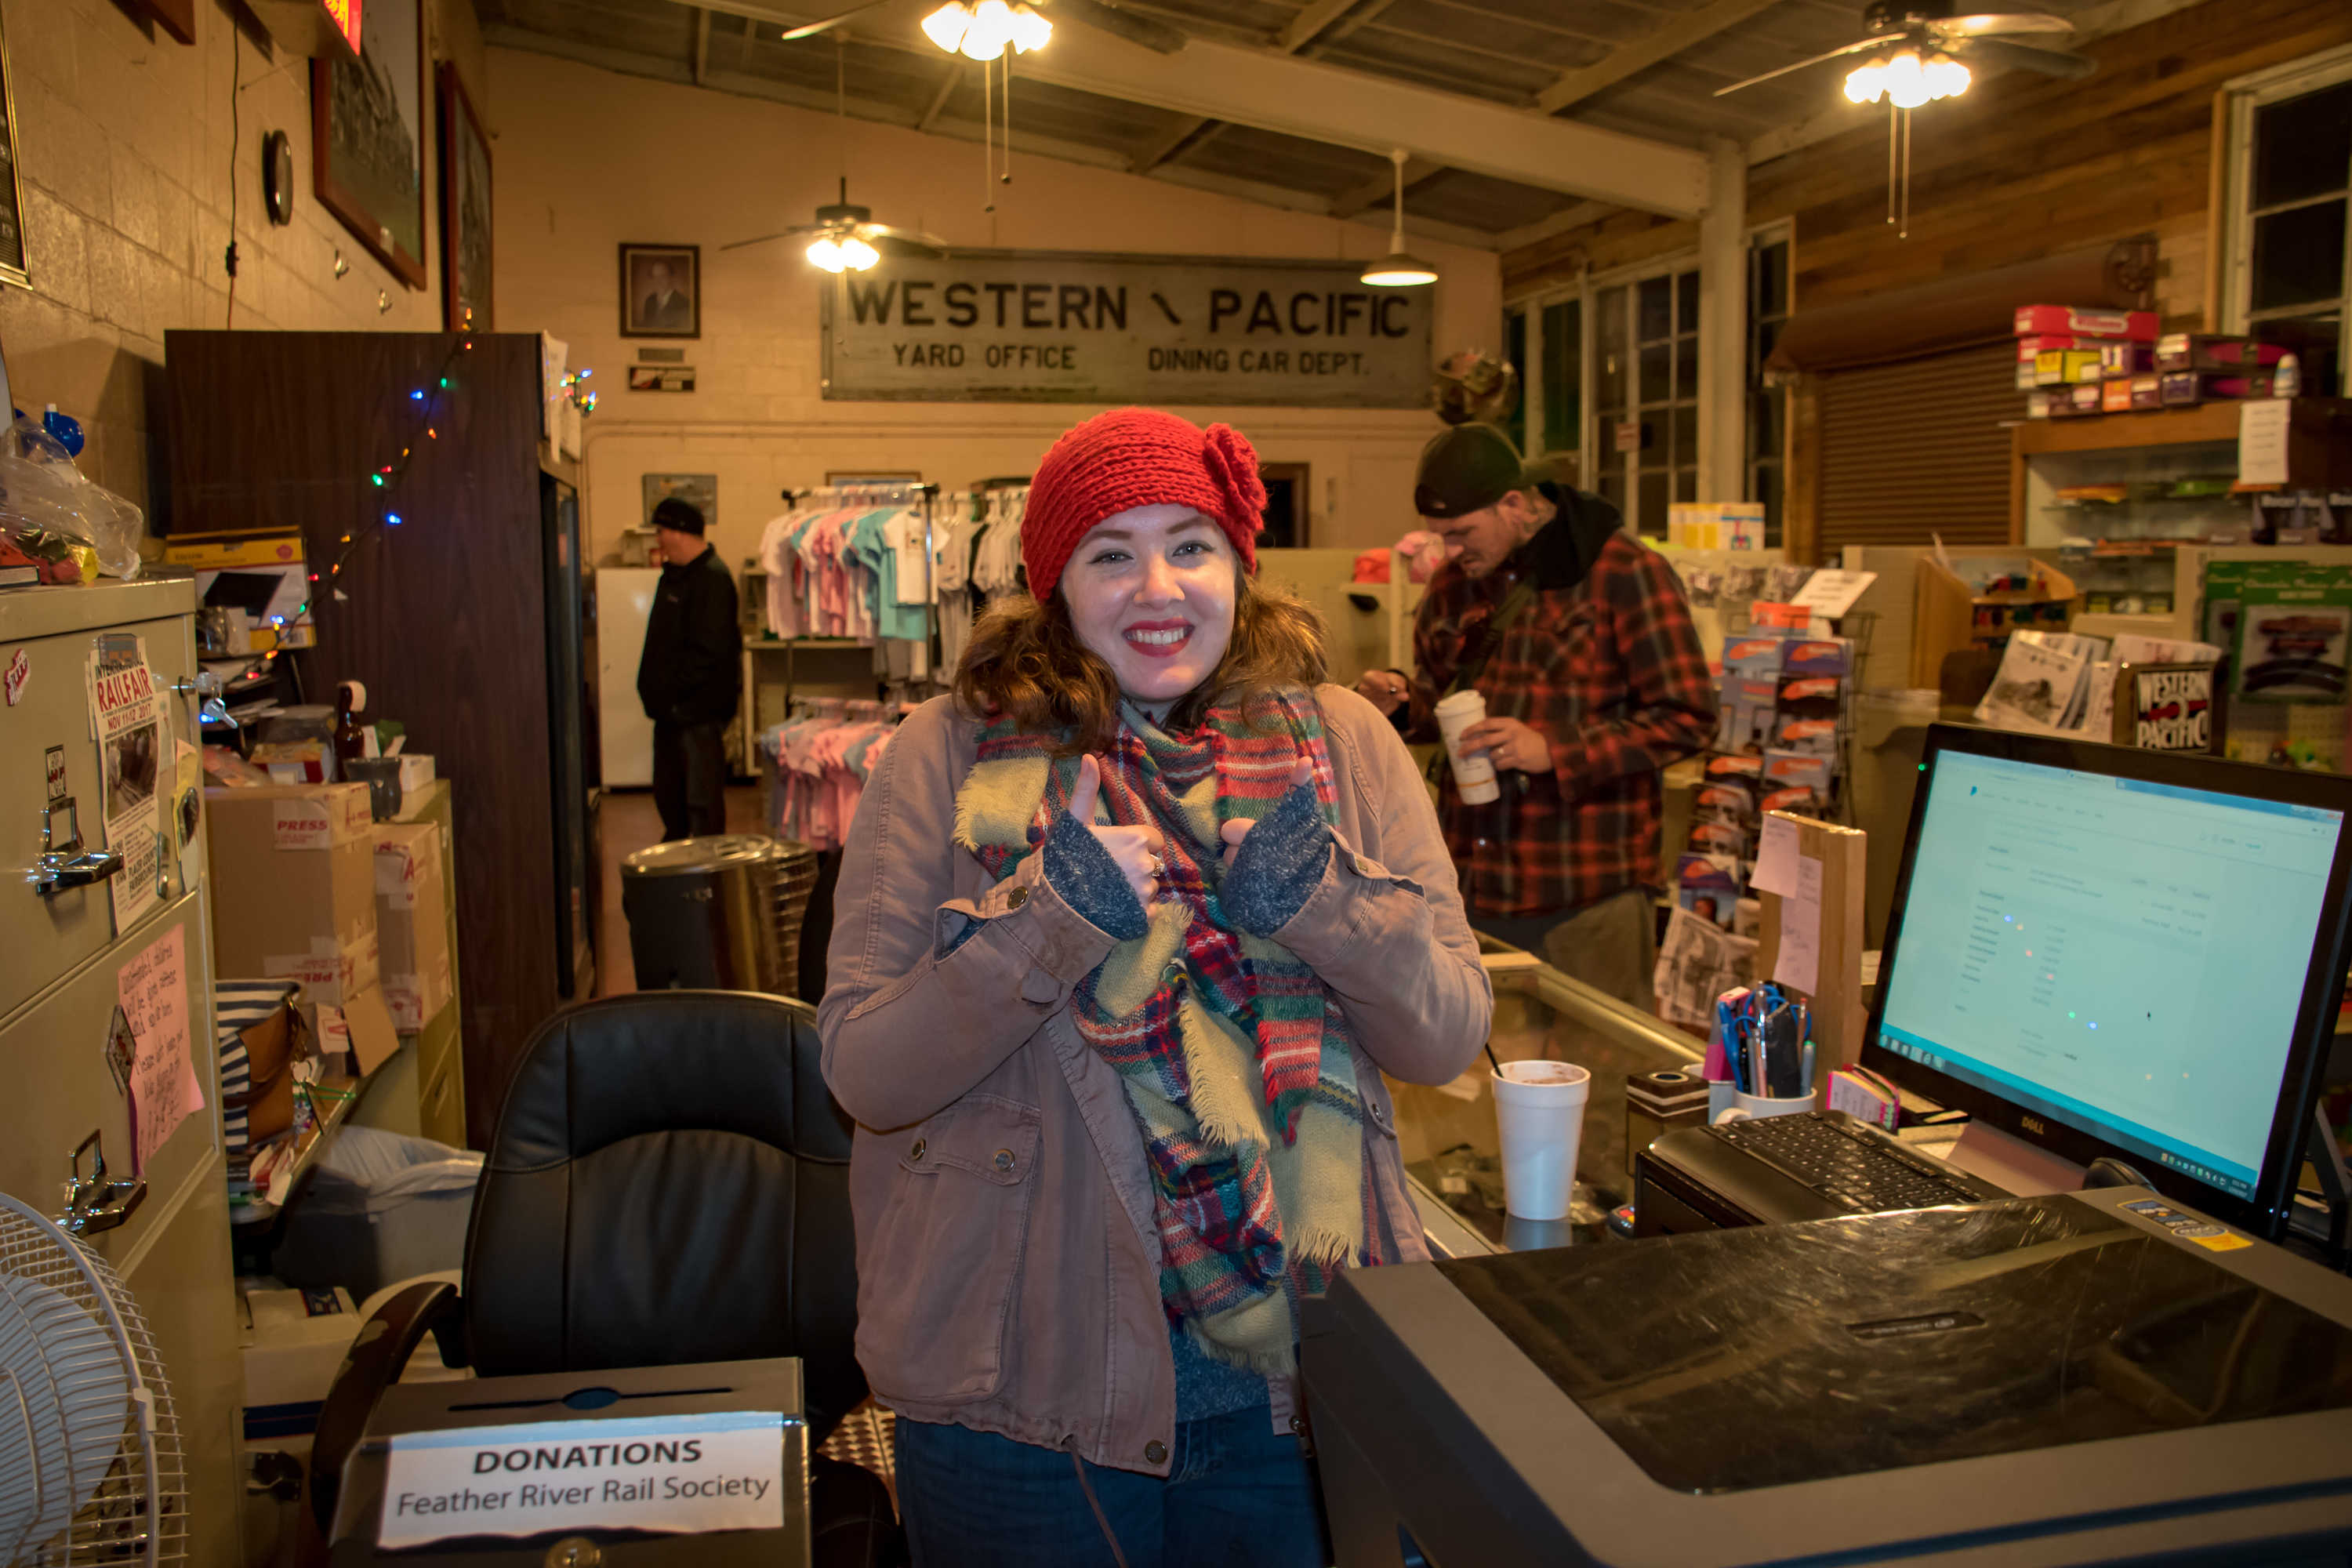
Santa Trains 2017
Photos by: Greg Elems & Michael Clawson
Click on an image to open the slide show,
or use the links to photographs below for large images of the
Santa Trains 2017 gallery.
Page last updated: Sun Jun 28 12:03:04 PM PDT 2026


|
View mobile friendly version of this web page HERE.
Links to photographs in slide show:
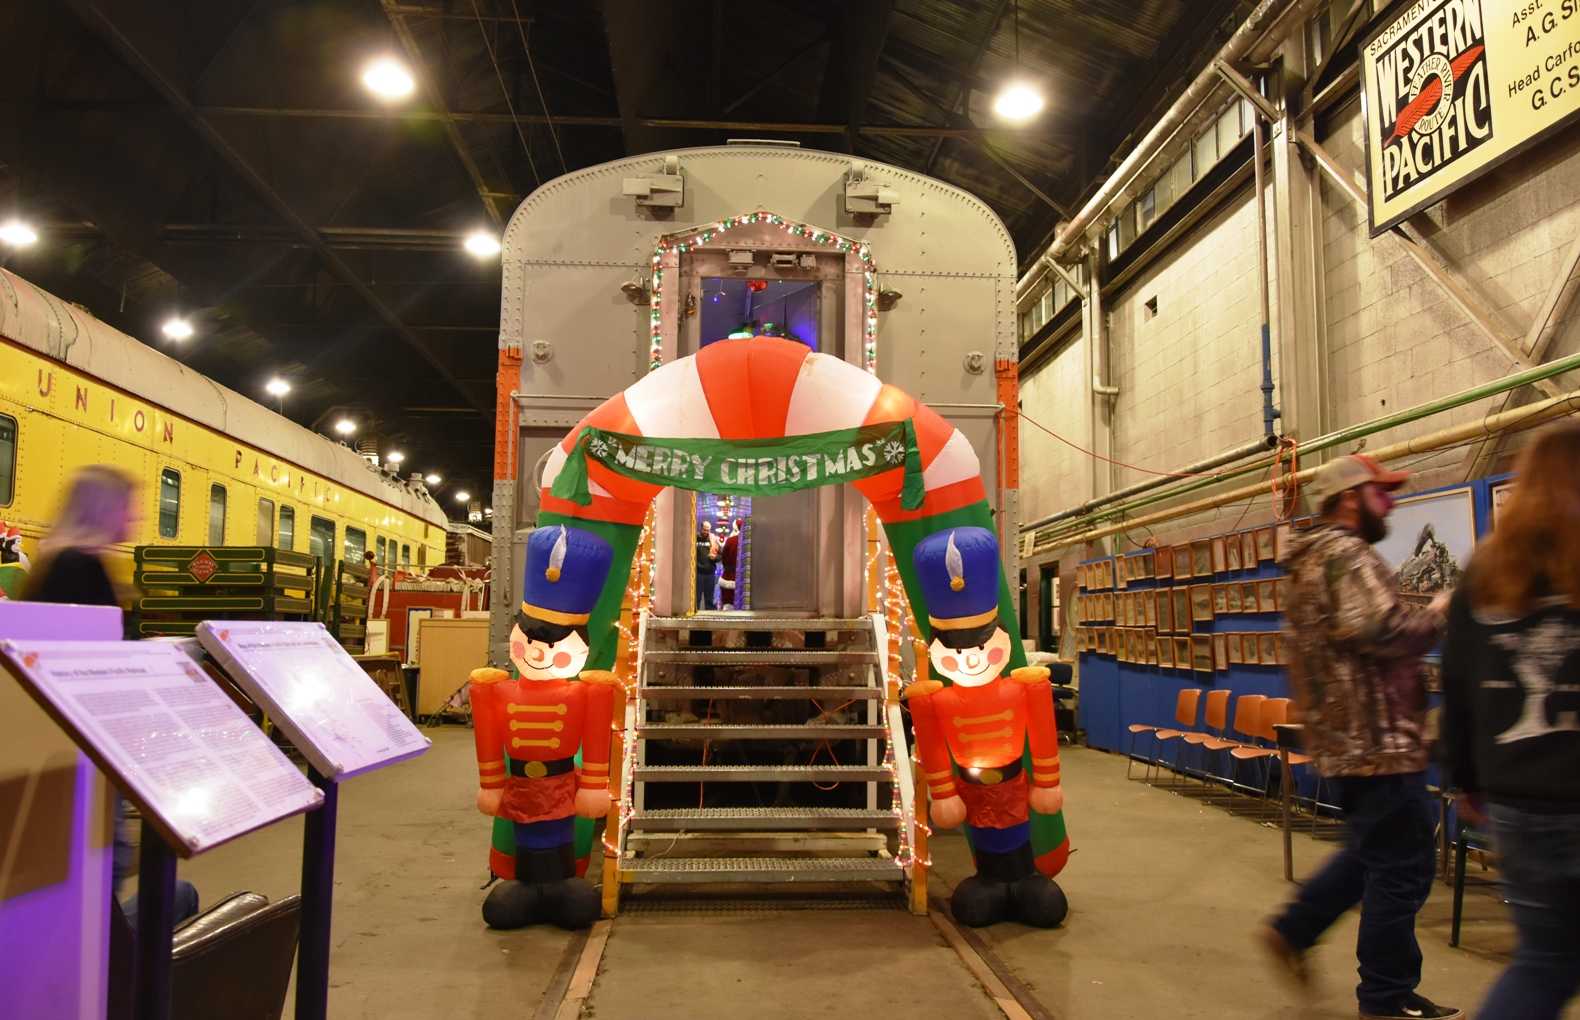
Image number 1 -- Baggage car with Santa and the people starting to arrive for the evening. - Greg Elems
Image number 2 -- David Epling was the engineer for the first nights festivities. - Greg Elems
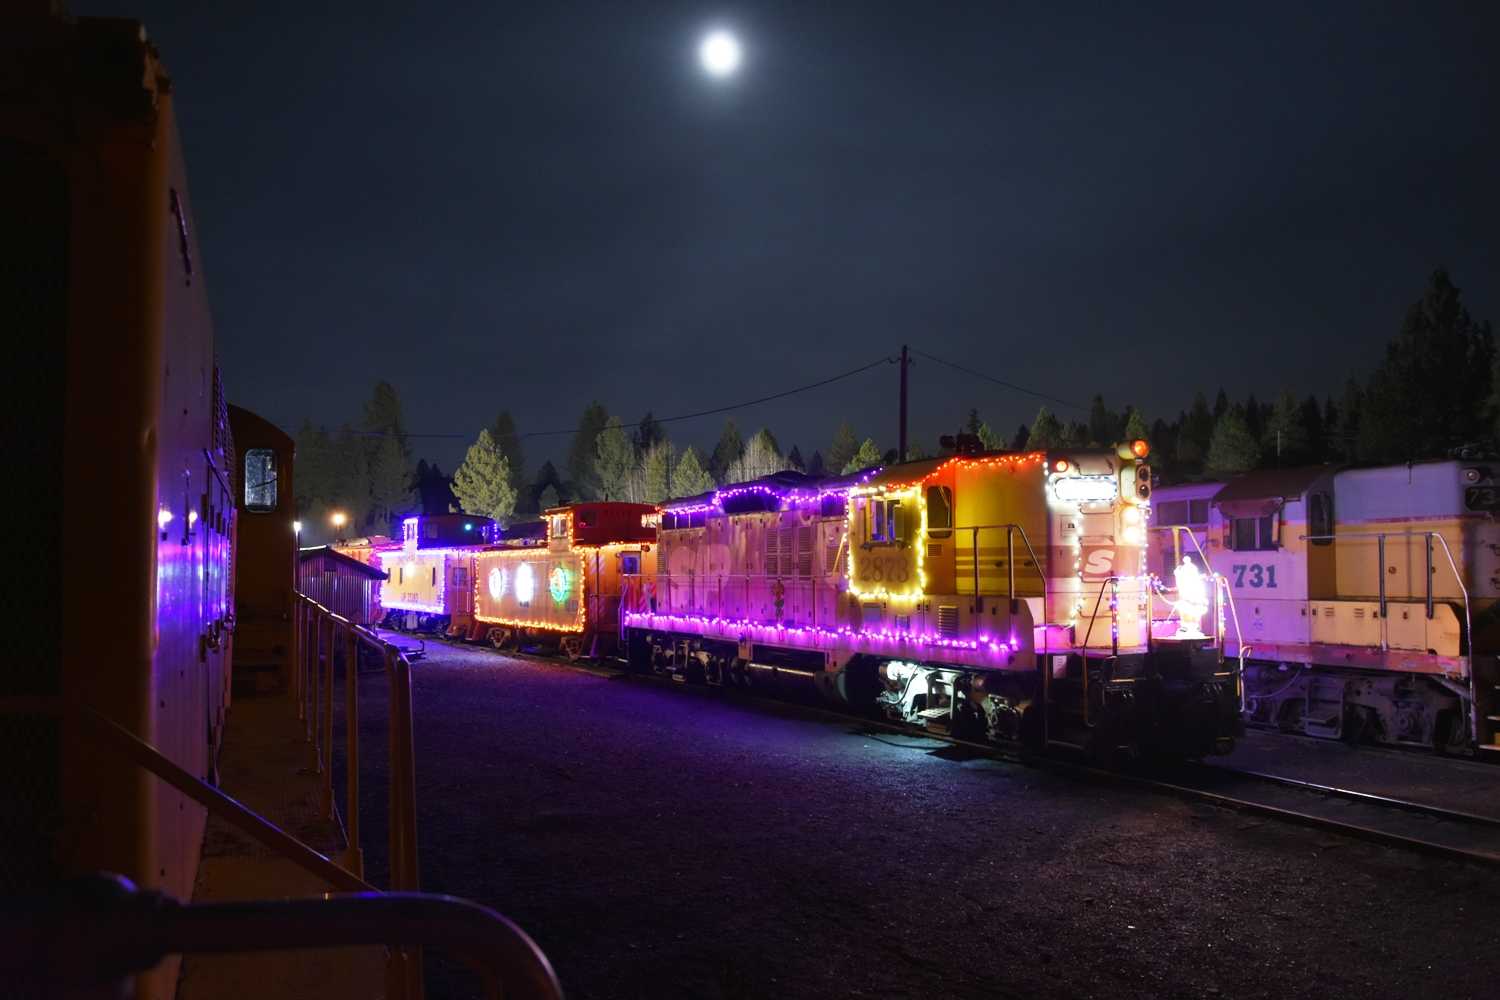
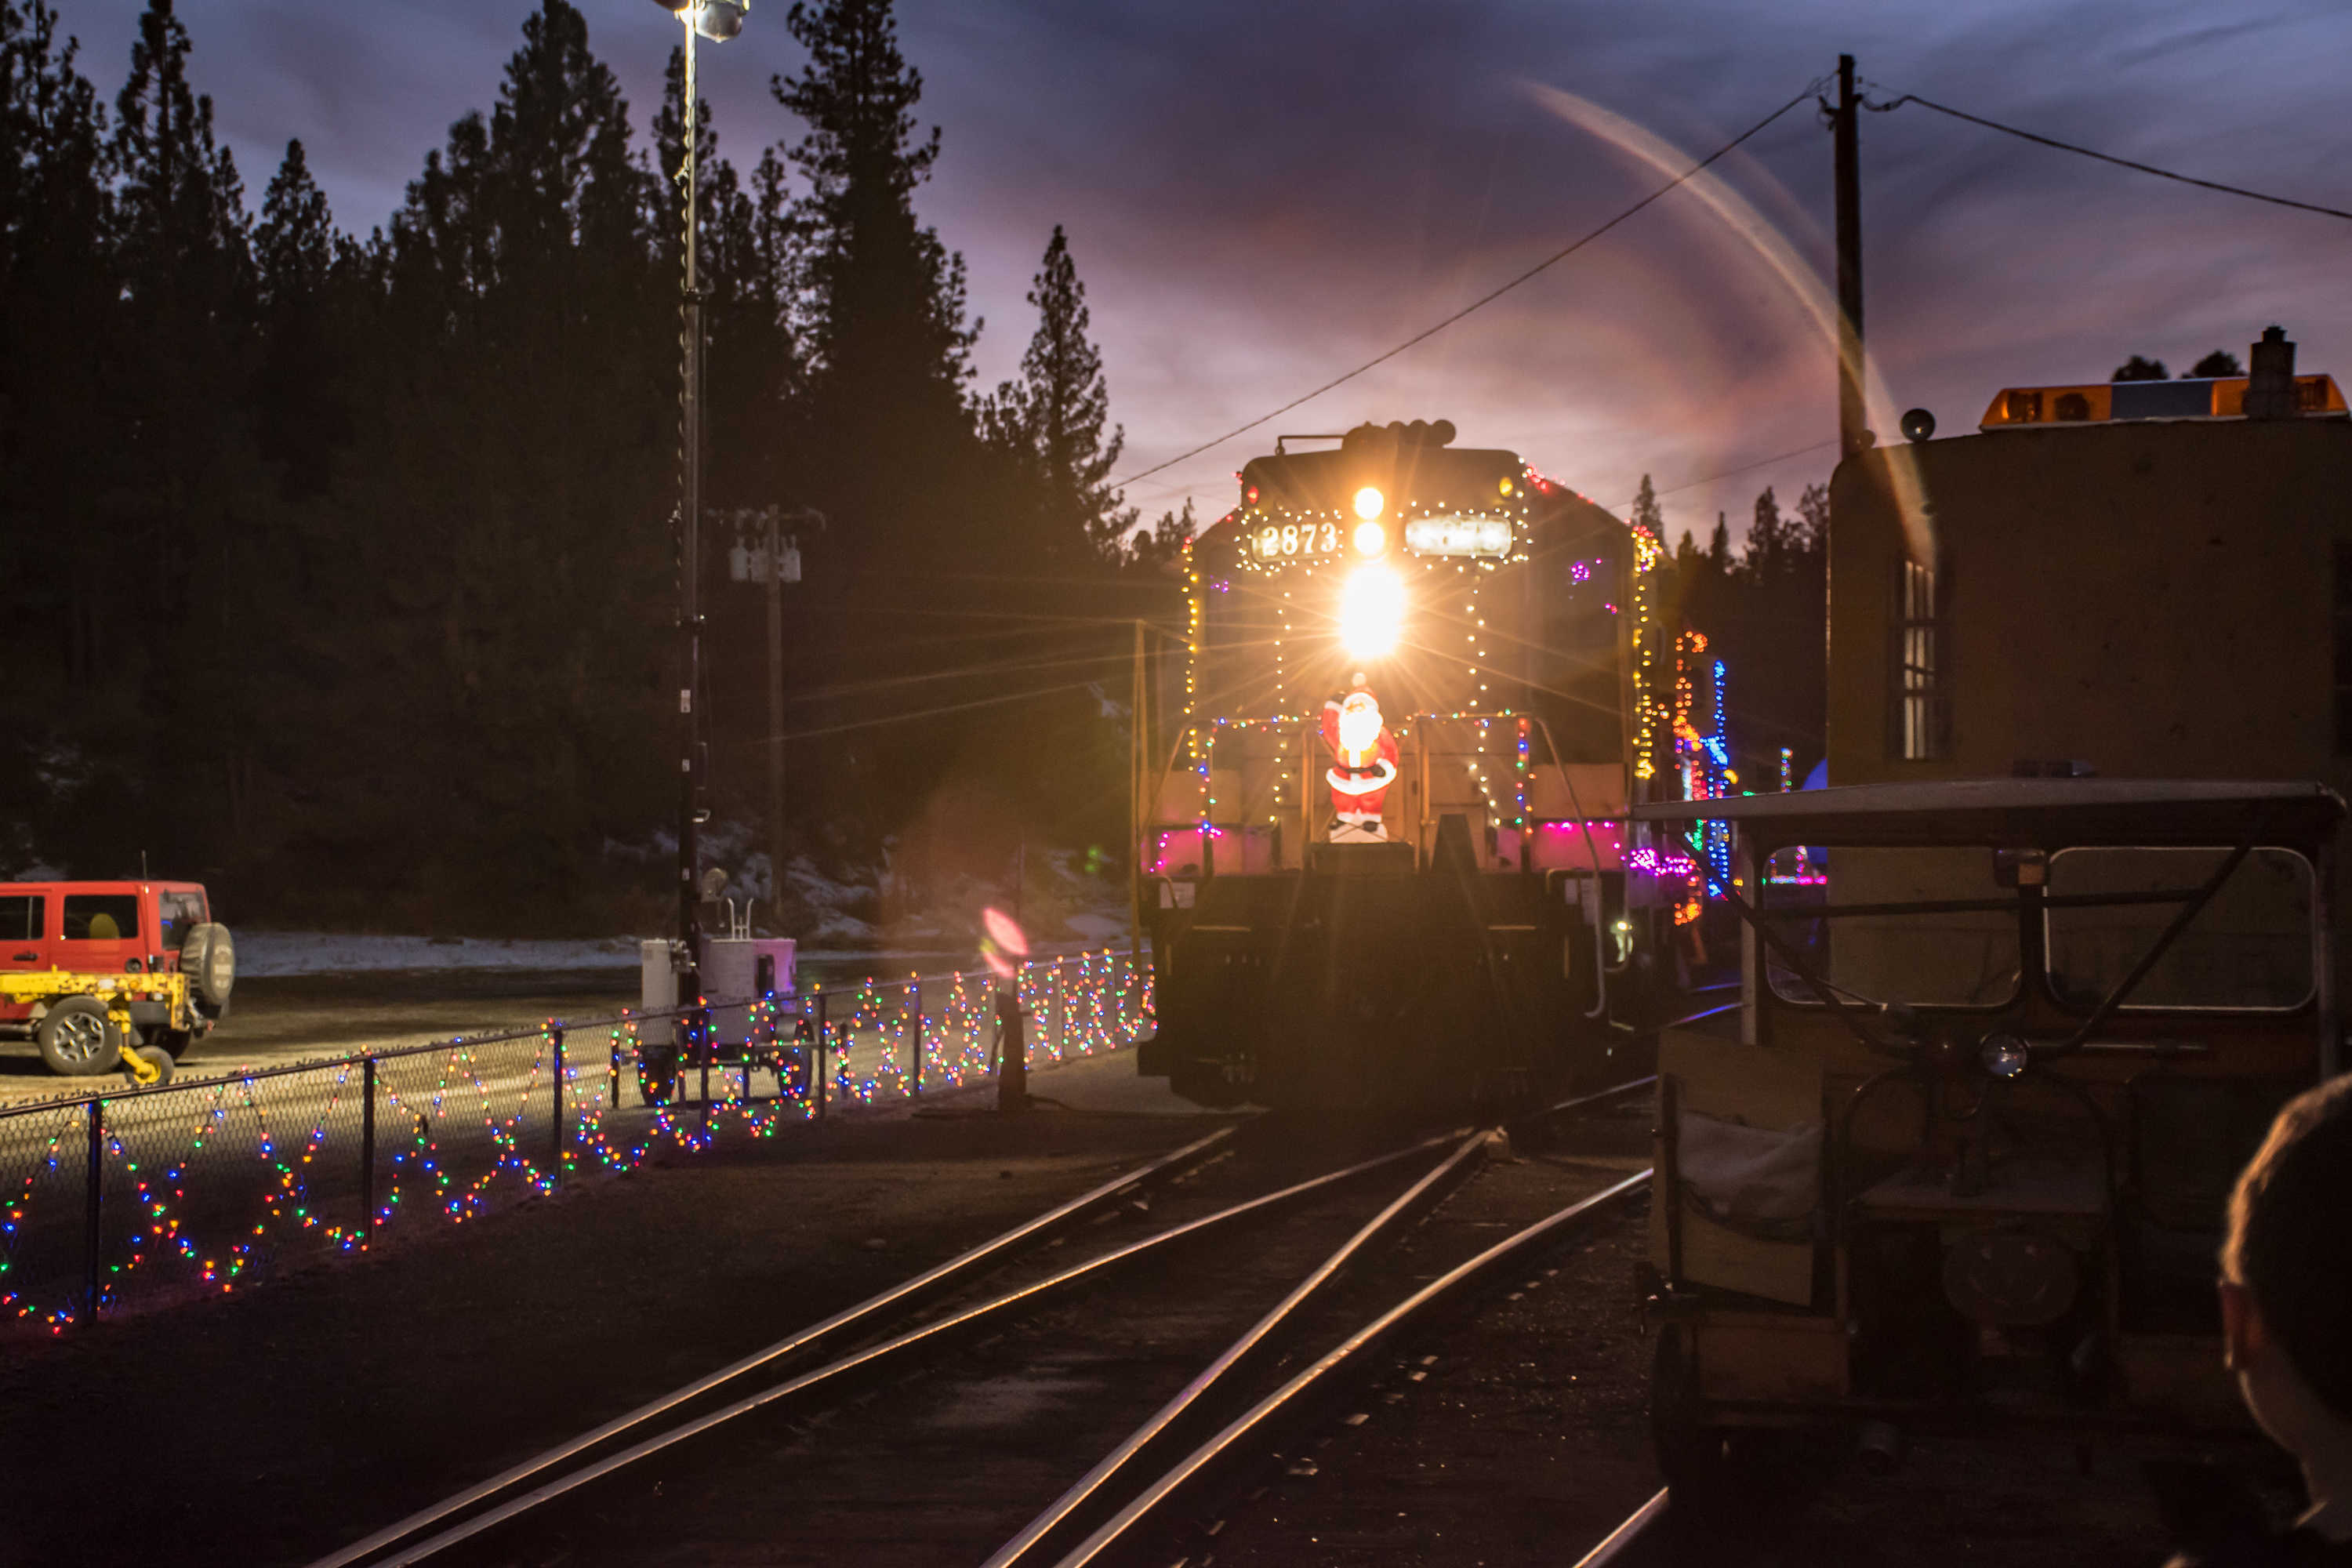
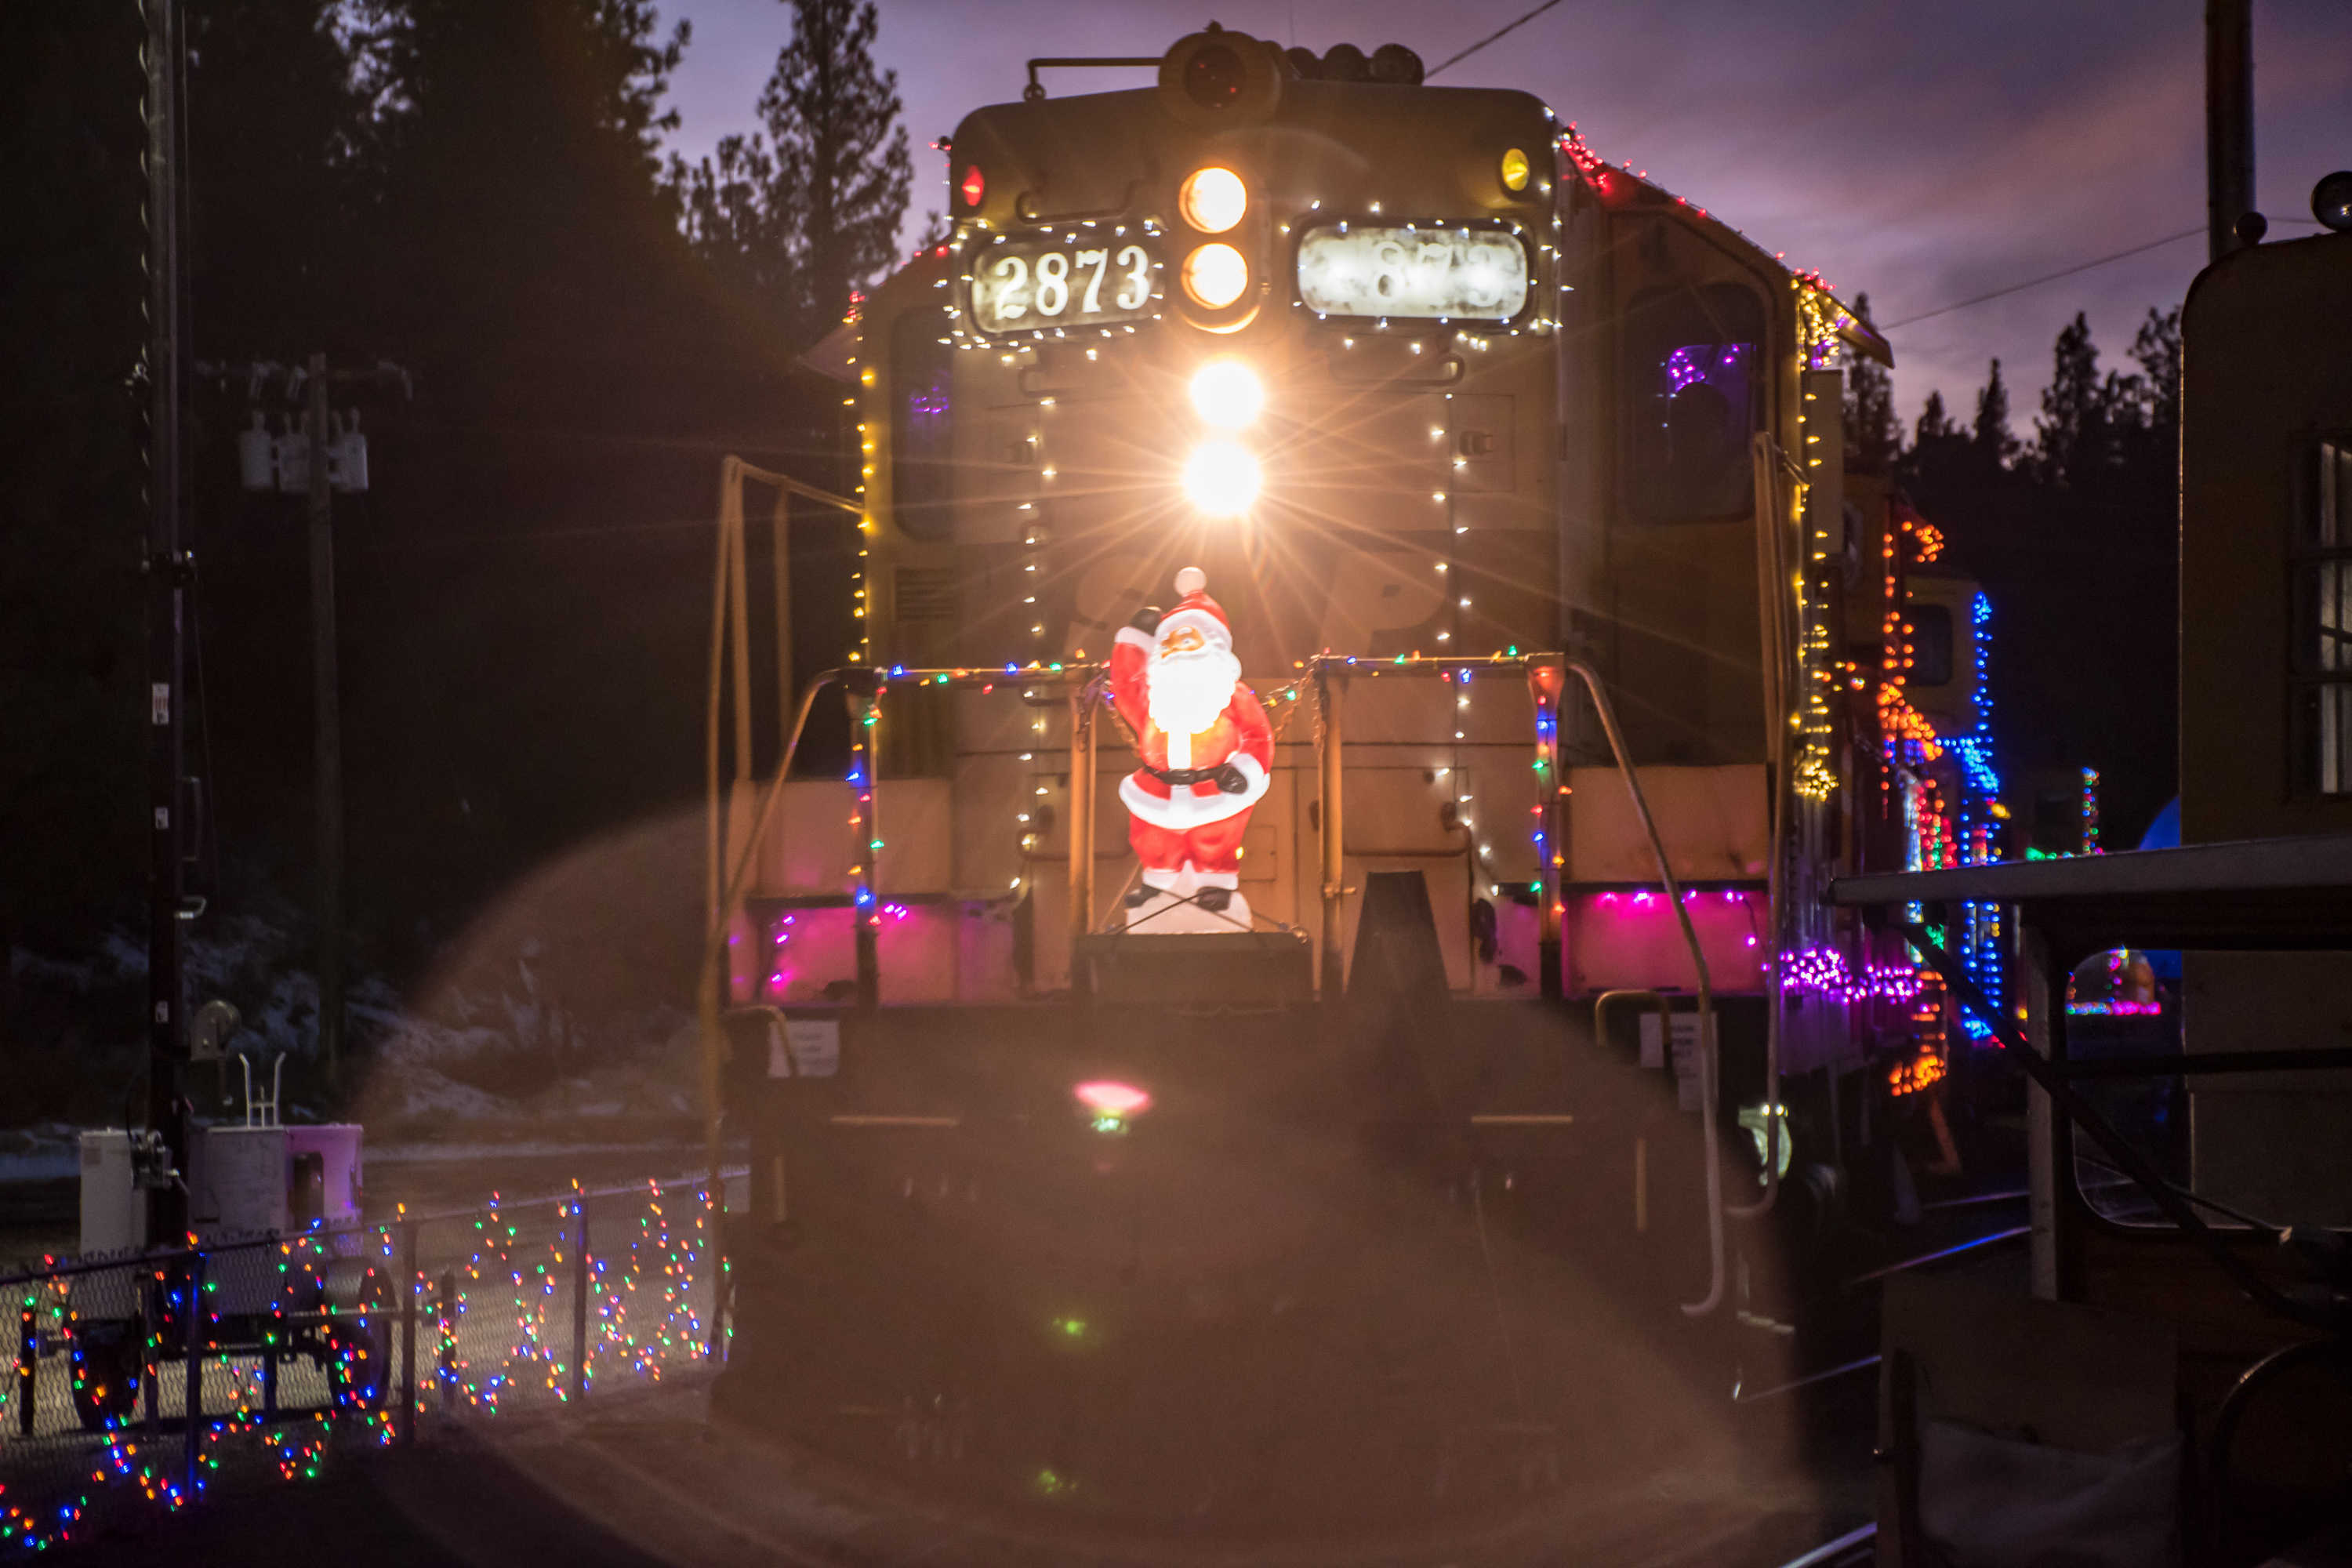
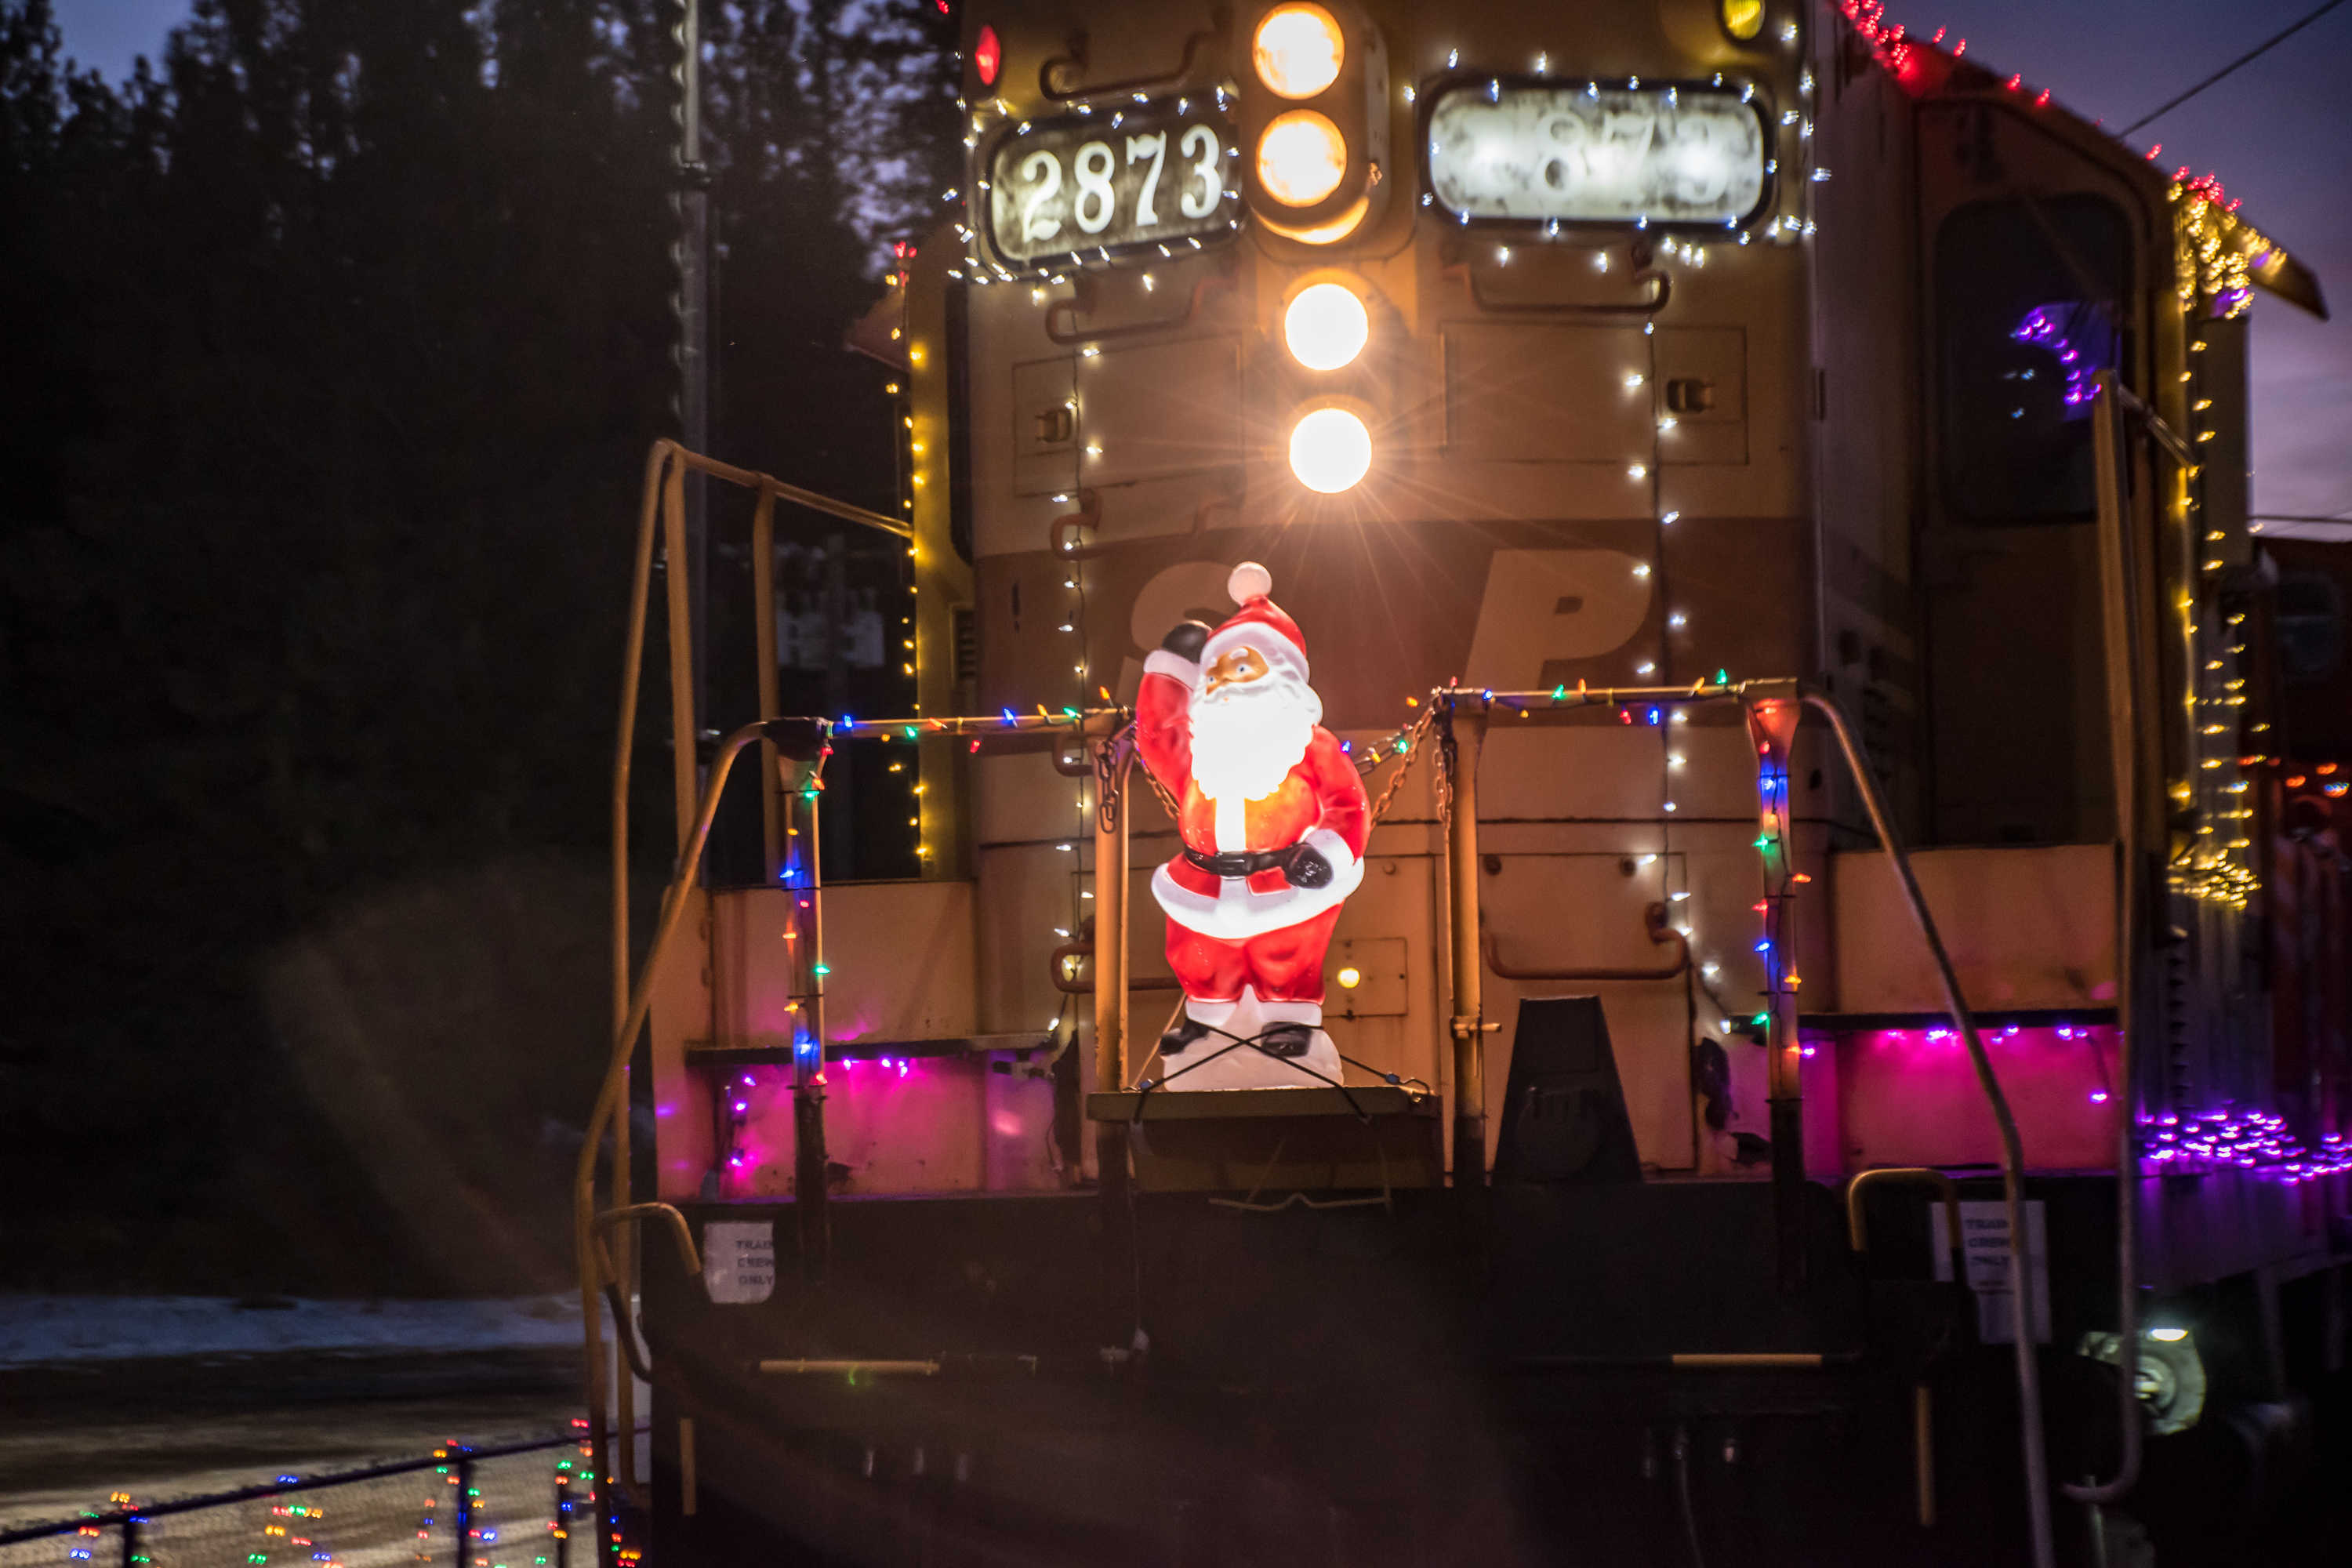
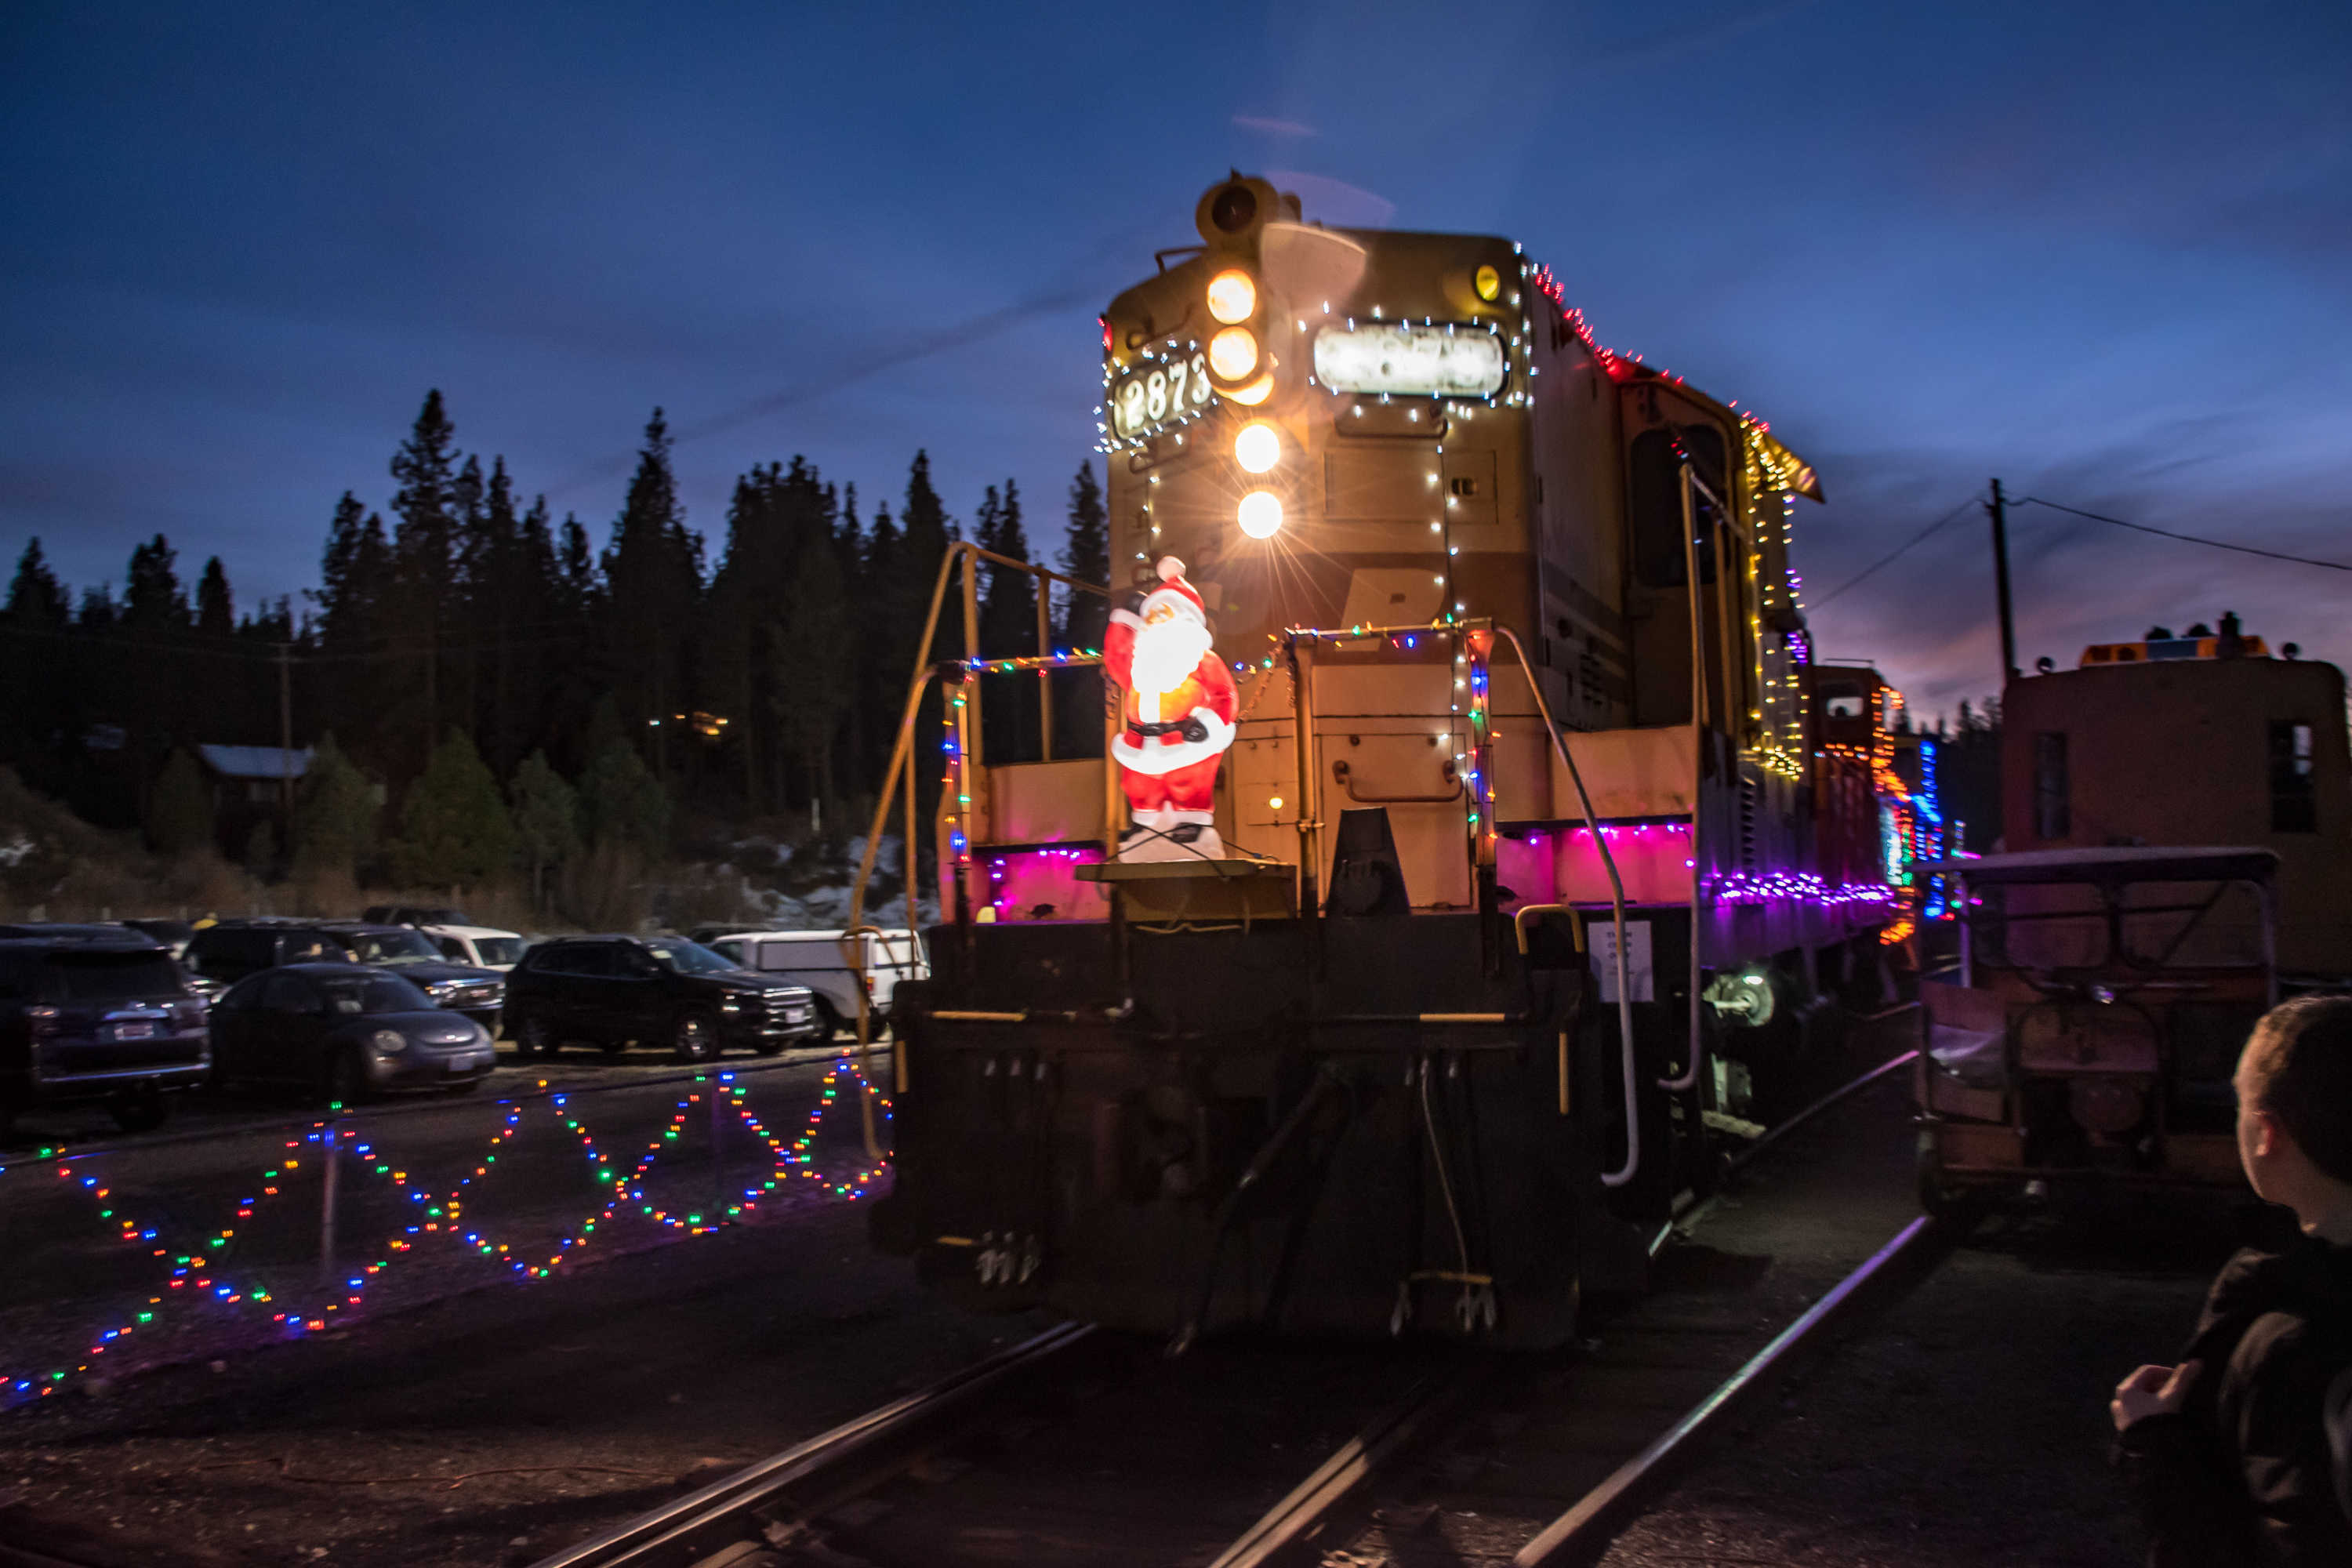
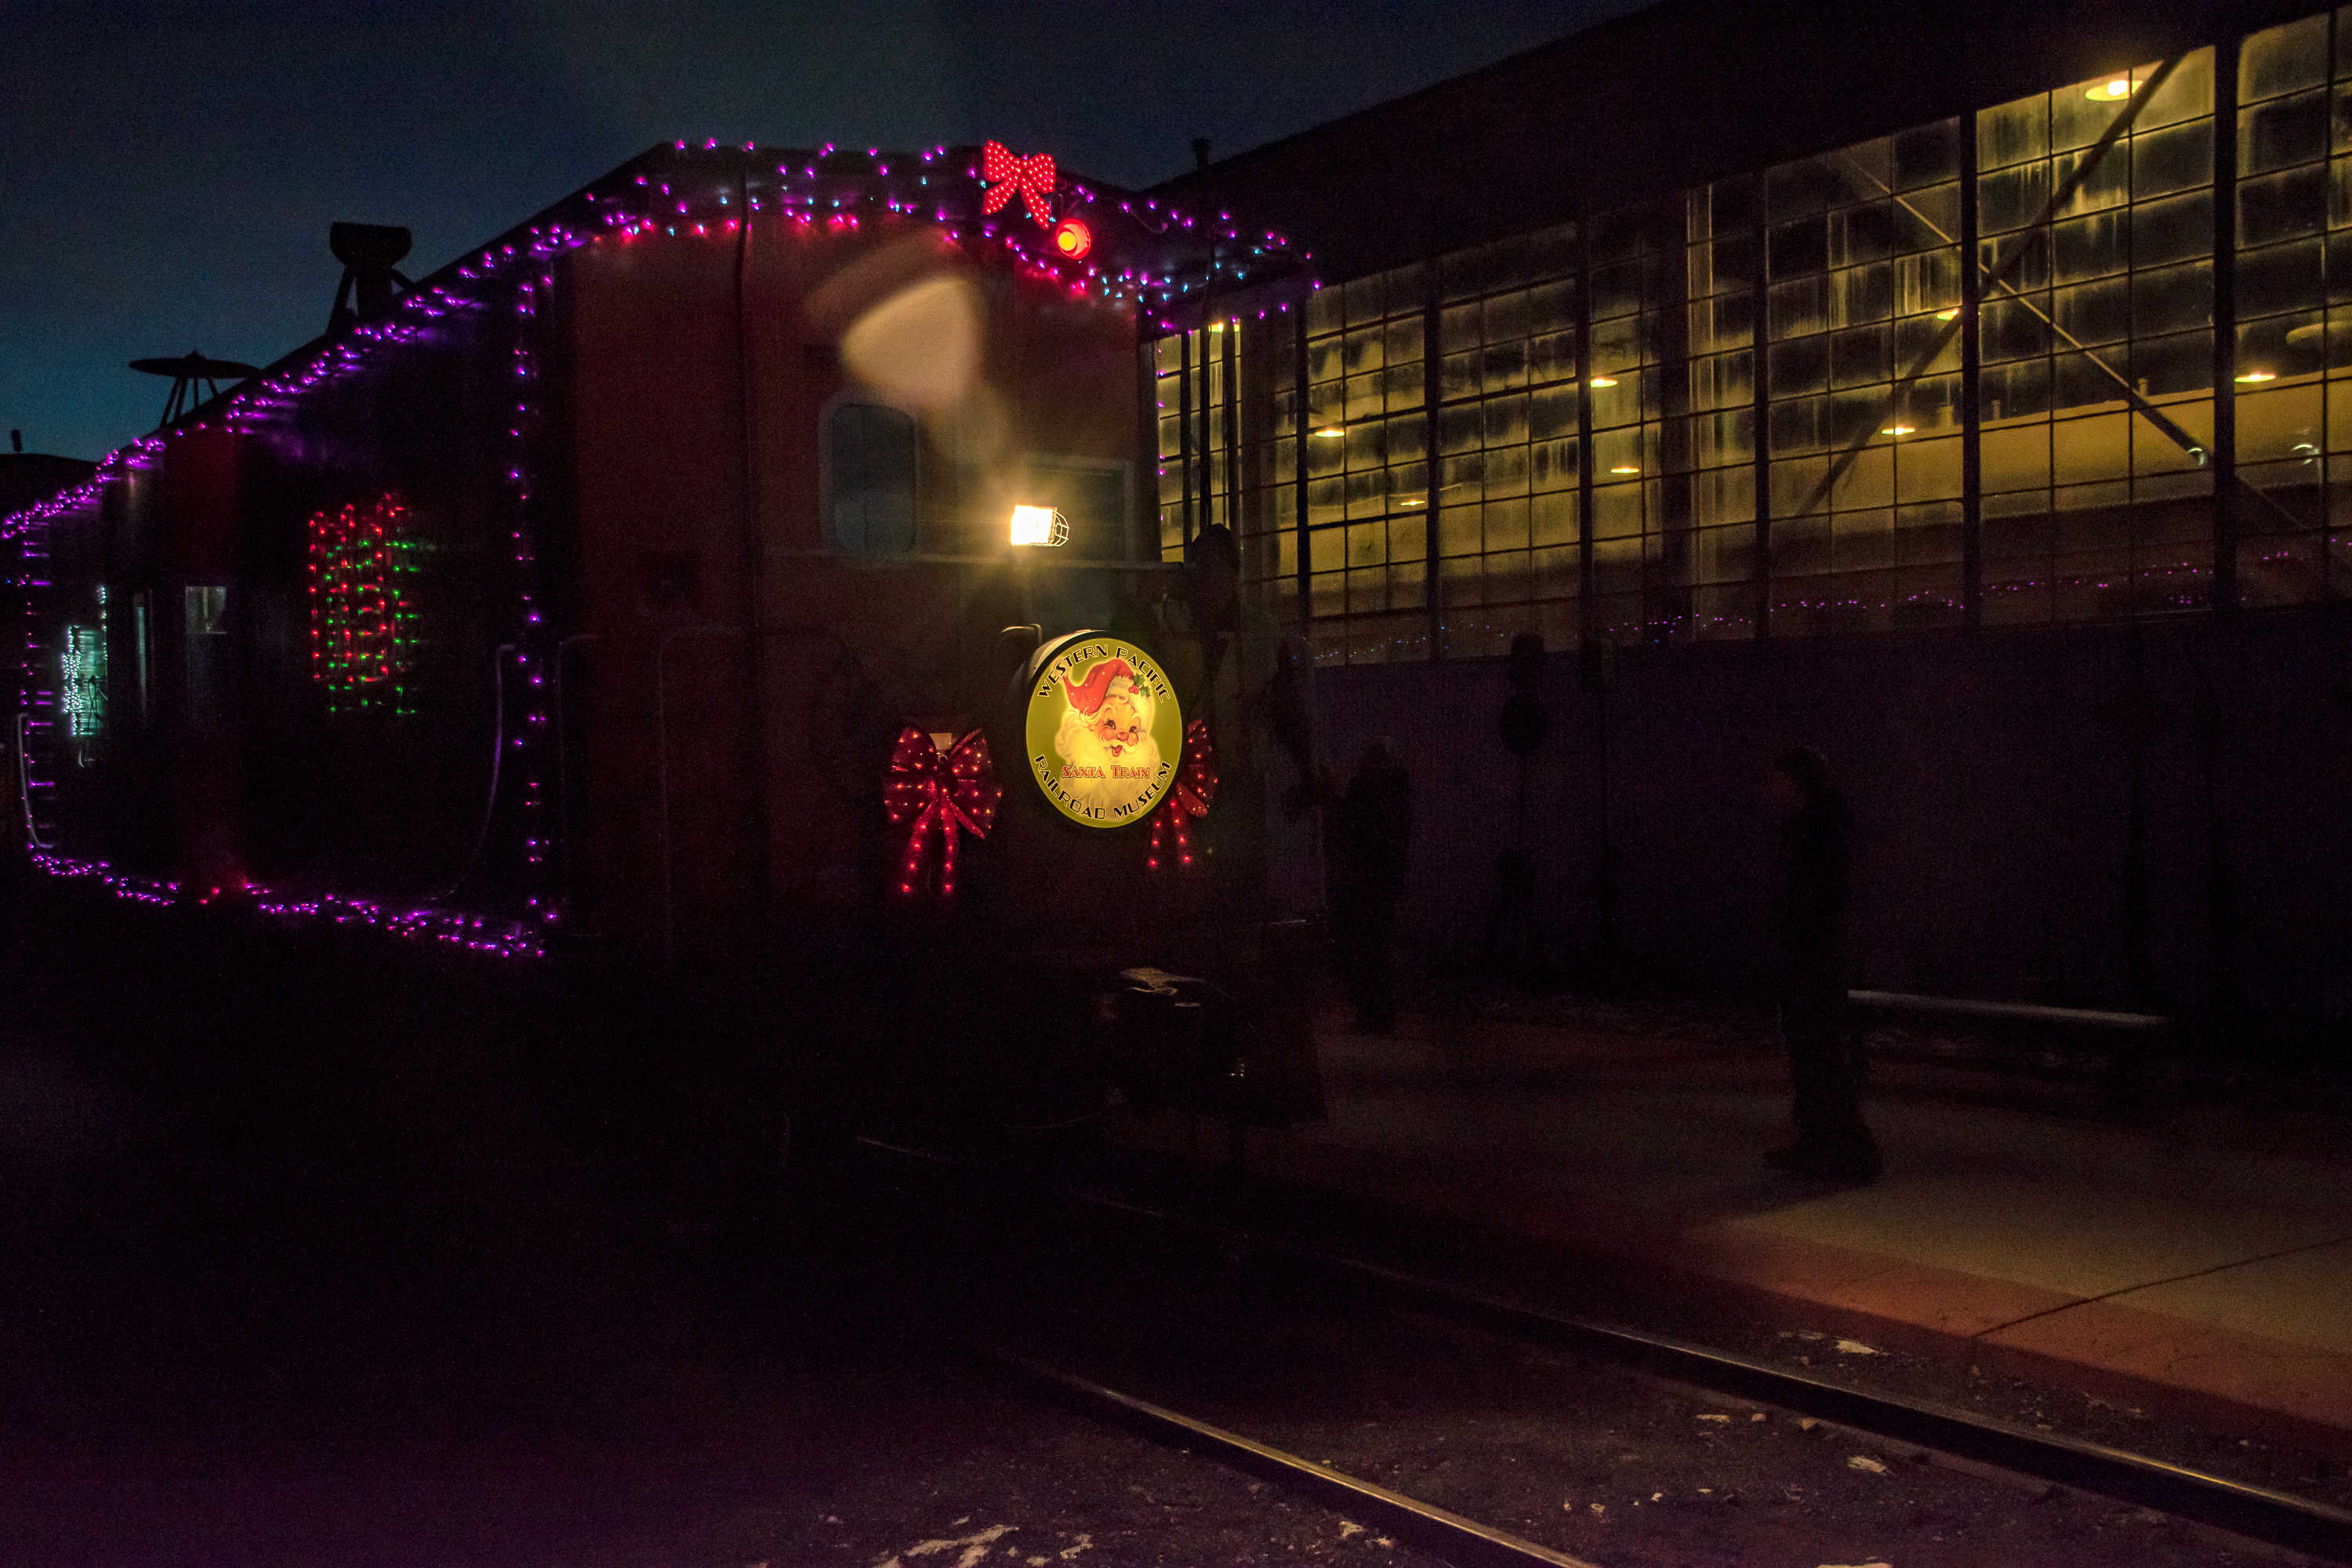
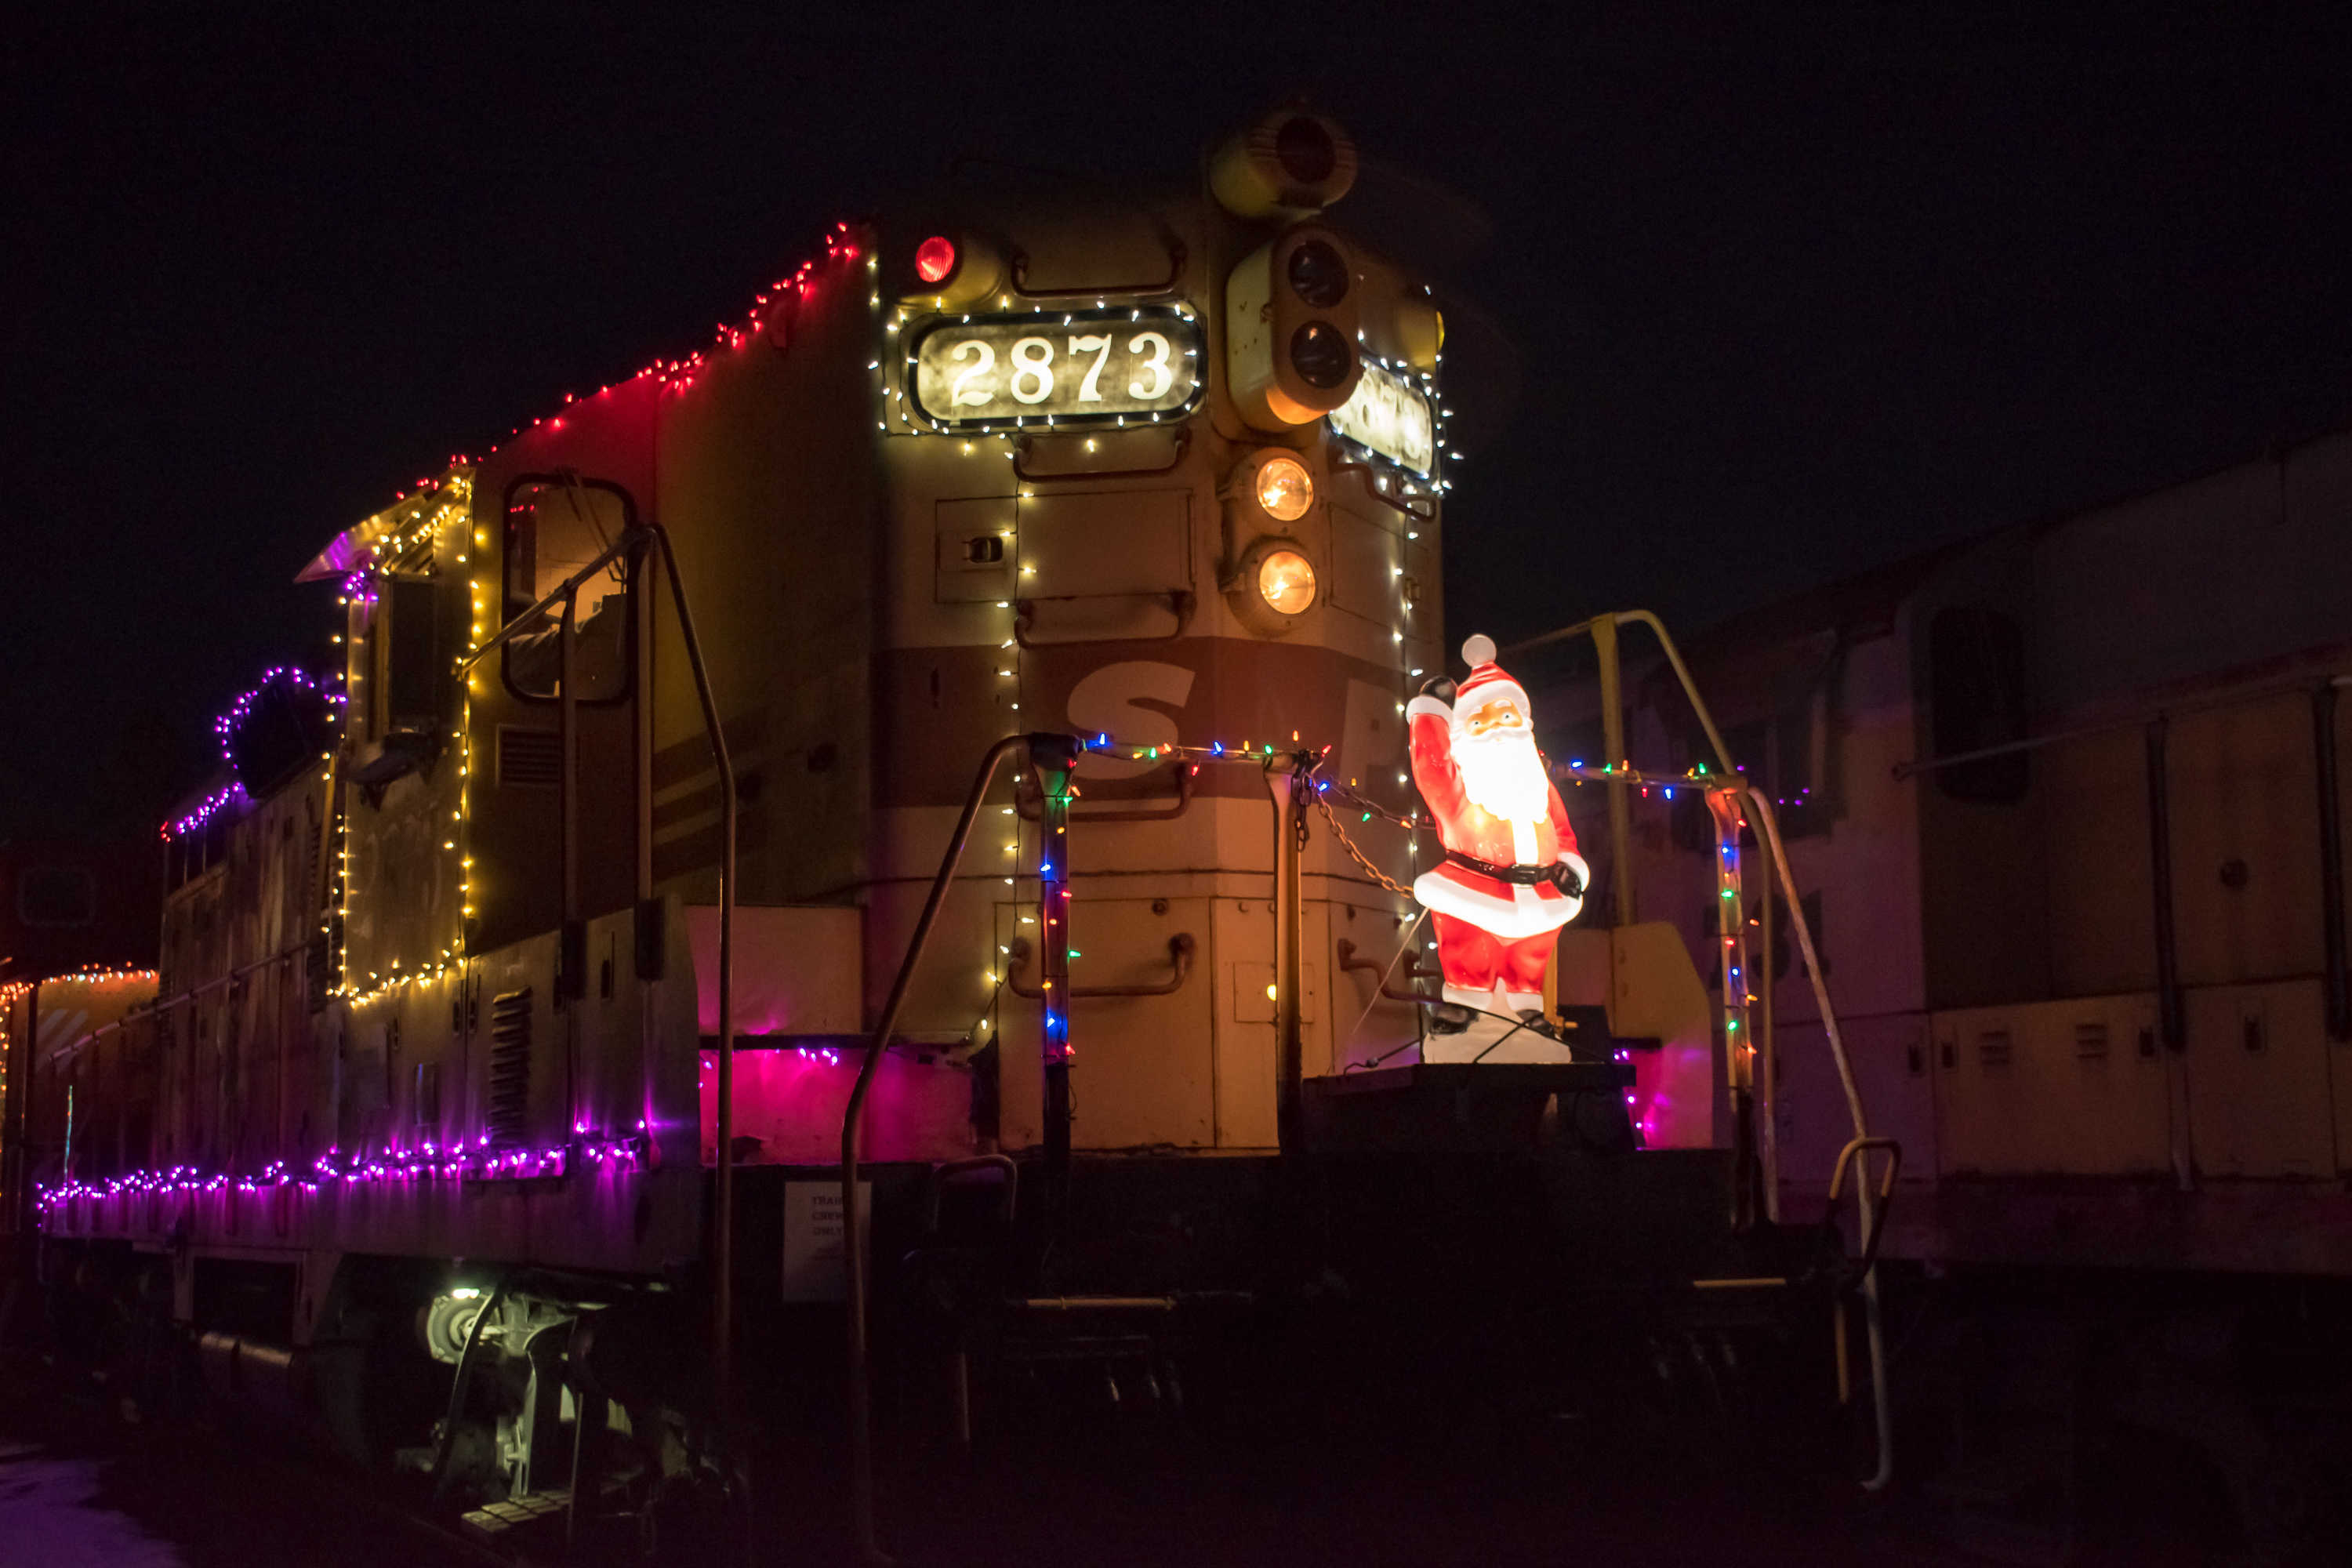
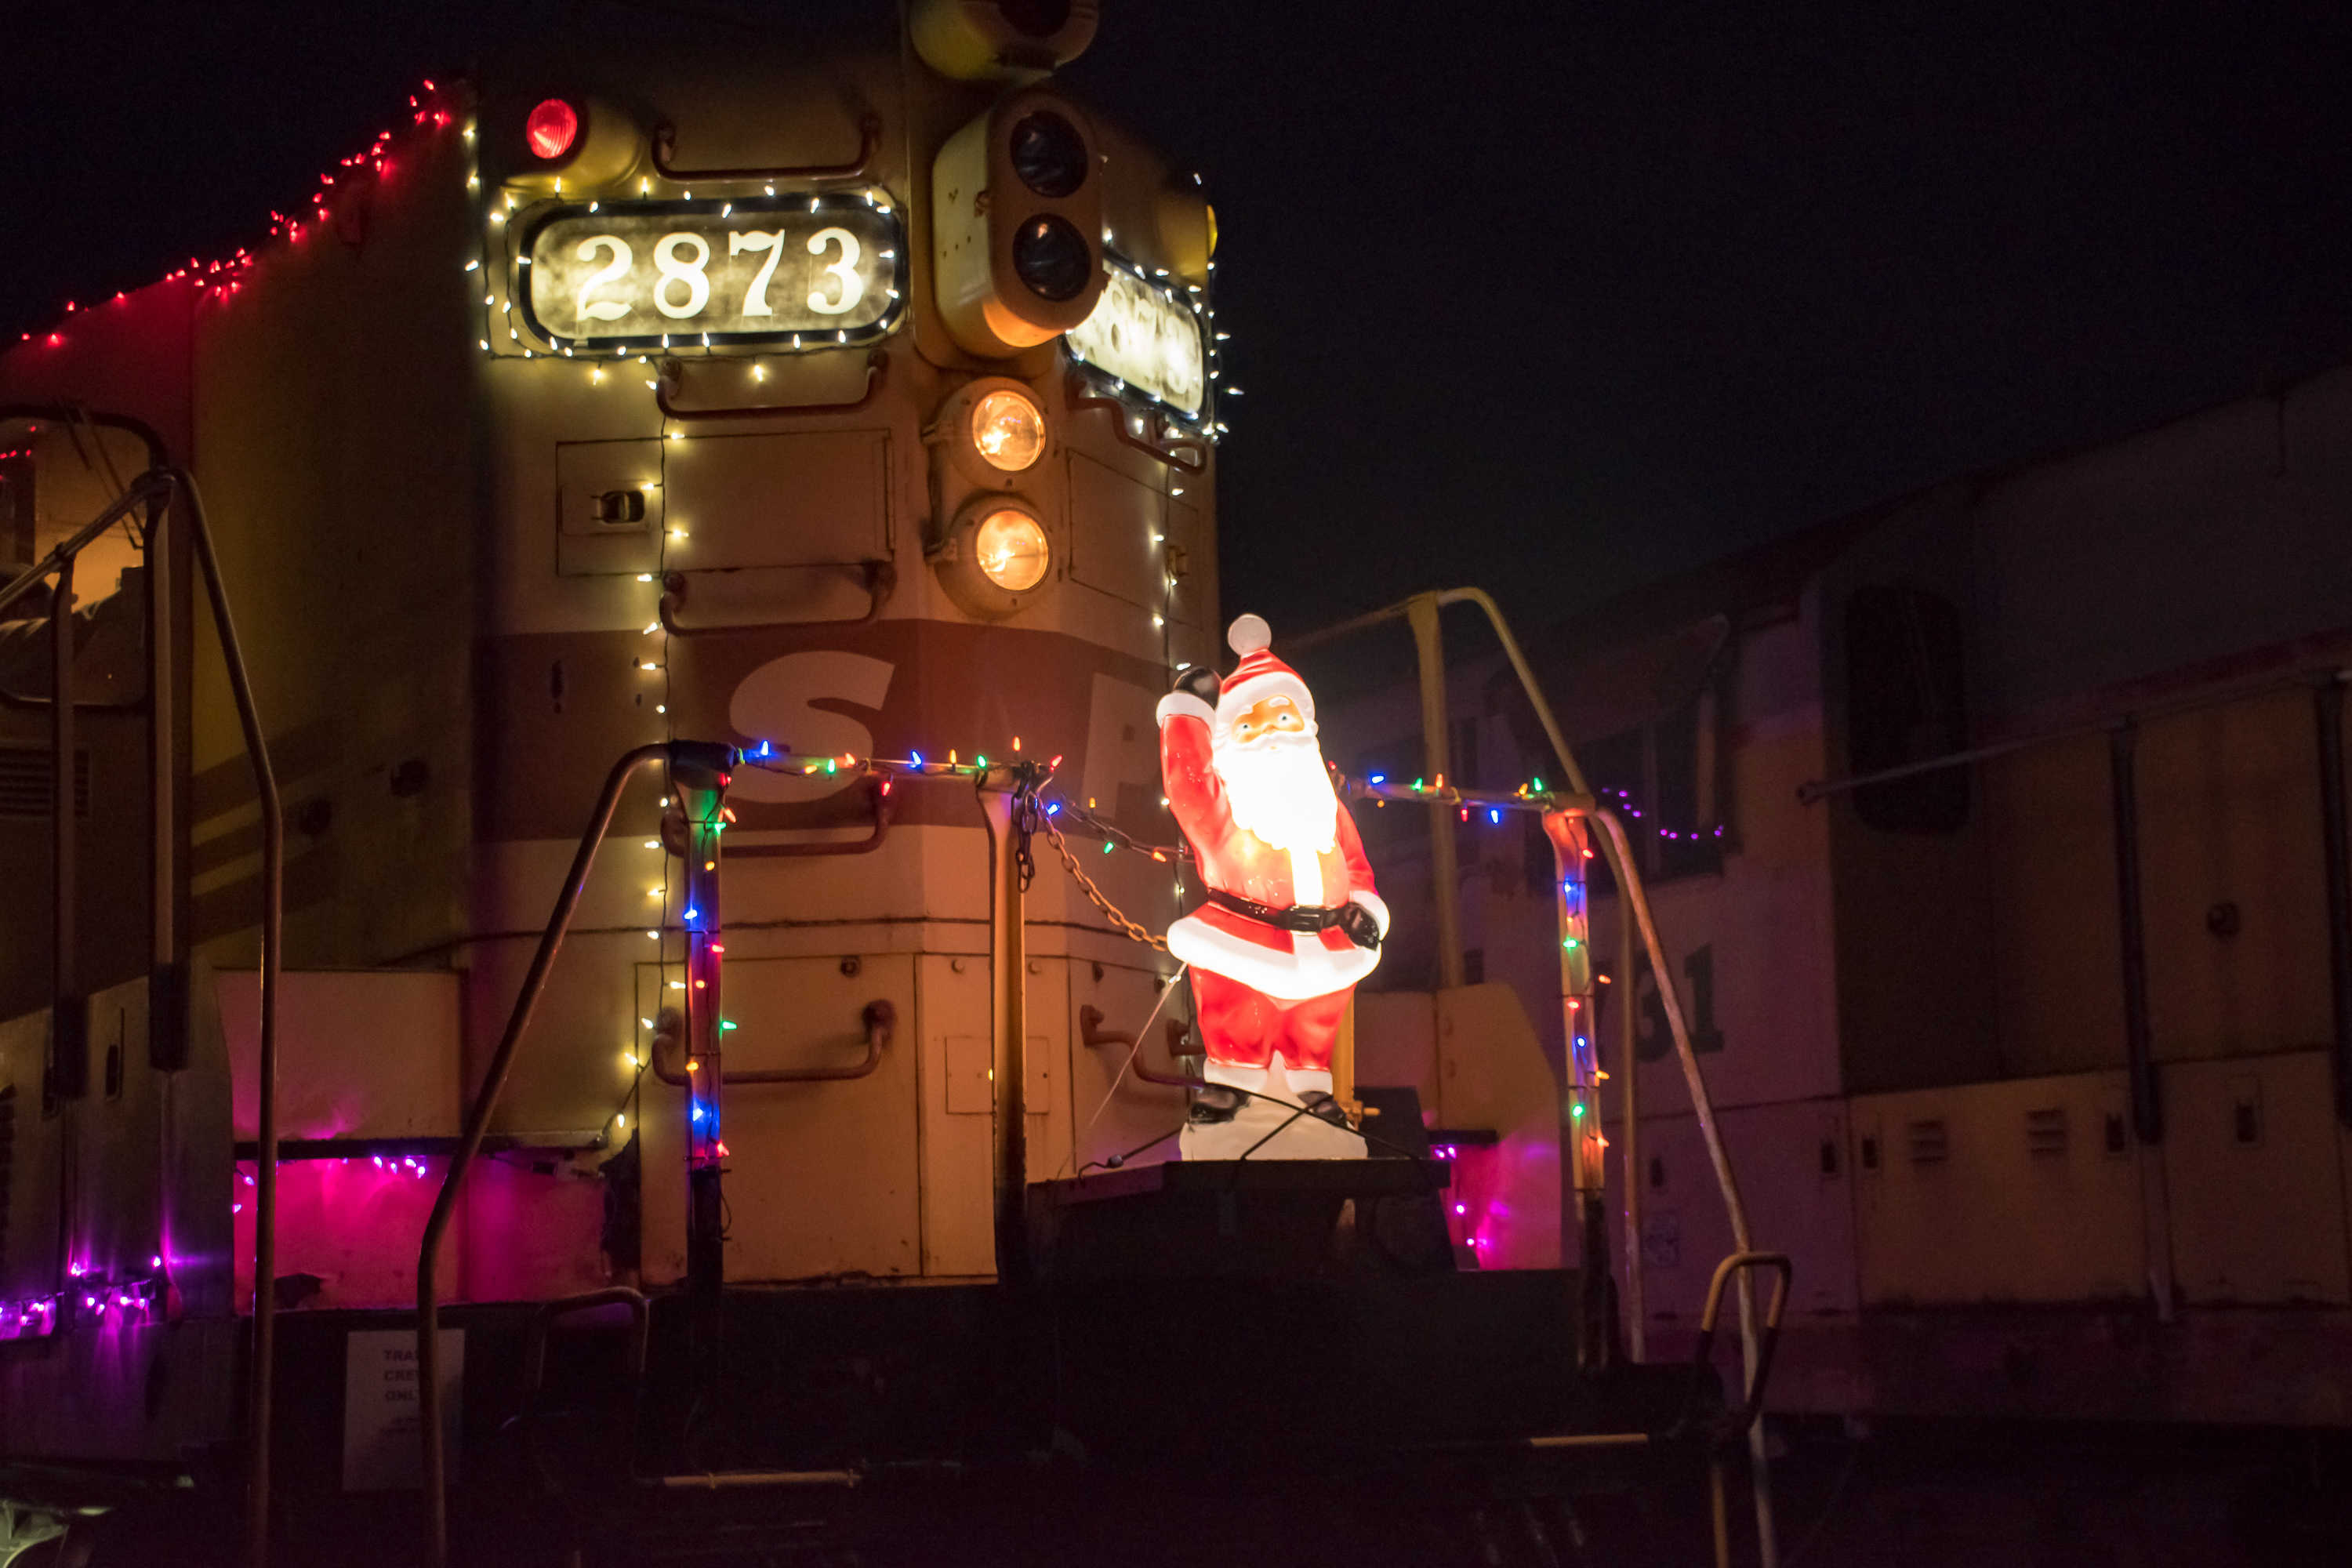
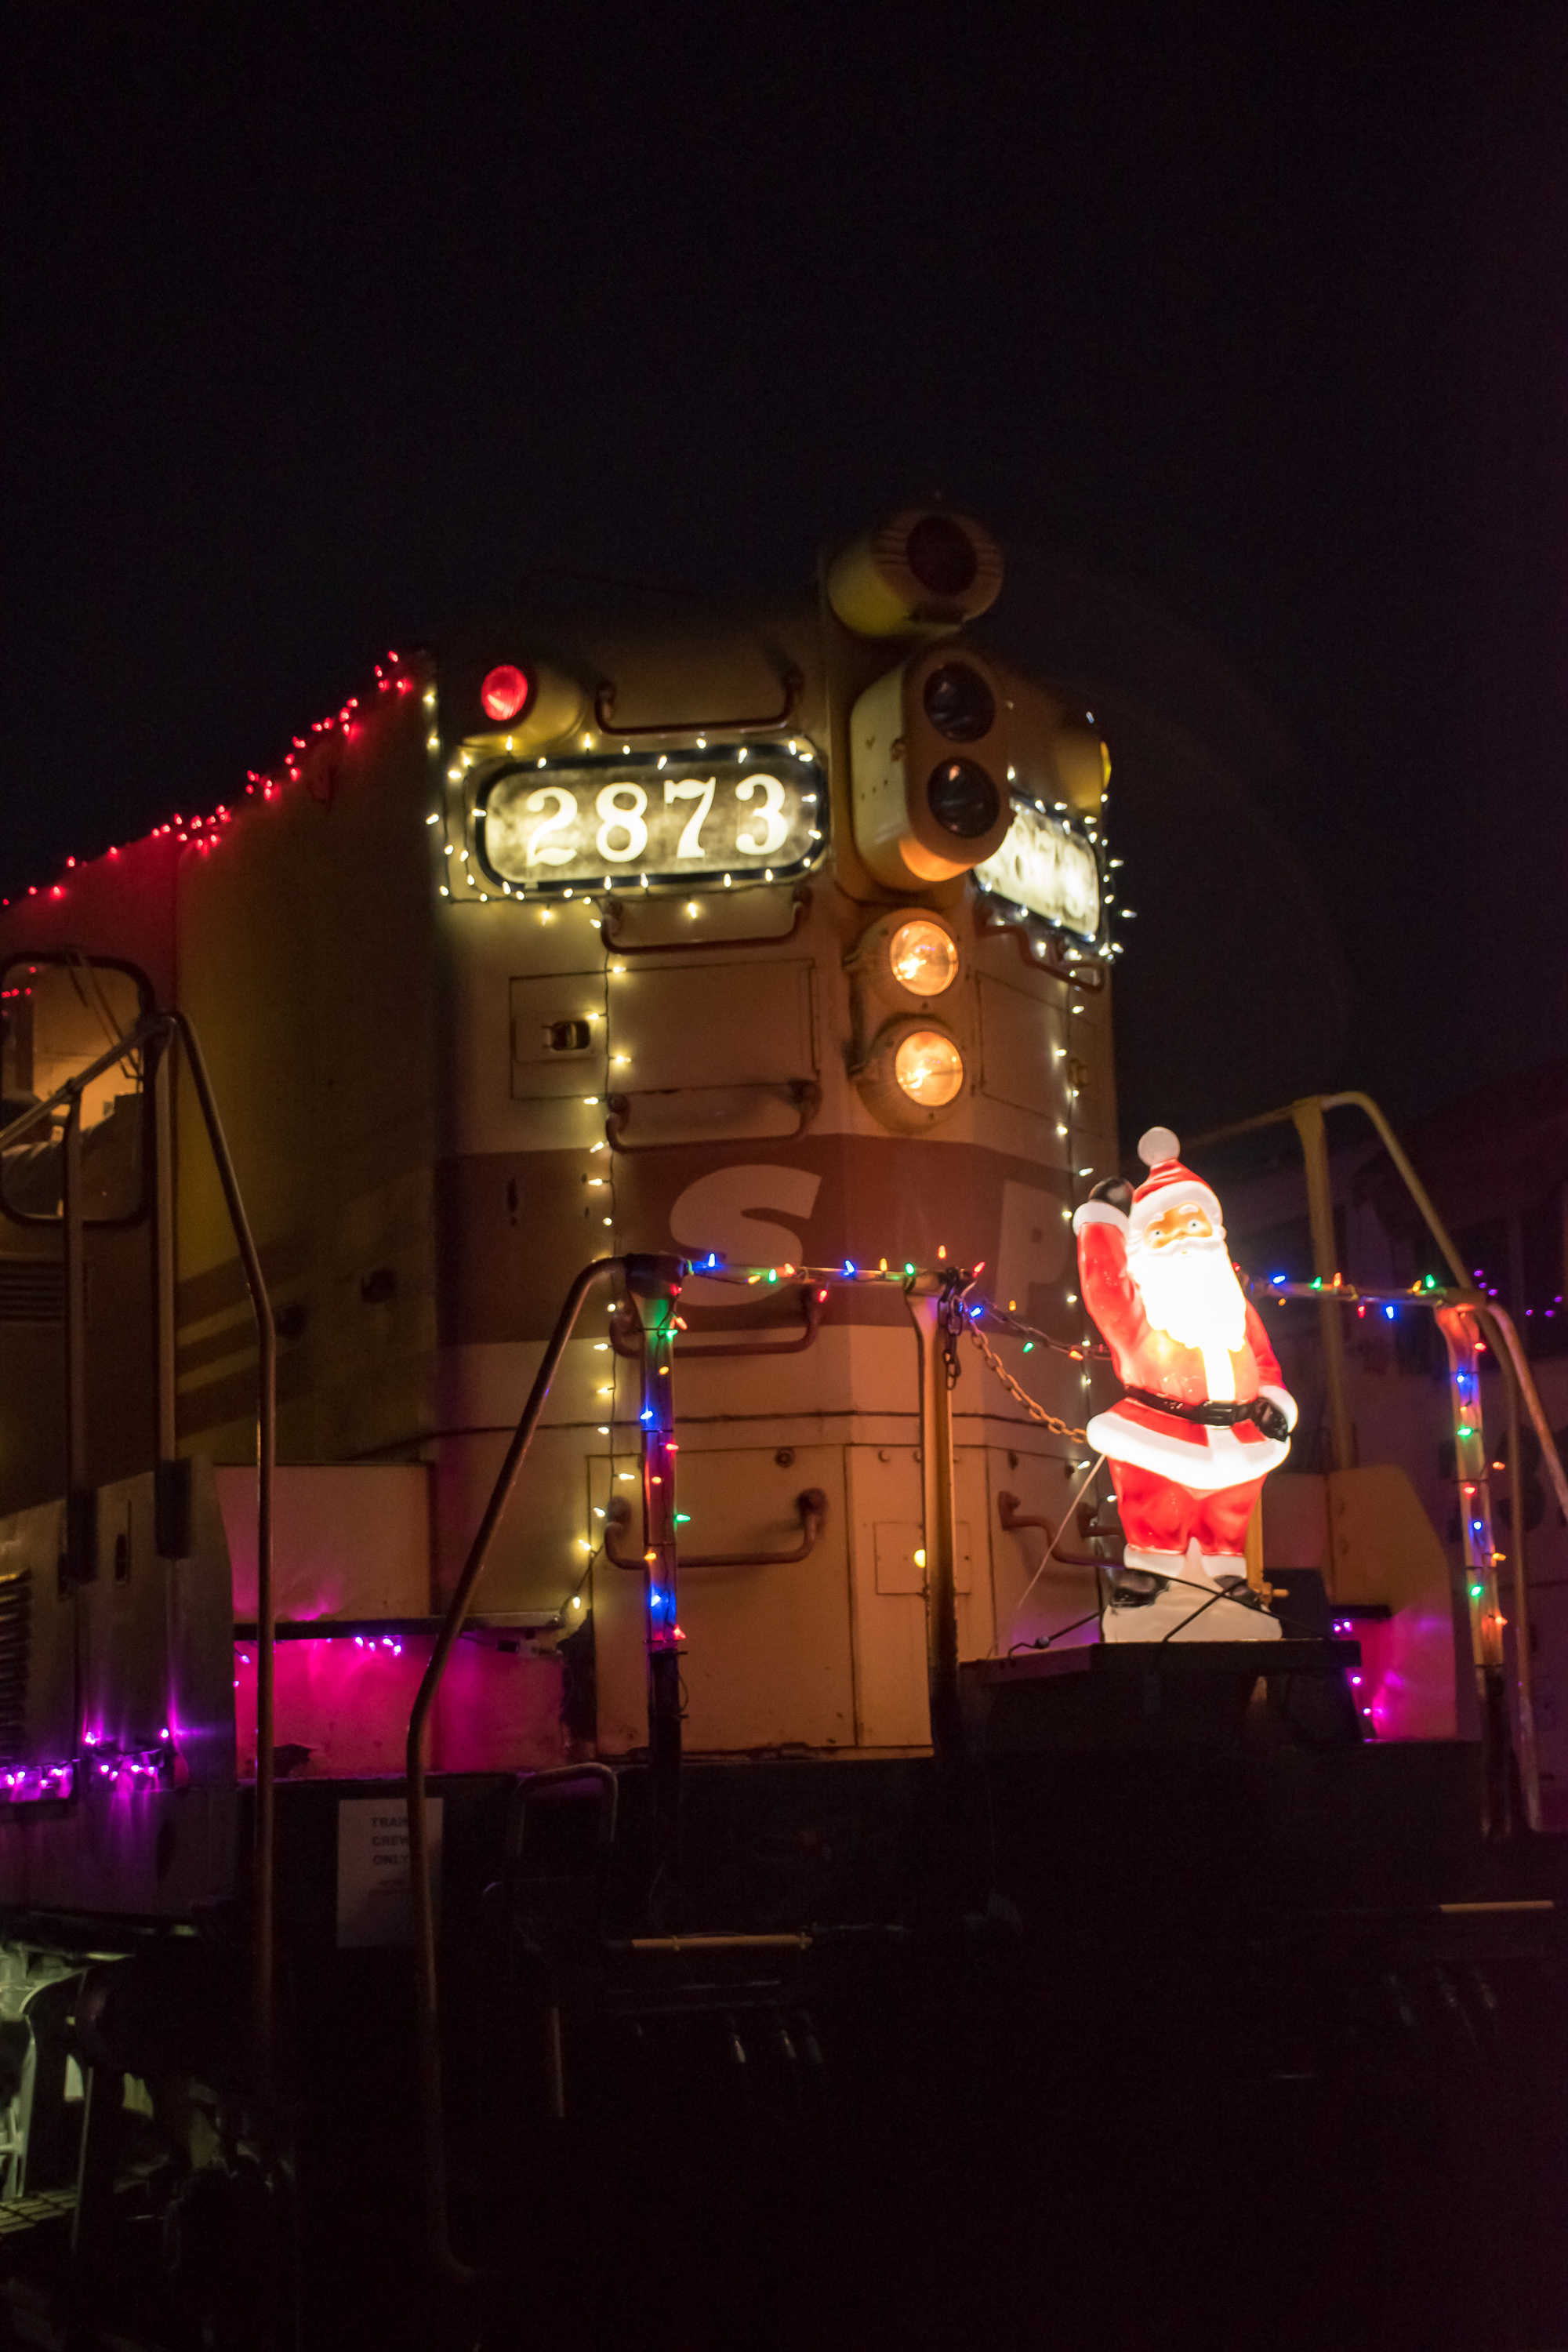
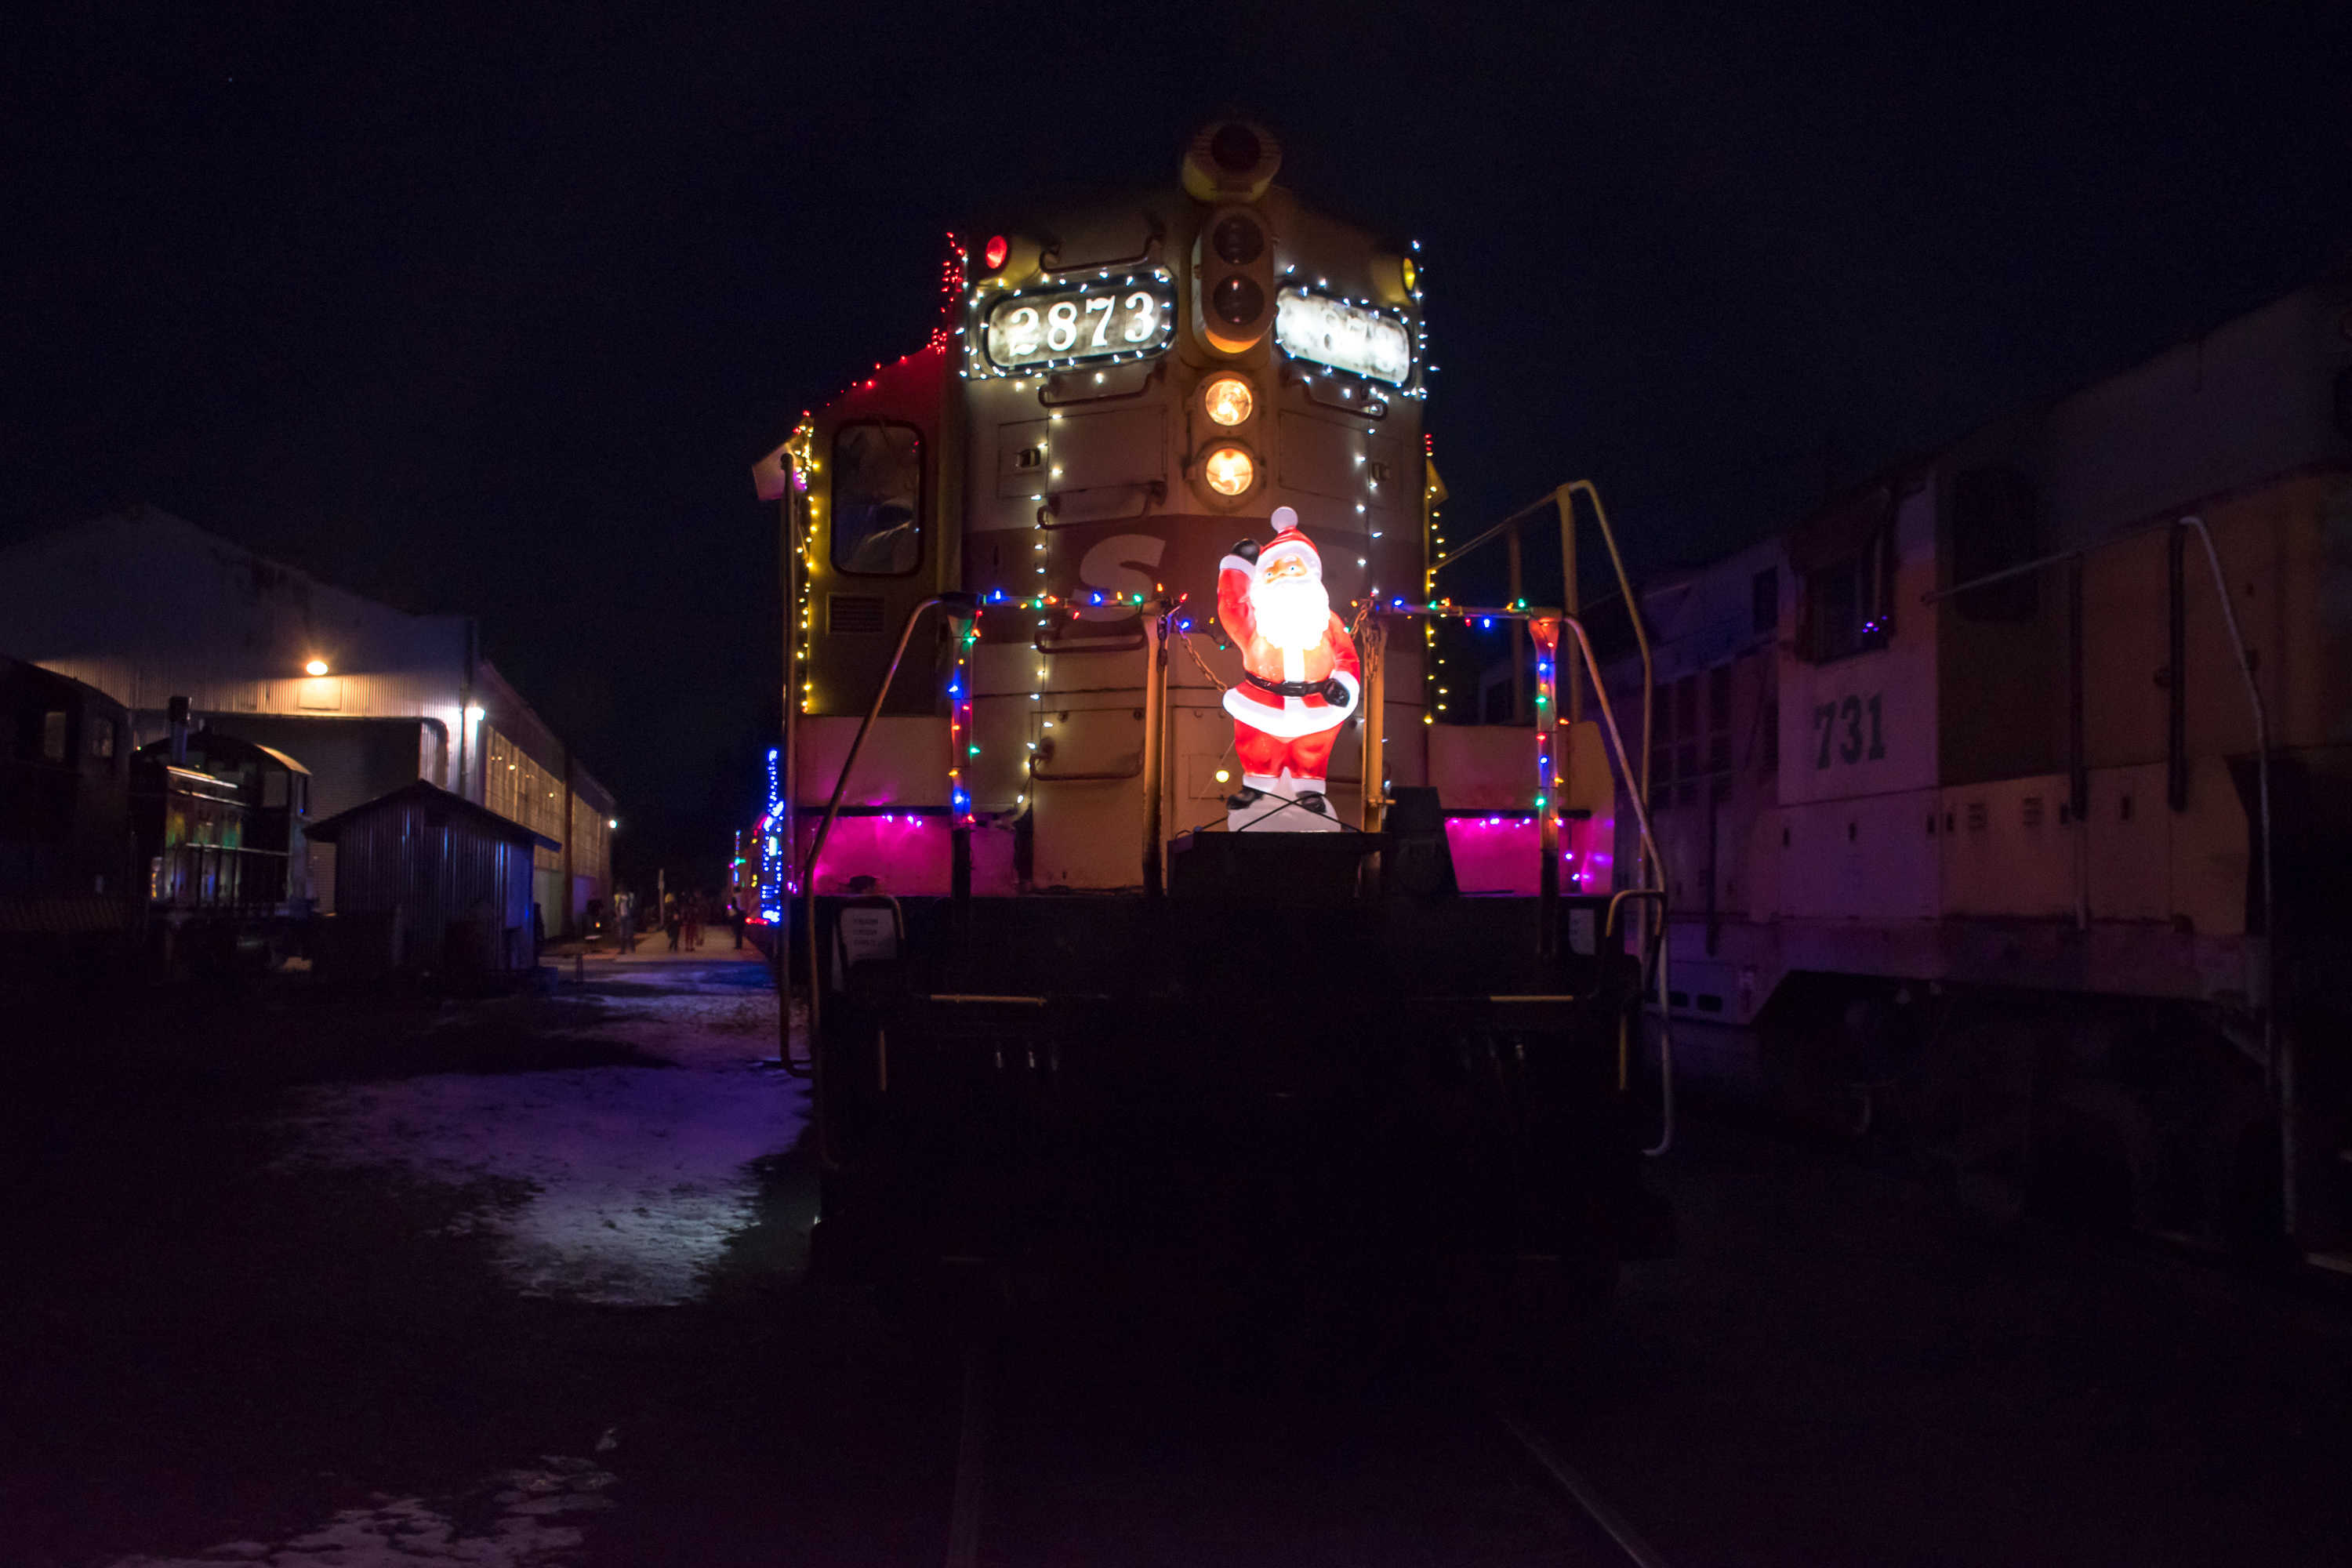
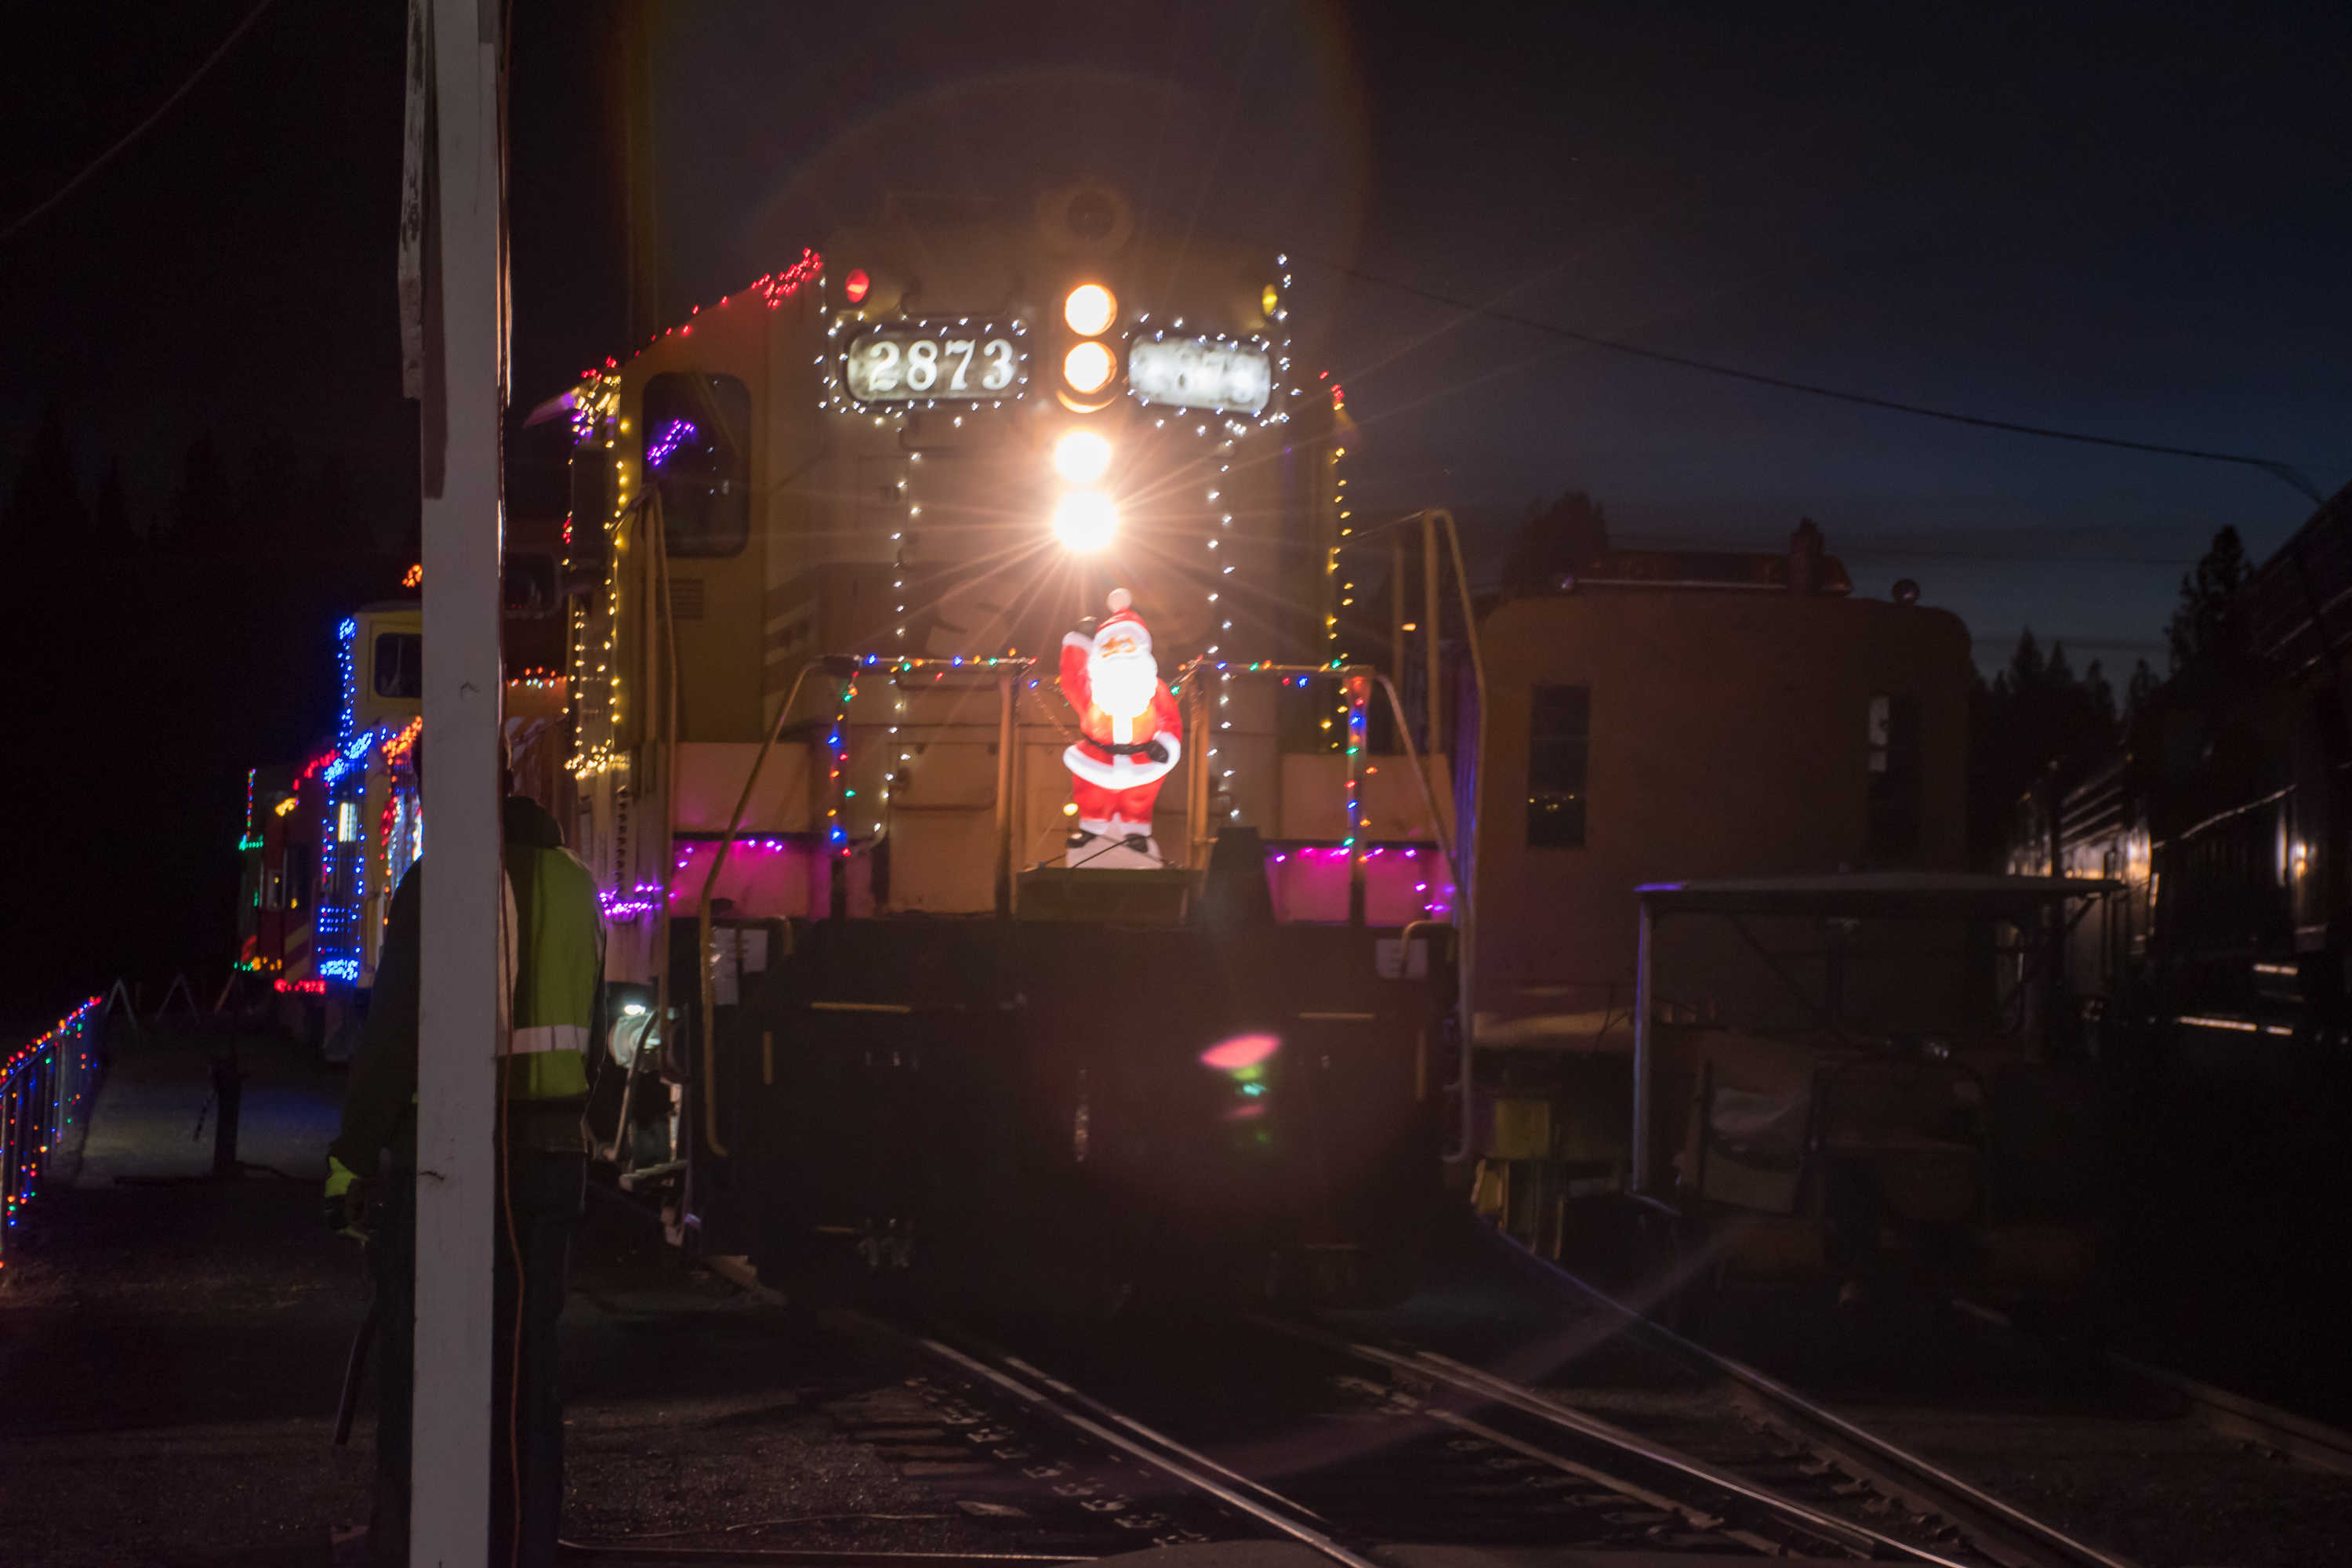
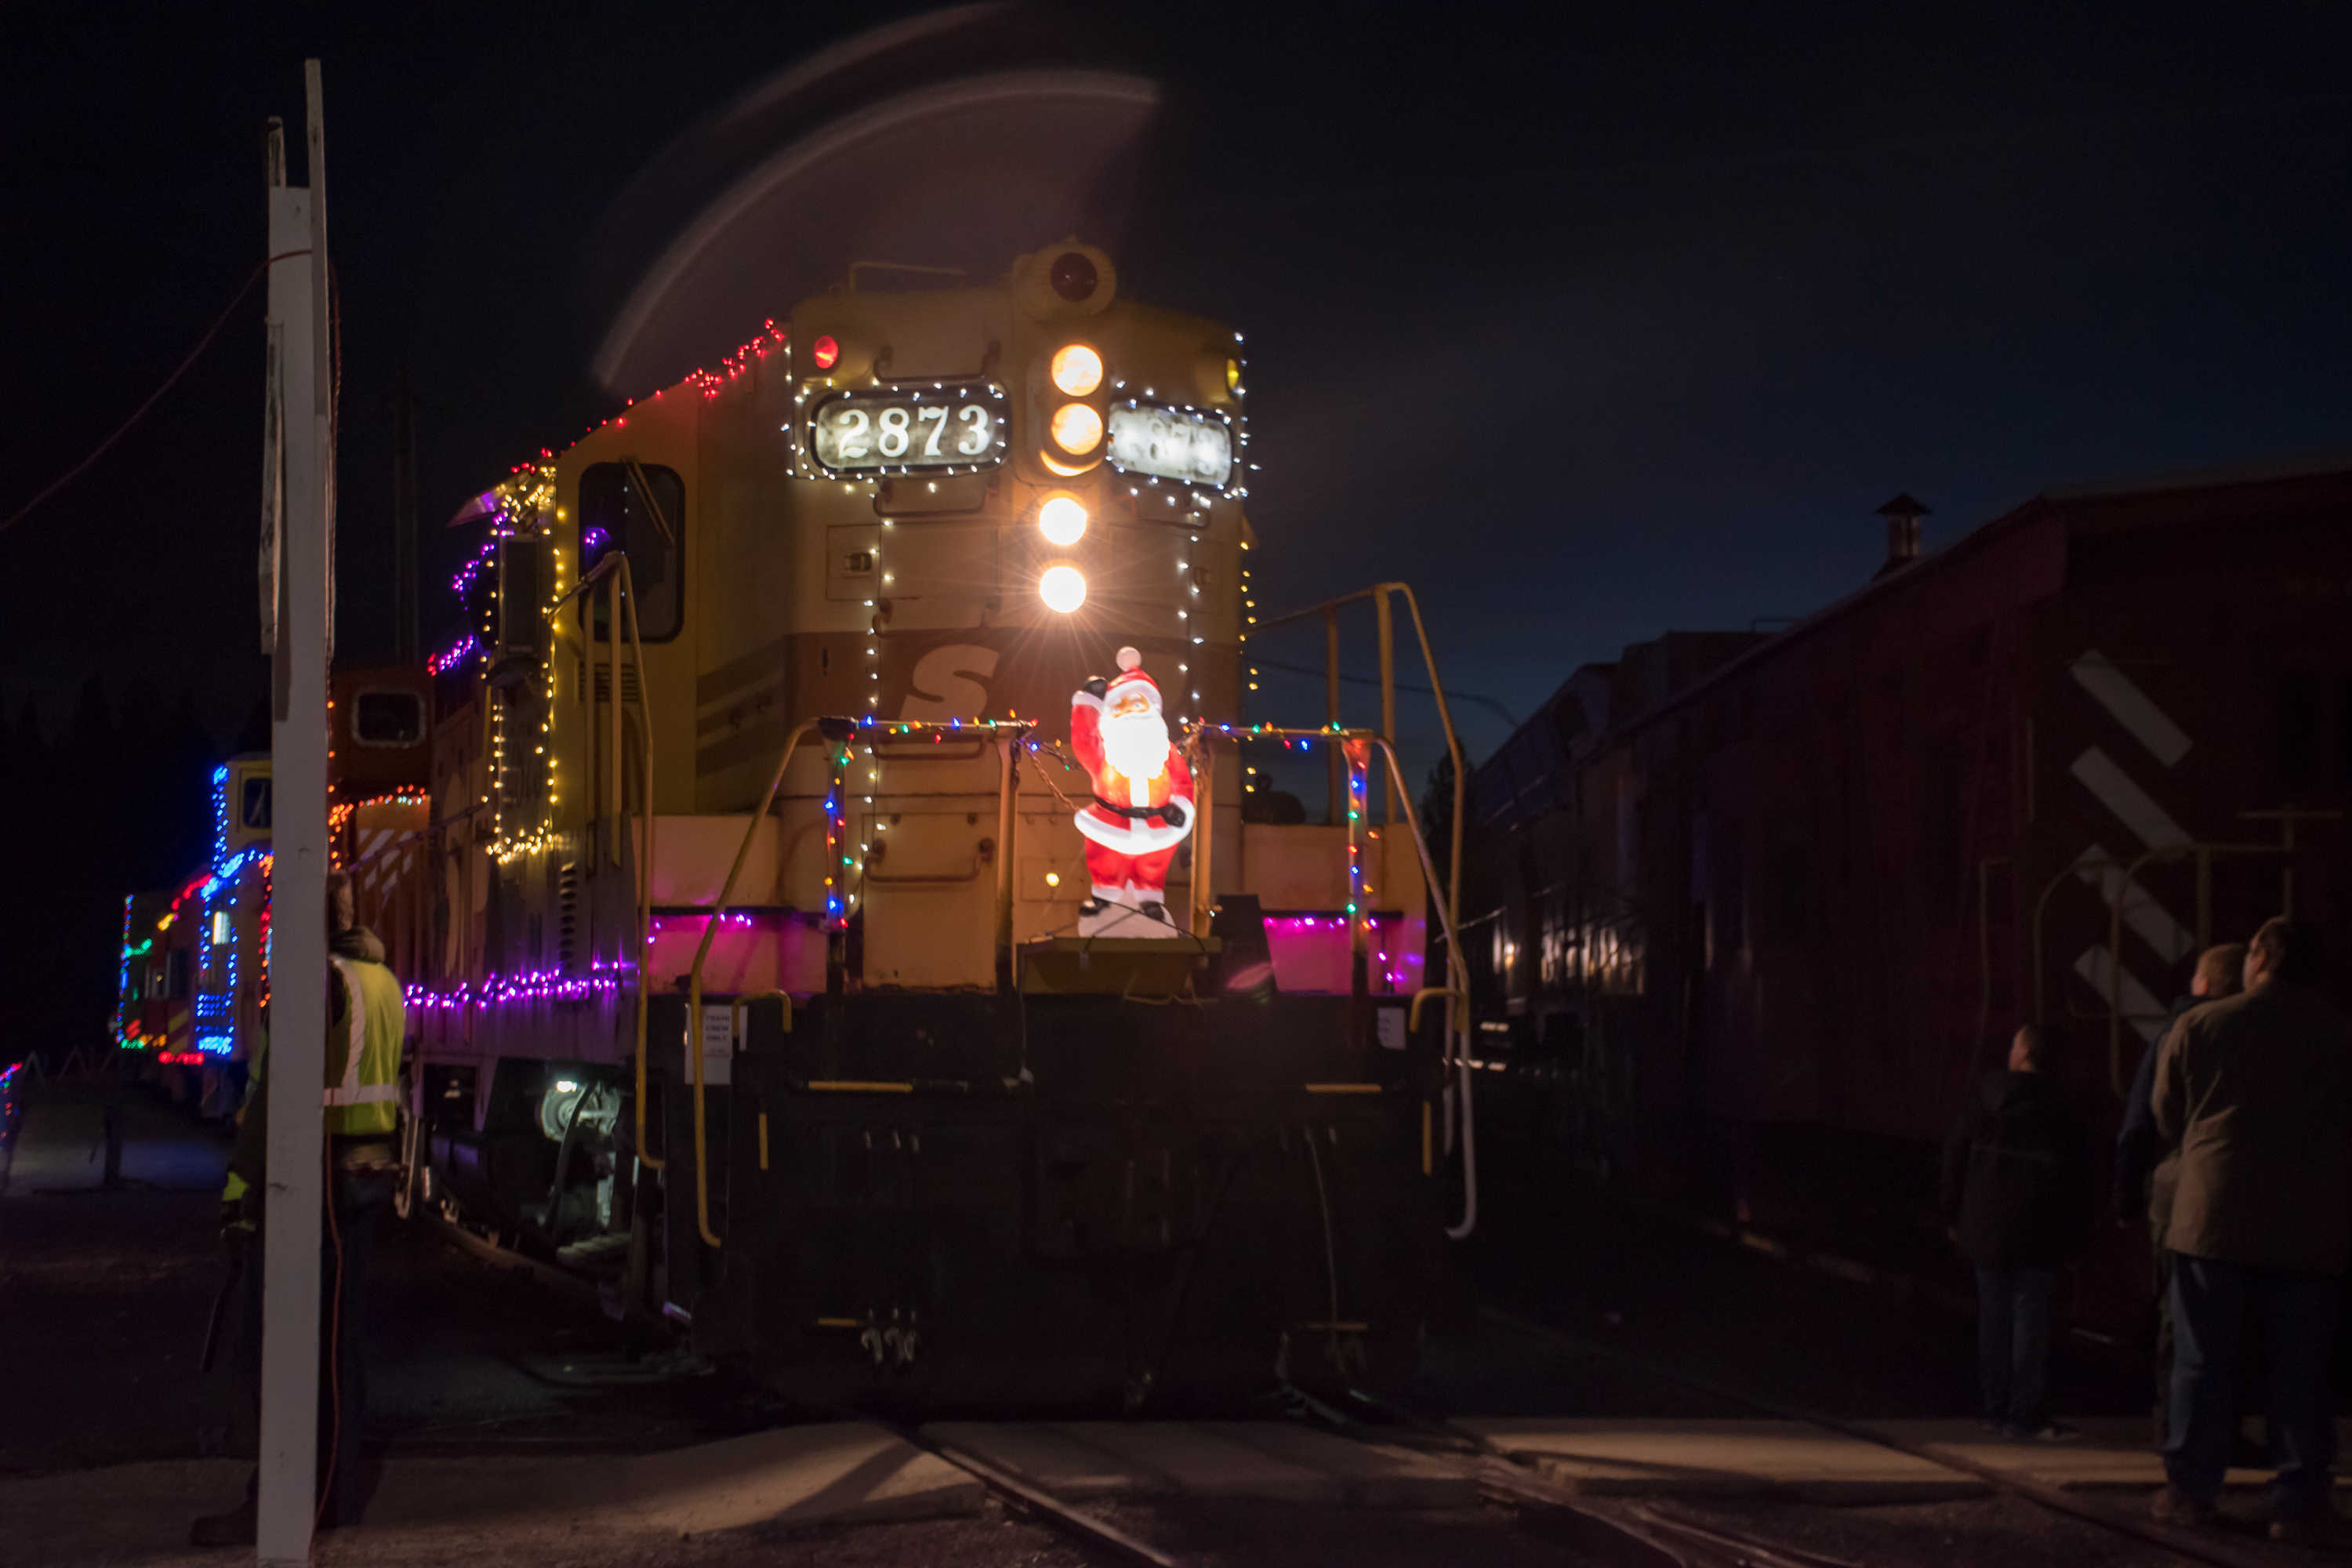
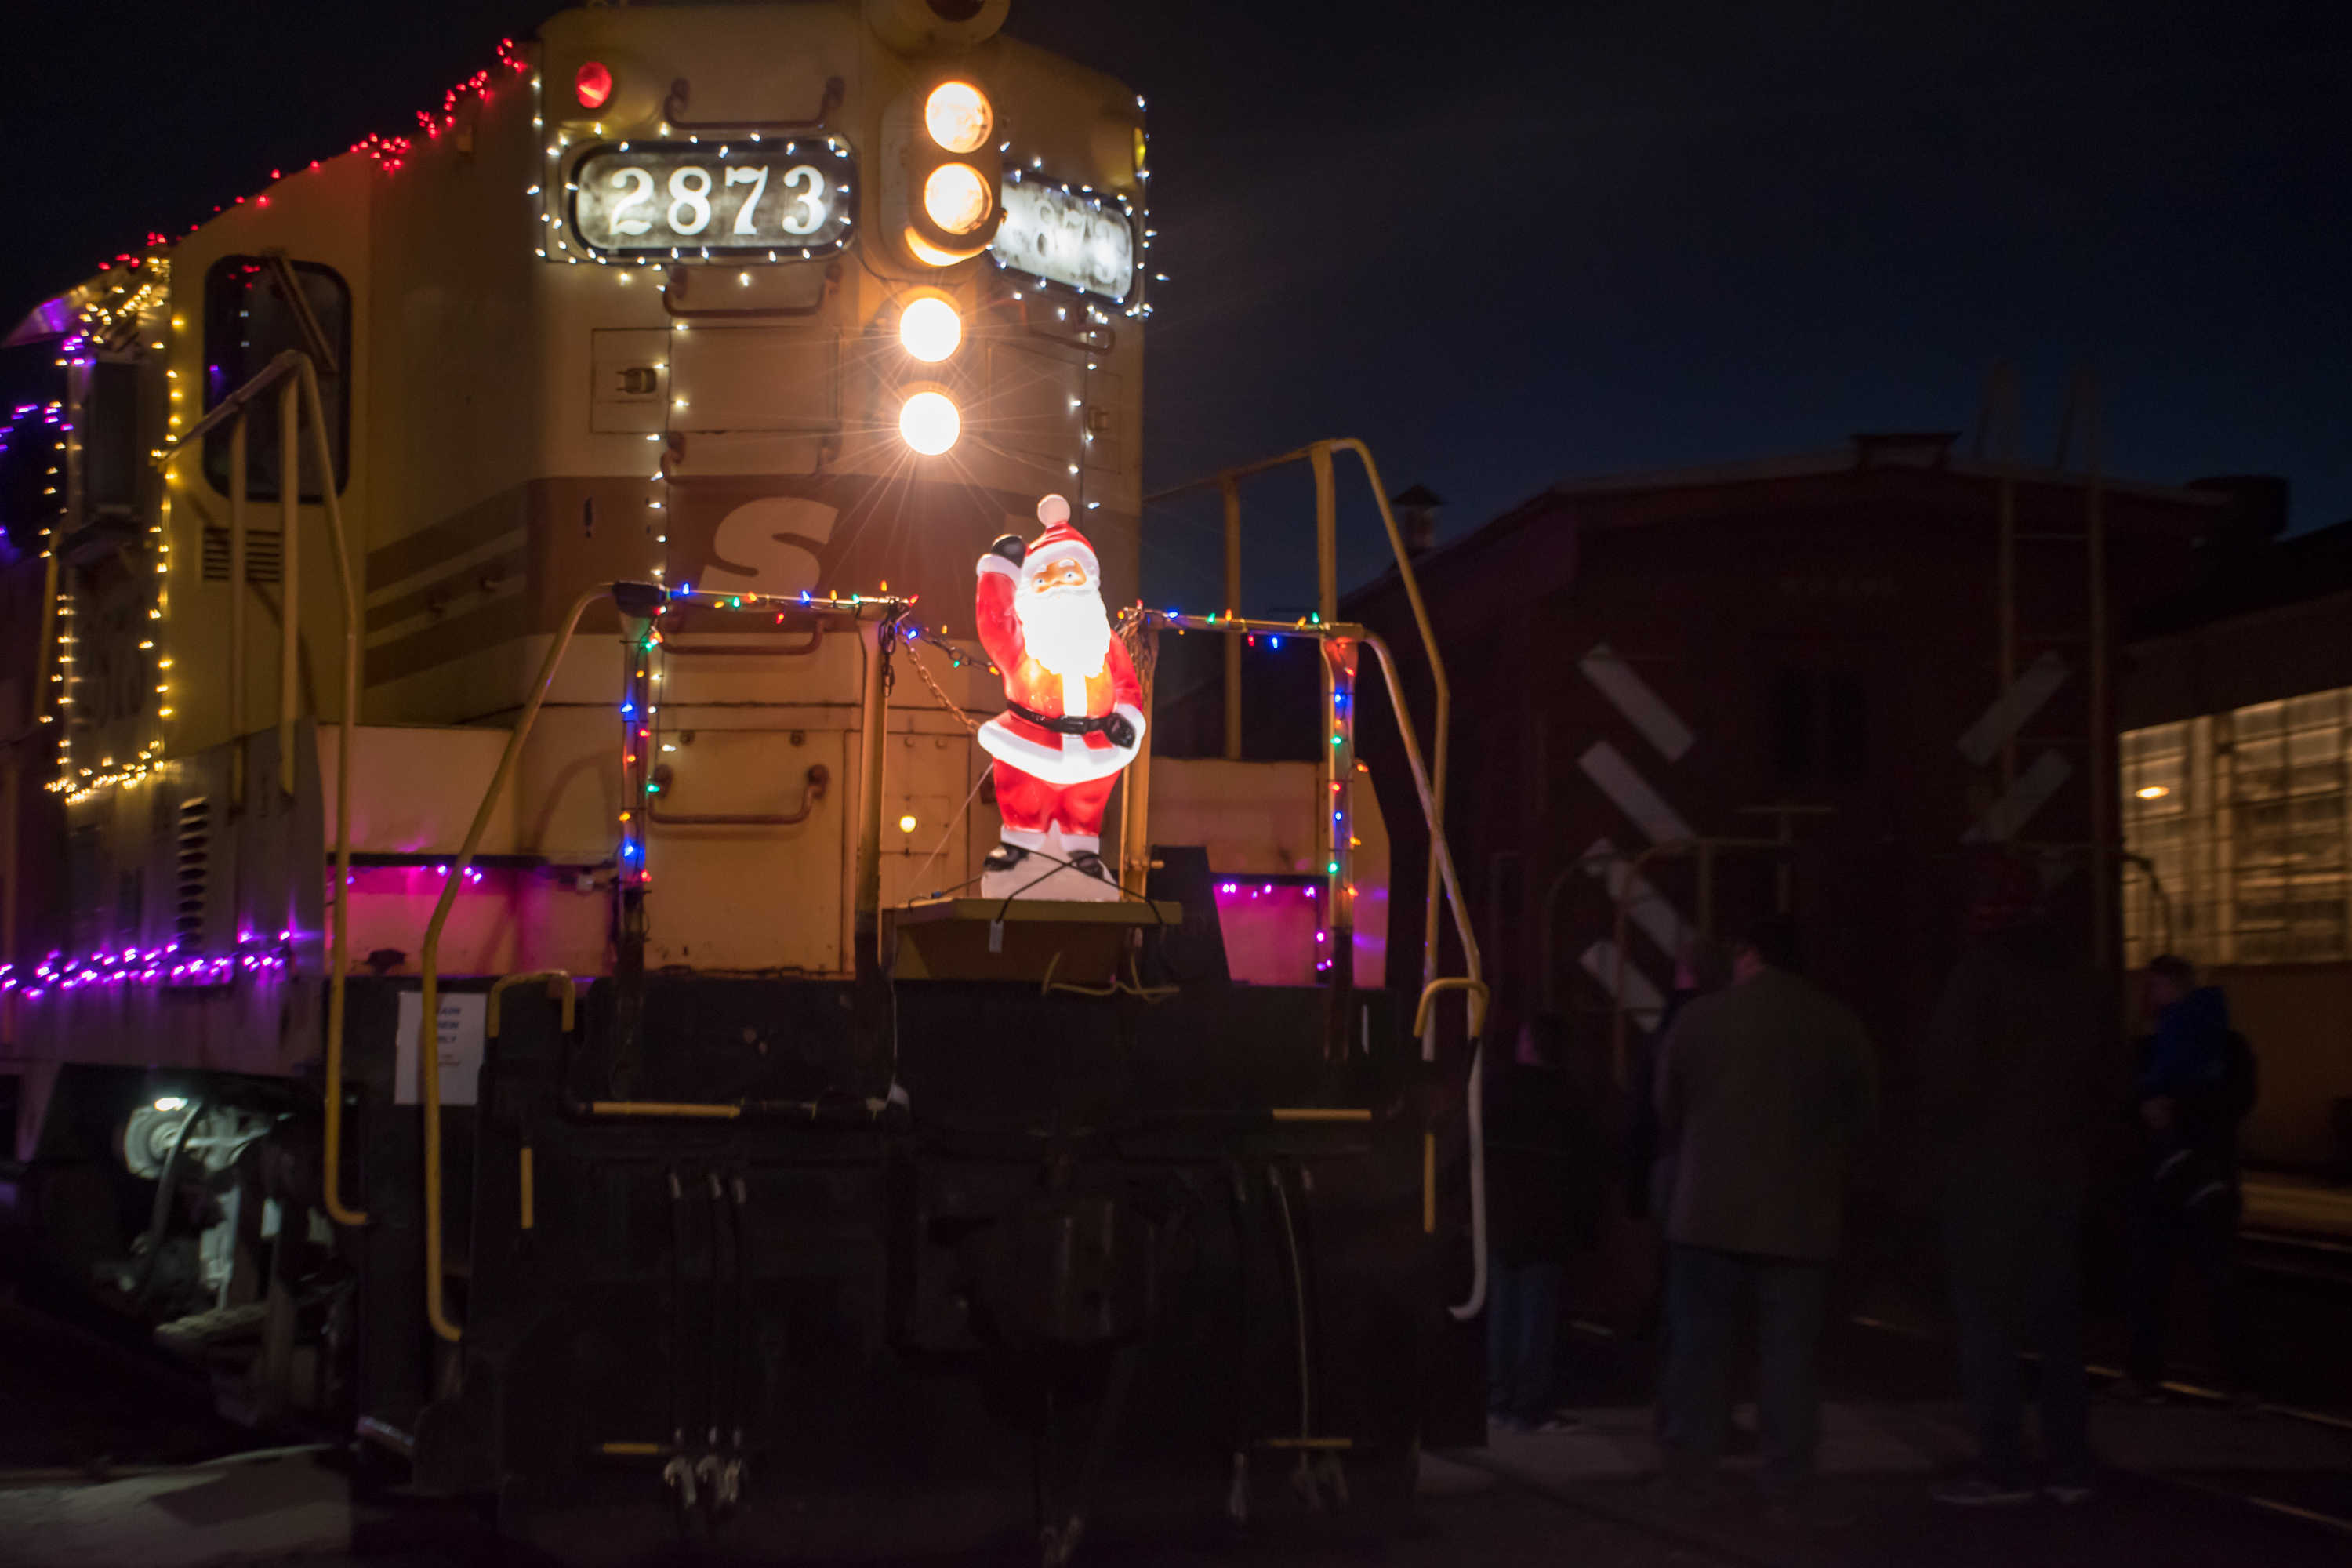
Image number 3 -- SP 2873 all decked out and ready for the next run. - Greg Elems
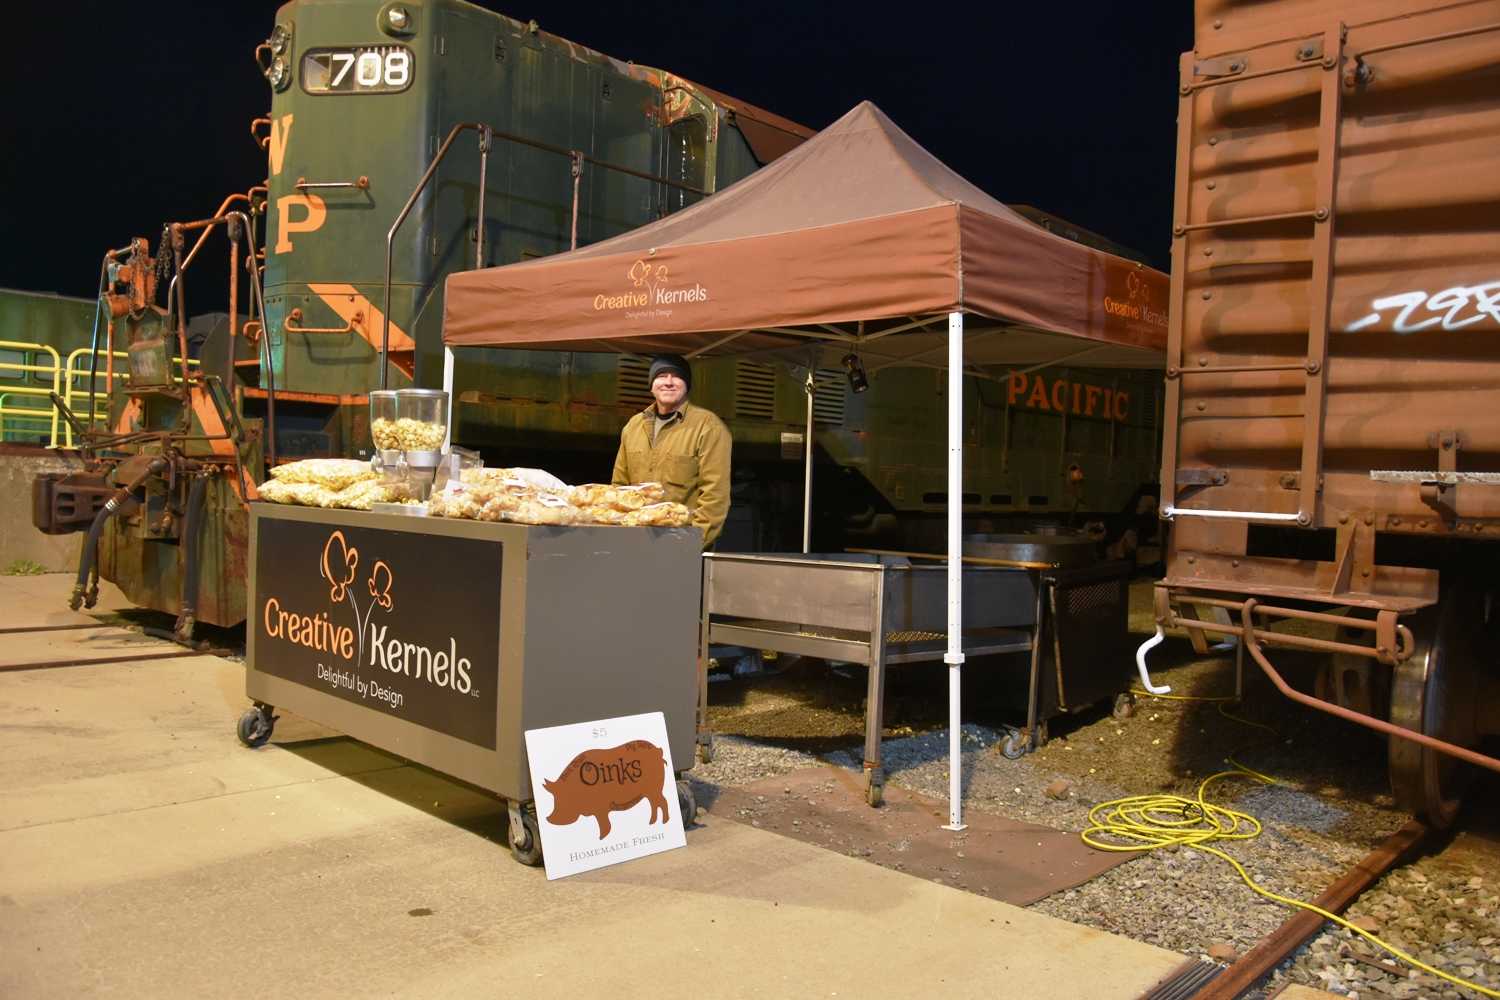
Image number 4 -- Creative Kernels selling candied pop corn. - Greg Elems
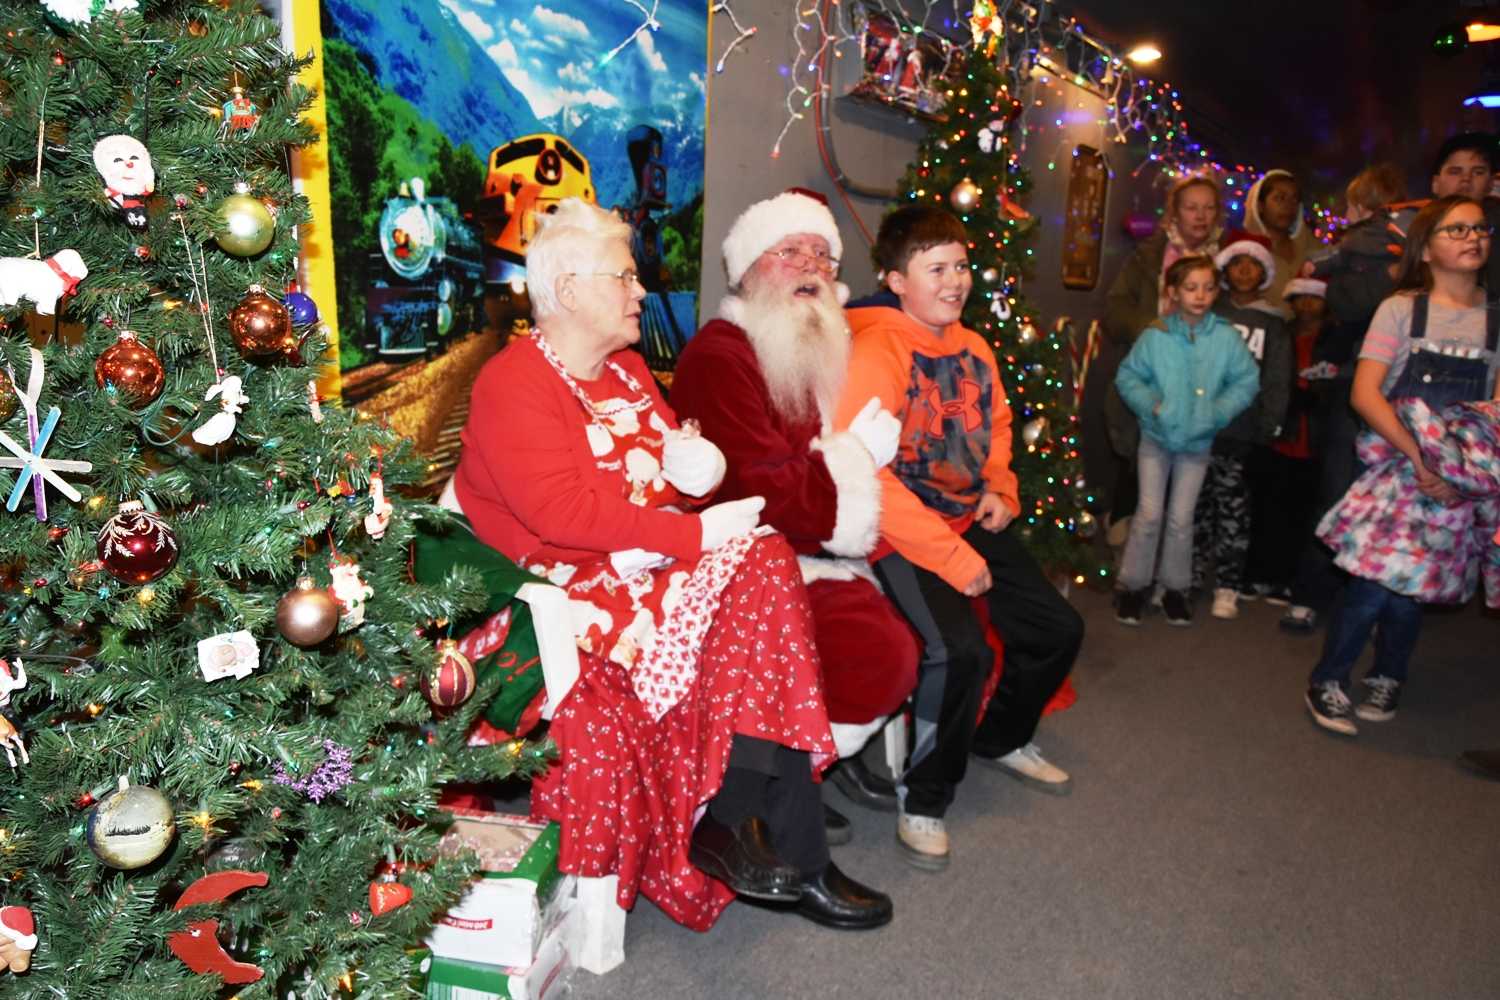
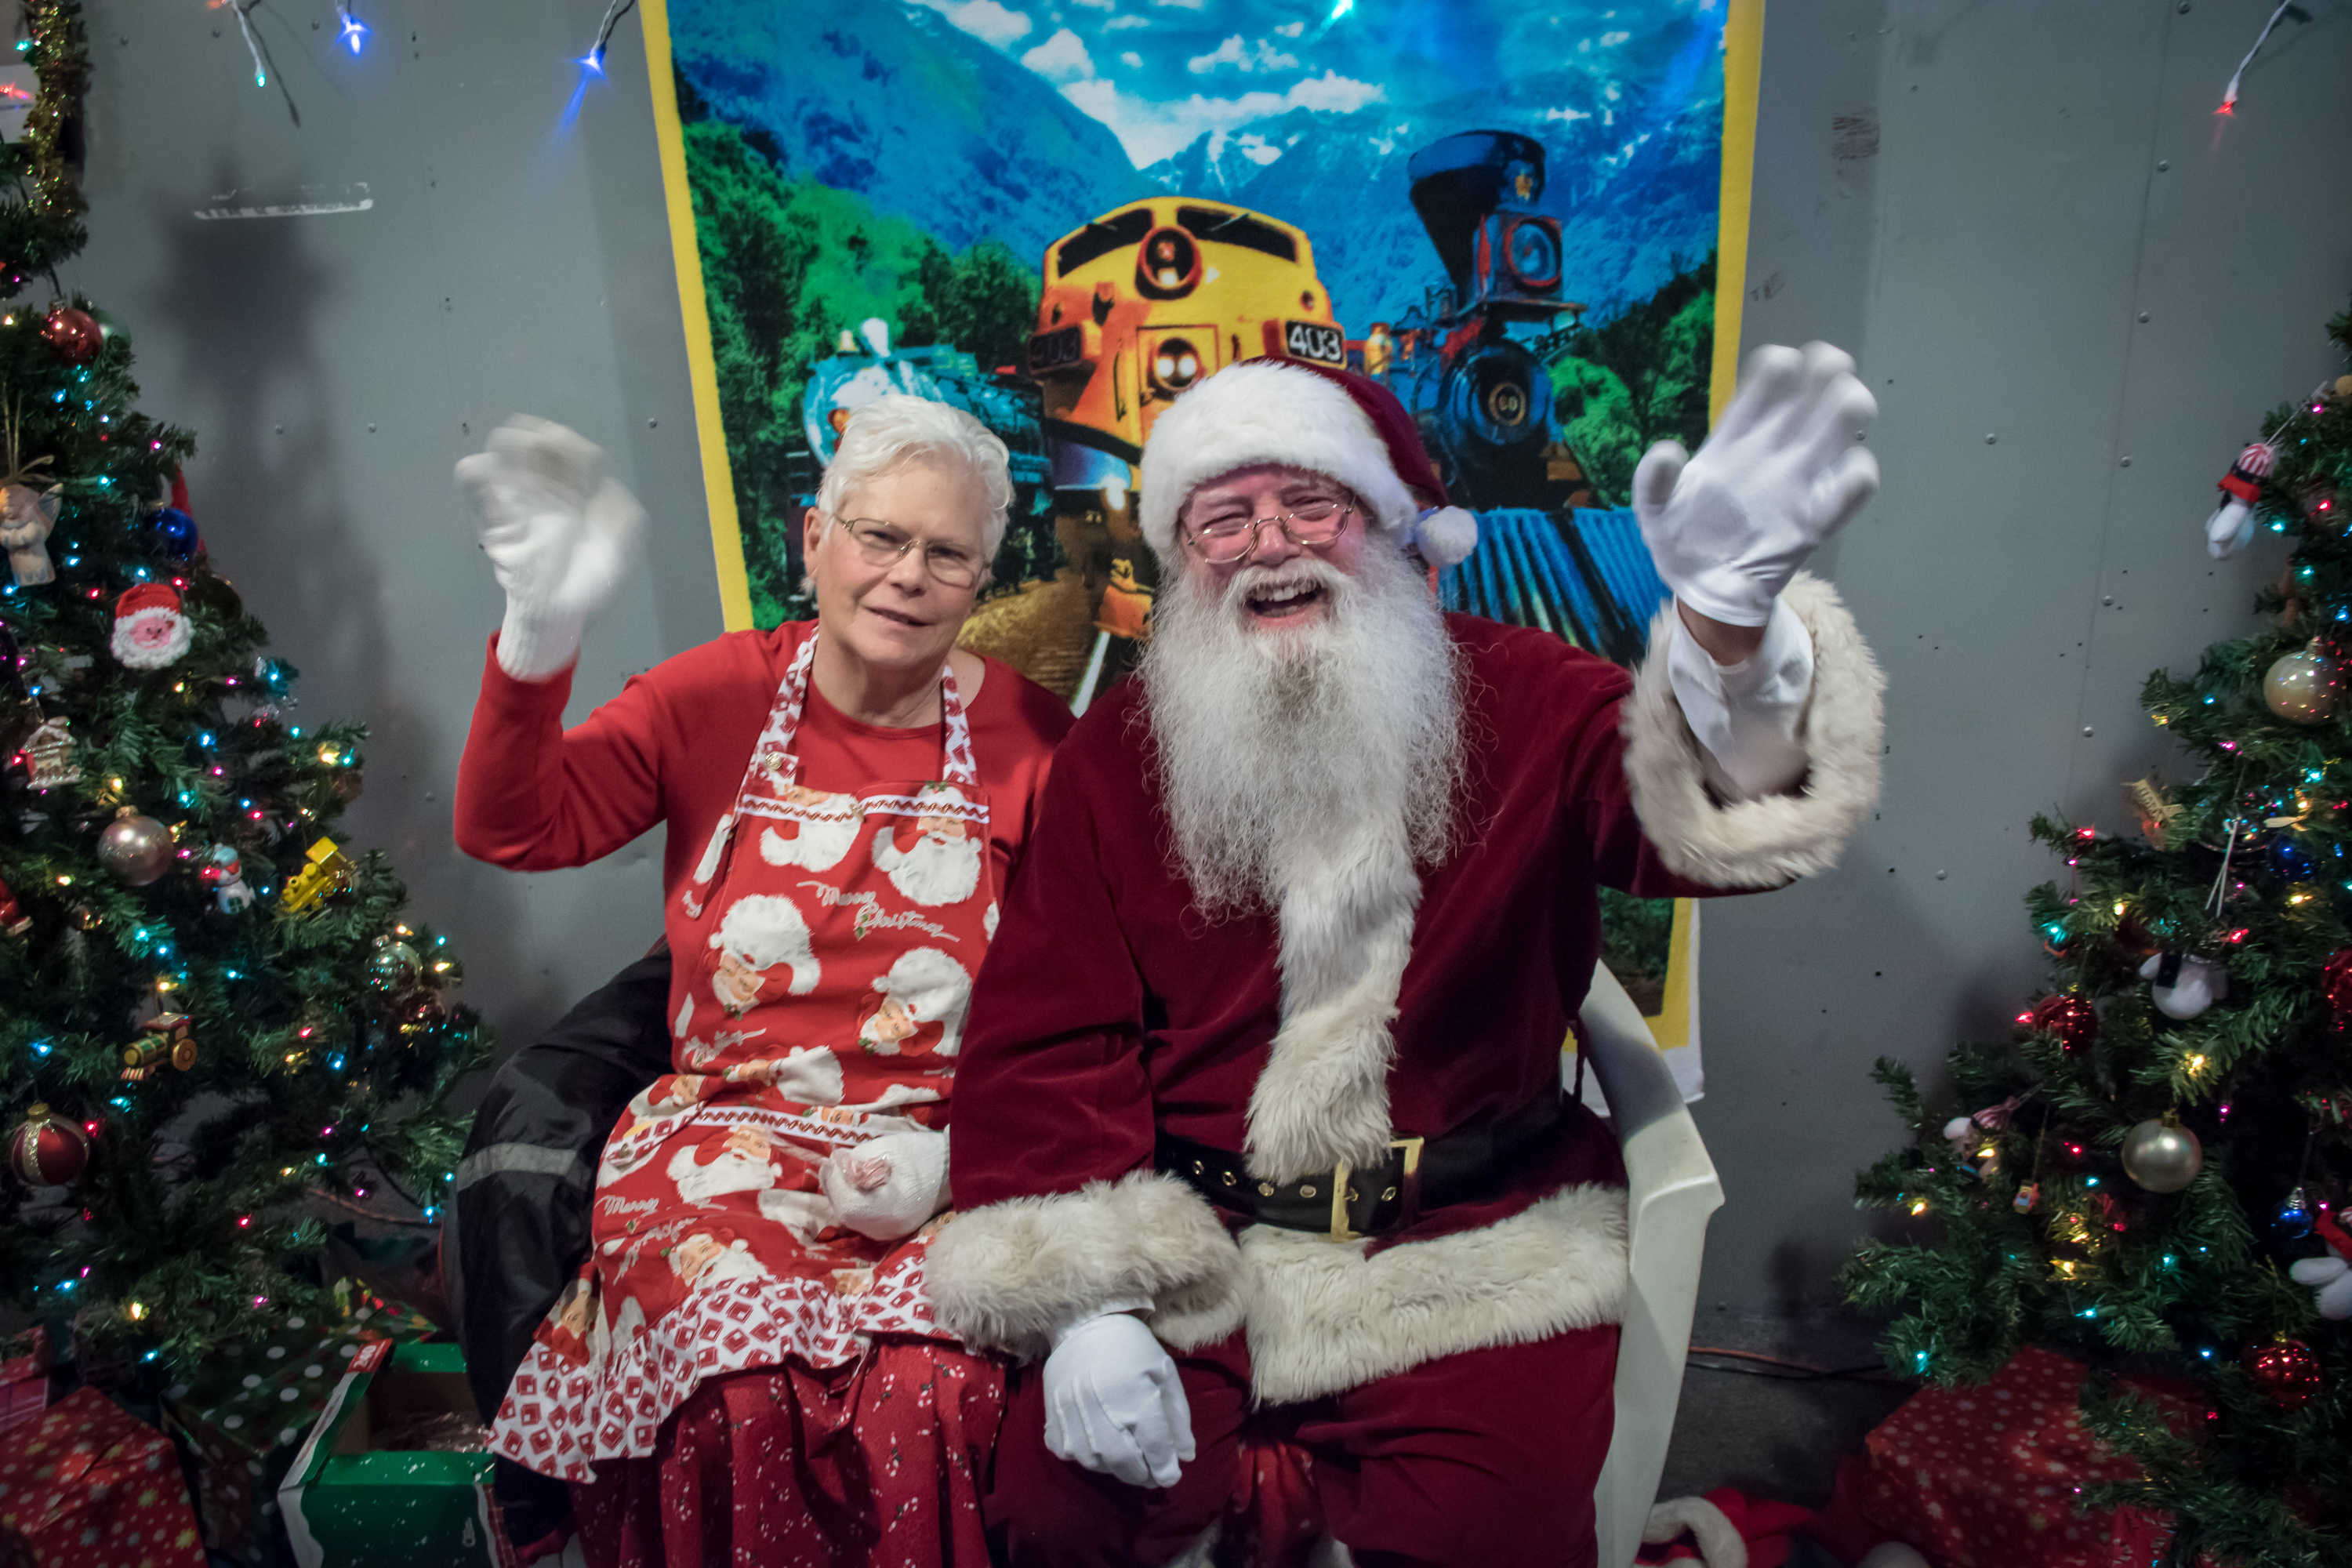
Image number 5 -- Santa and Mrs. Claus busy checking Christmas wish lists. - Greg Elems
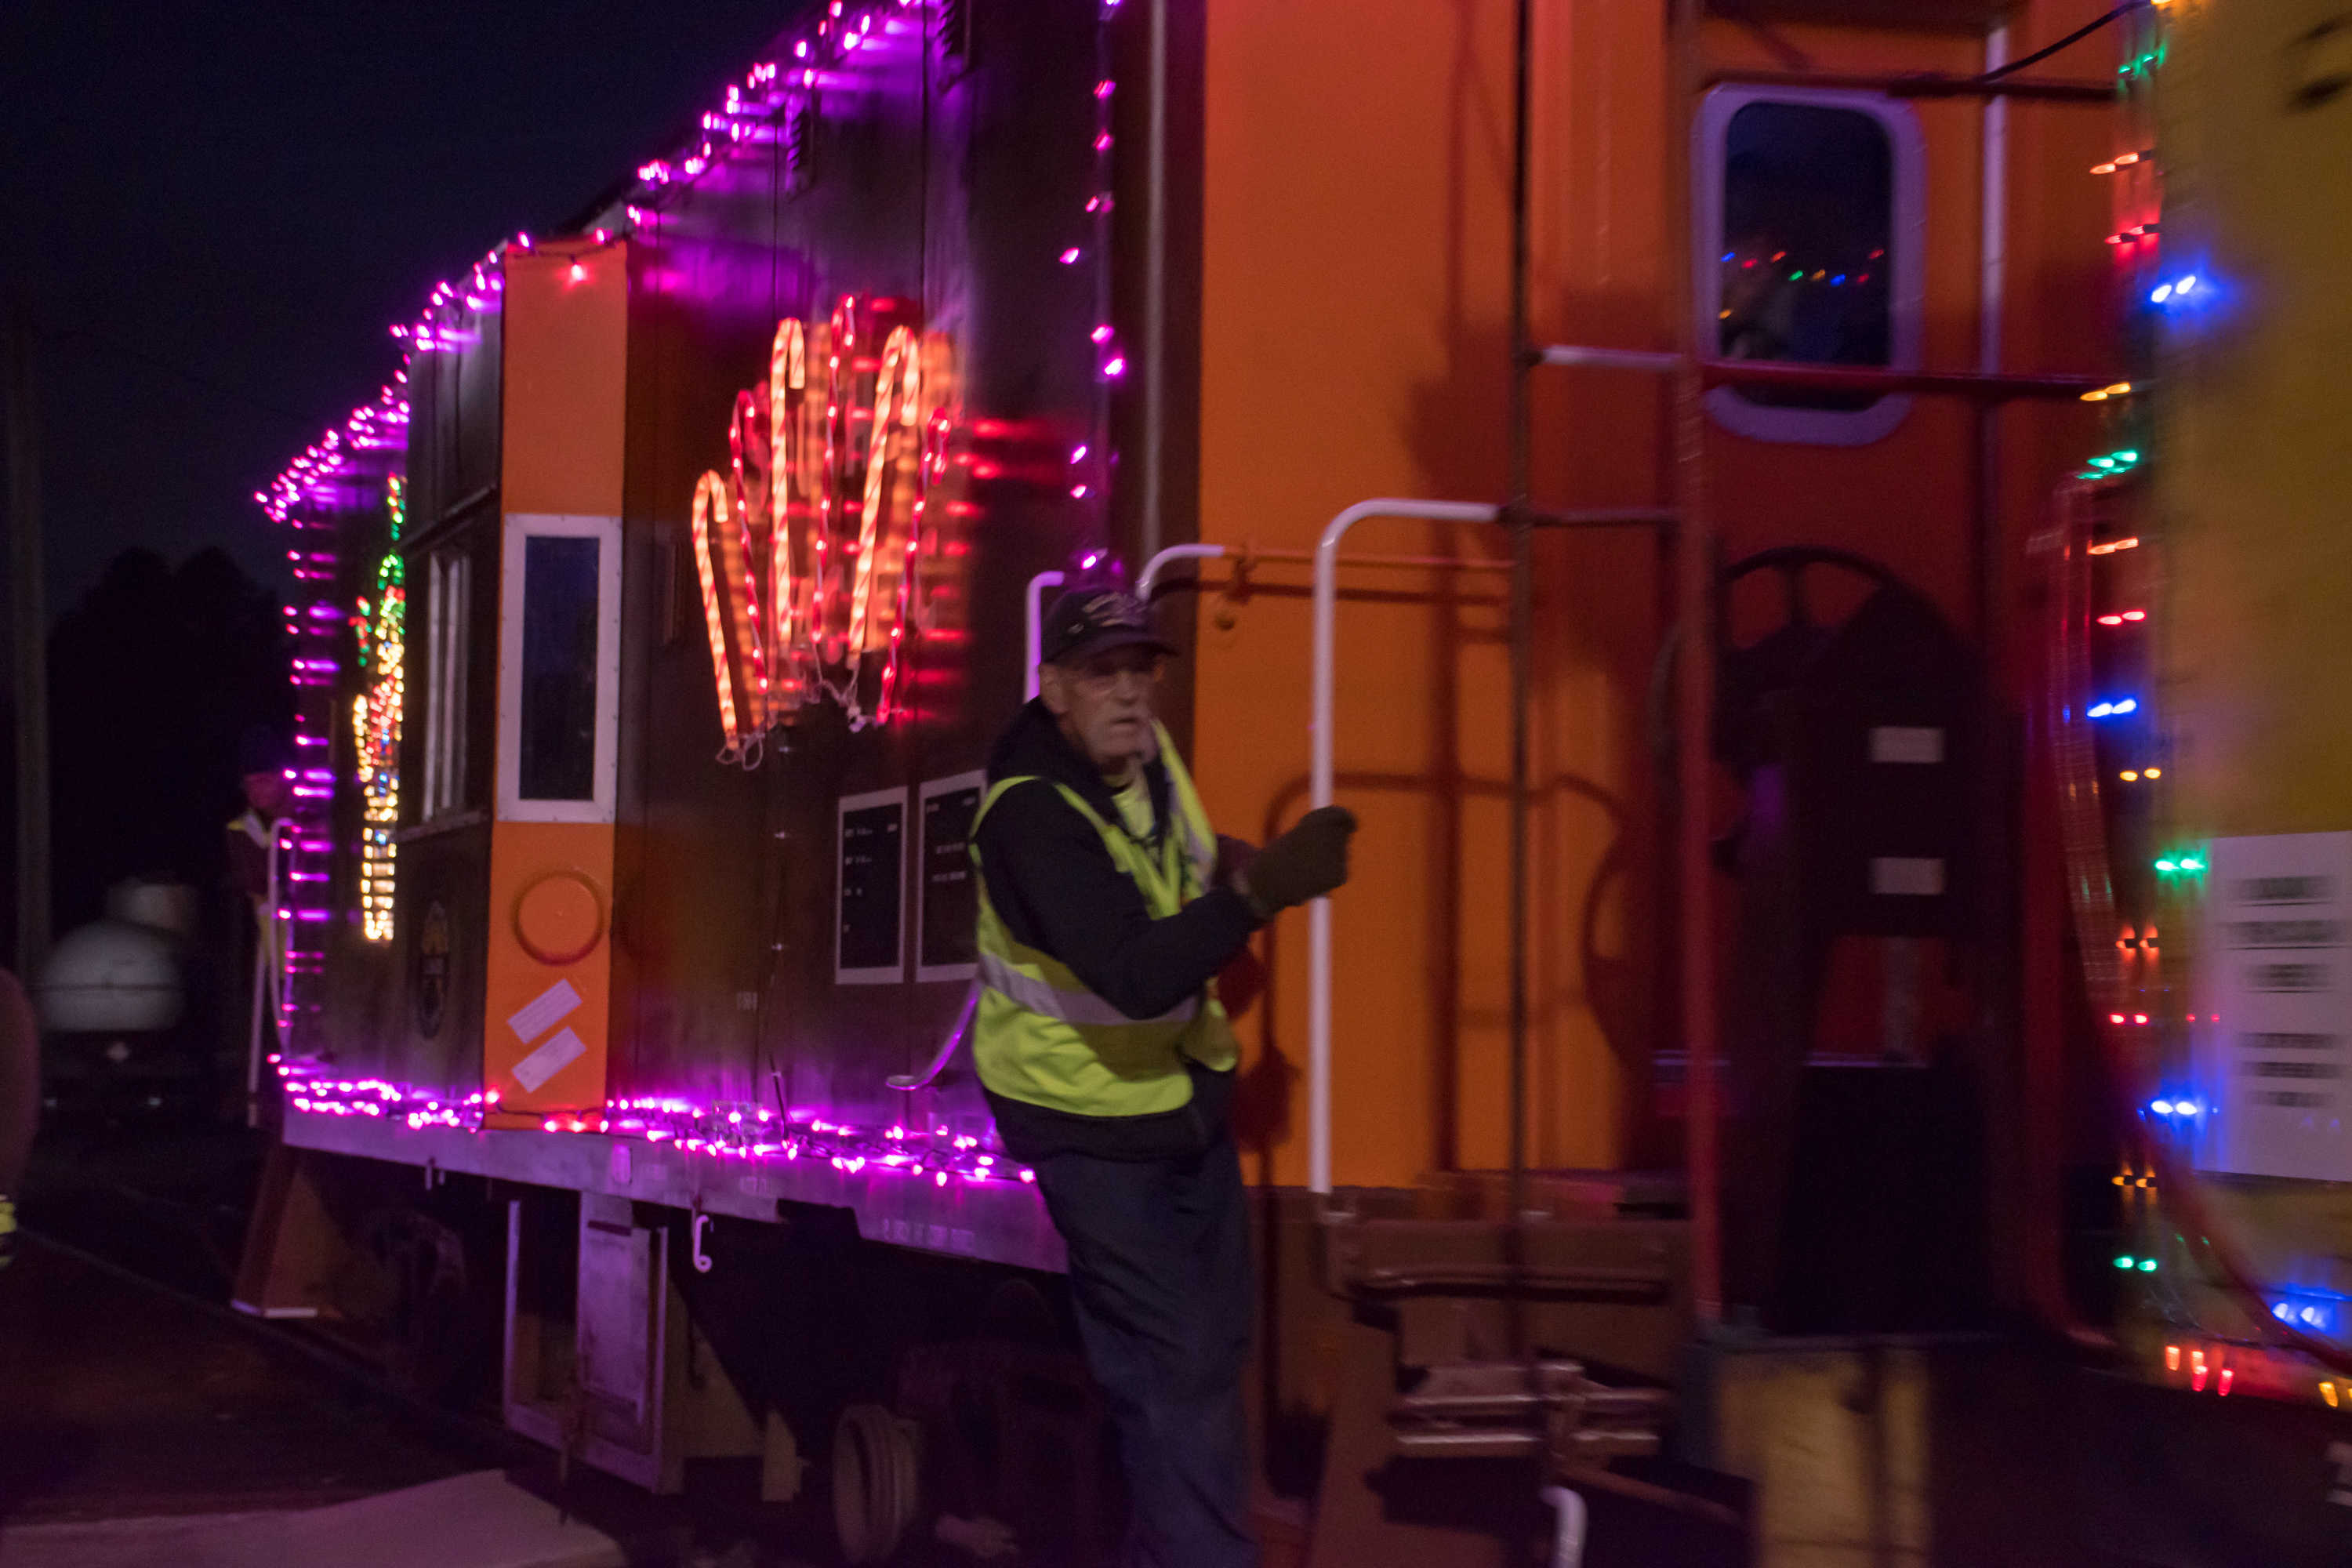
Image number 6 -- Loren Ross relaxing between trains protecting the pedestrian crossing. - Greg Elems
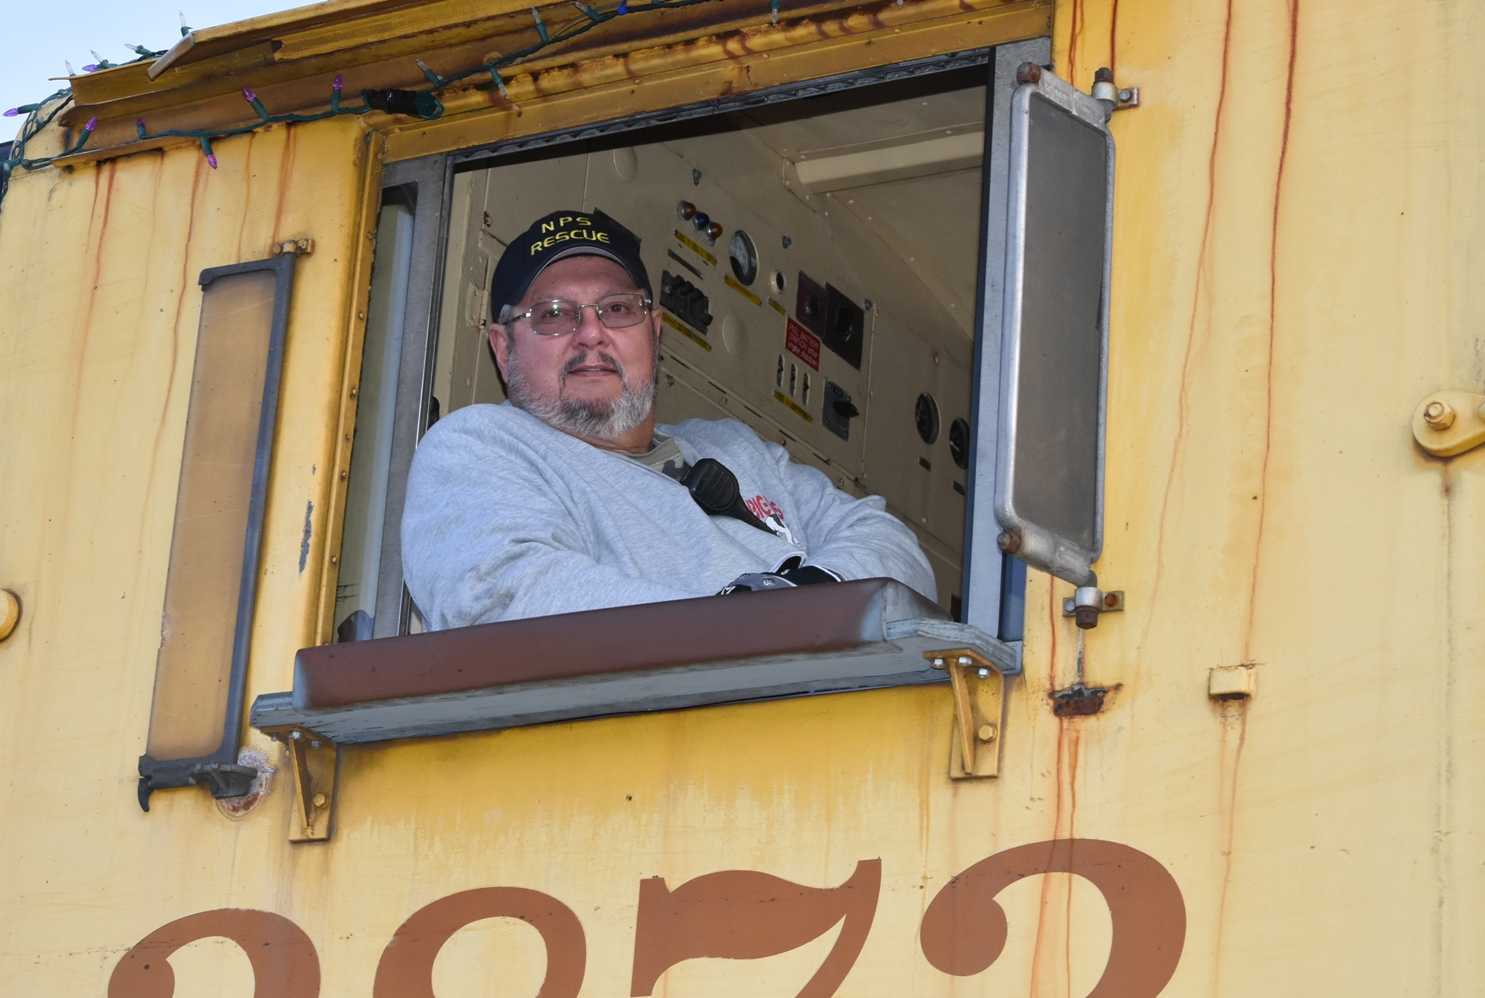
Image number 7 -- Loren Ross, engineer for the evening, waiting for the first run of the night. - Greg Elems
Image number 8 -- Quiet before the storm, so to speak. Steve Habeck, Eddie Powell, David Elems, Eugene Vicknair and Fred Elenbaas. - Greg Elems
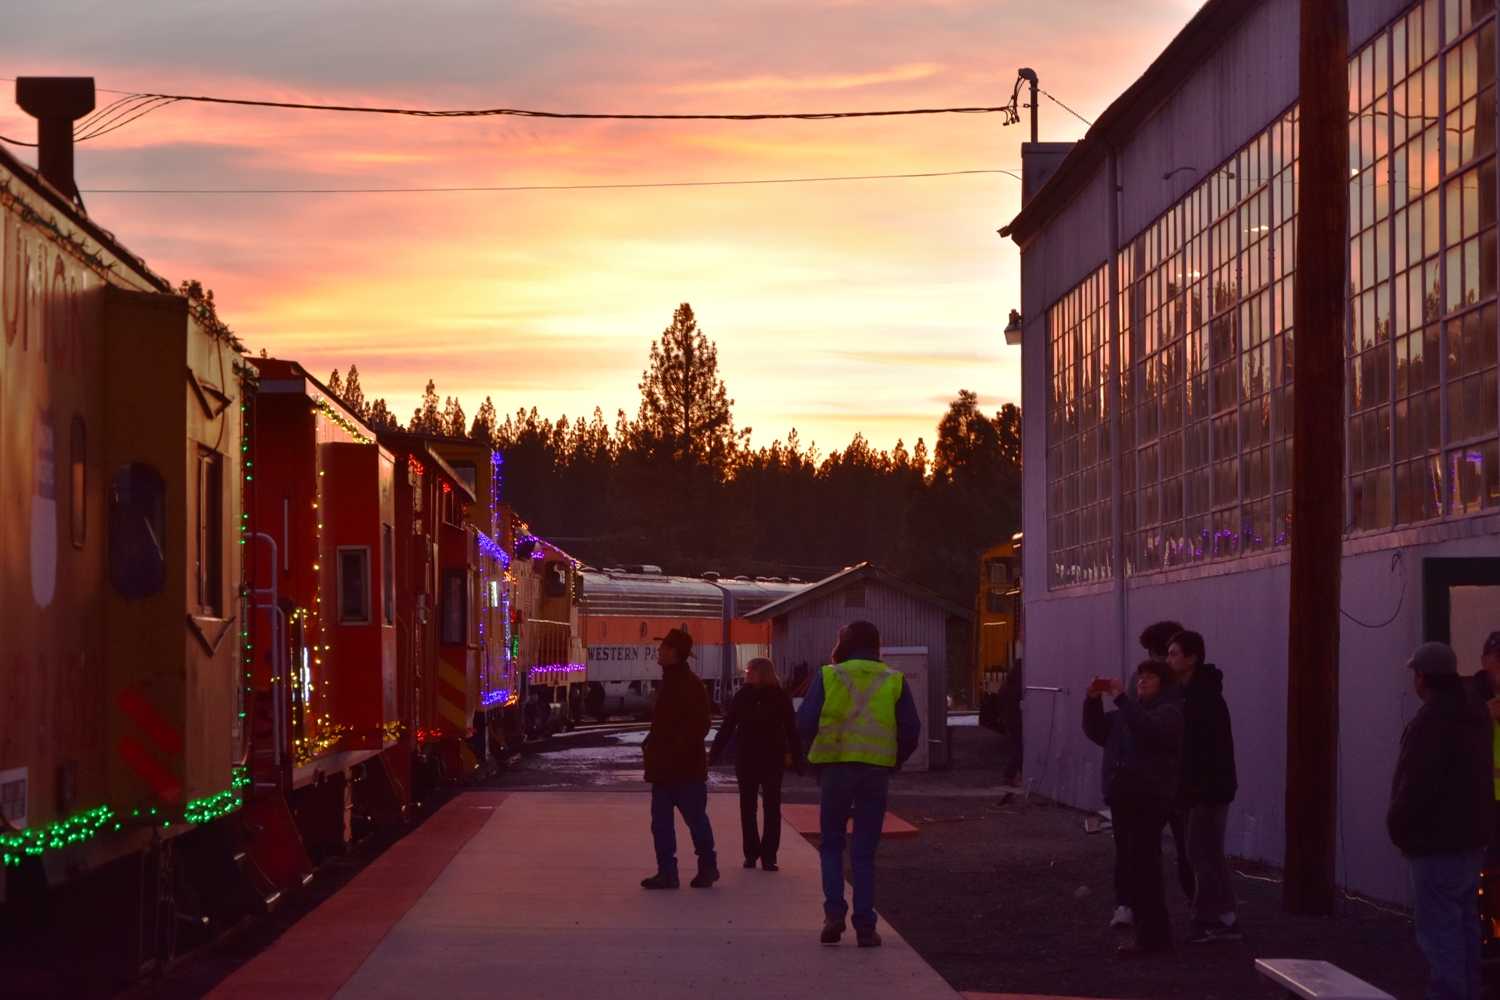
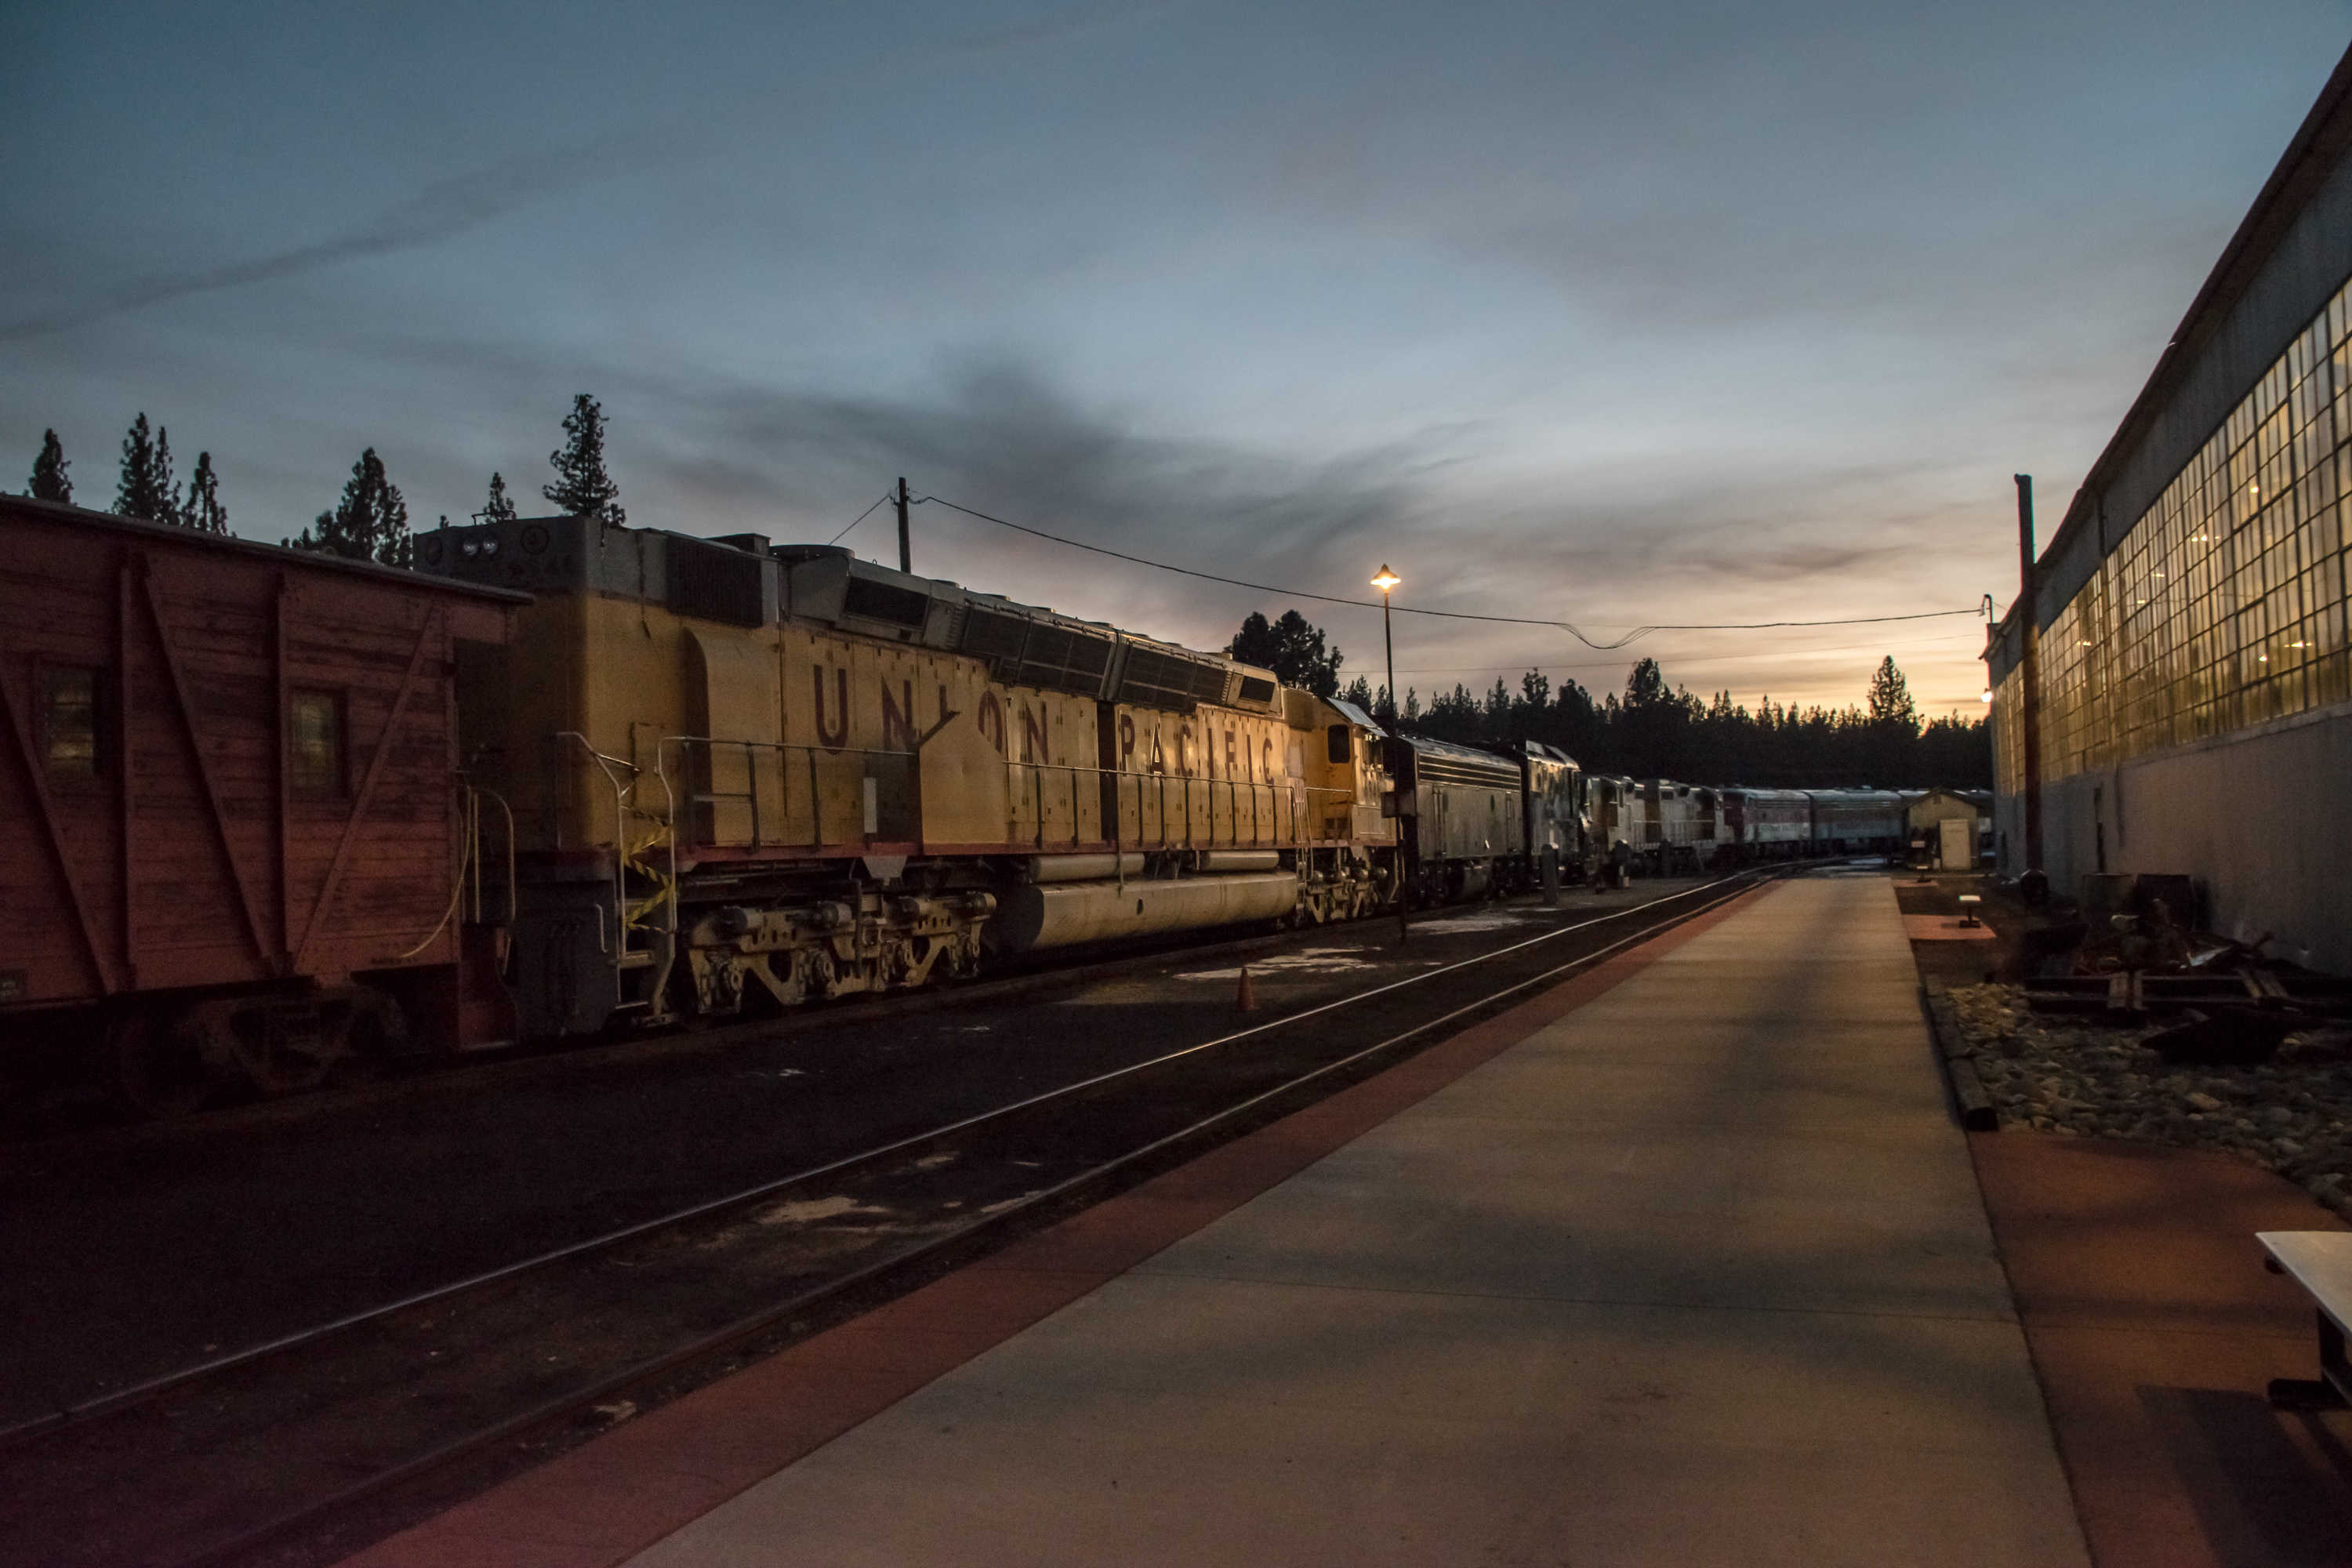
Image number 9 -- An awesome sunset to start the night out. - Greg Elems
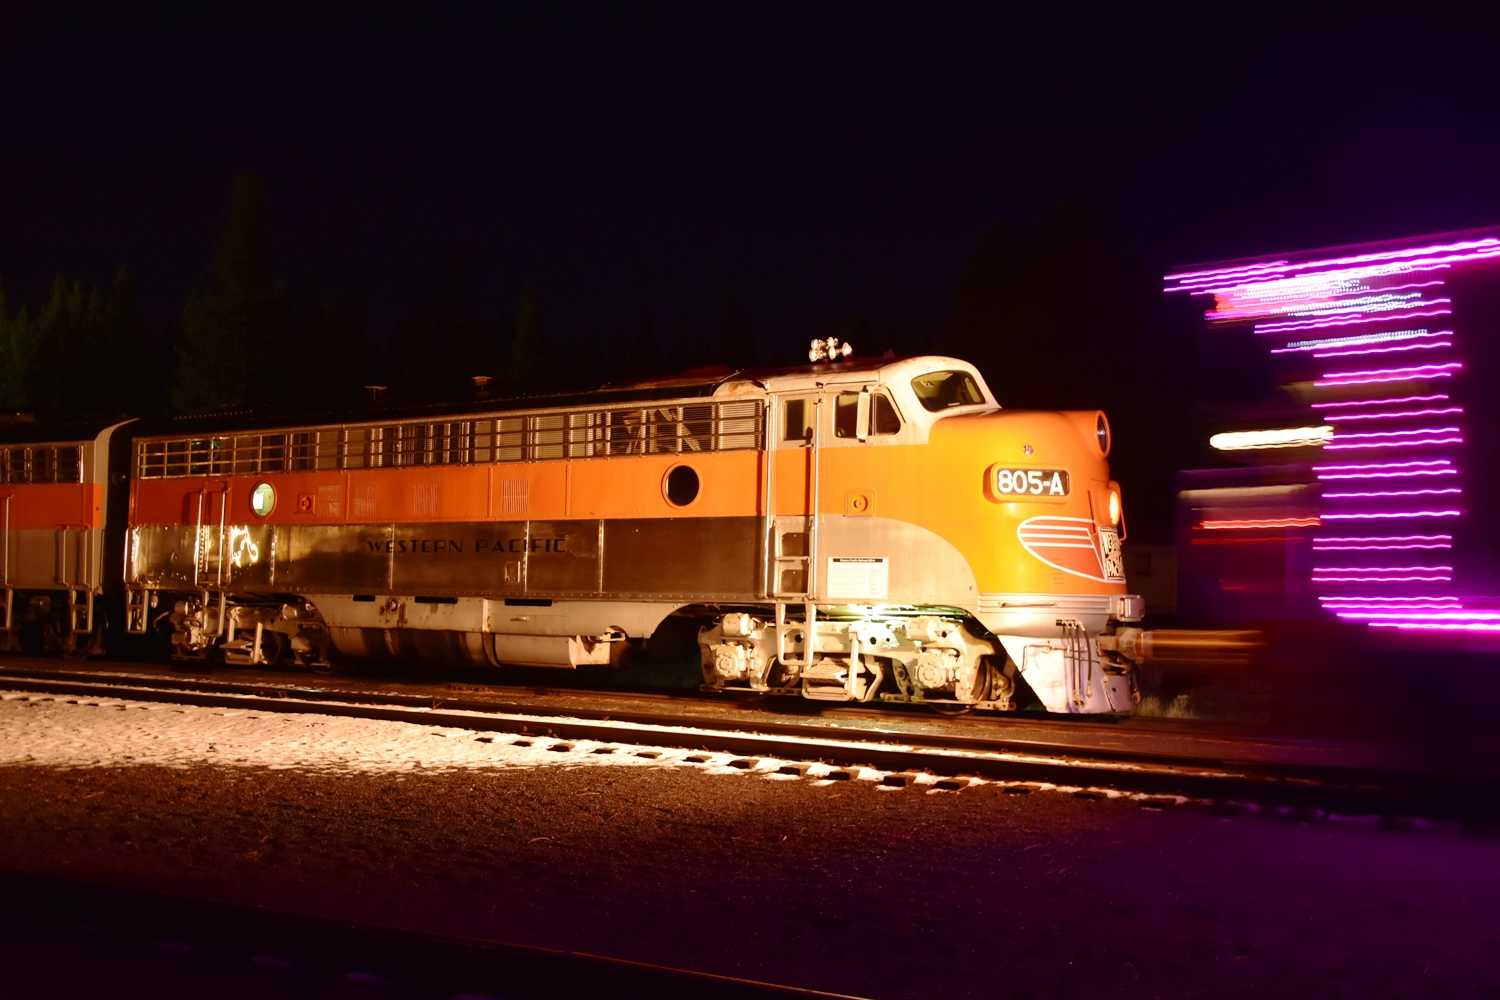
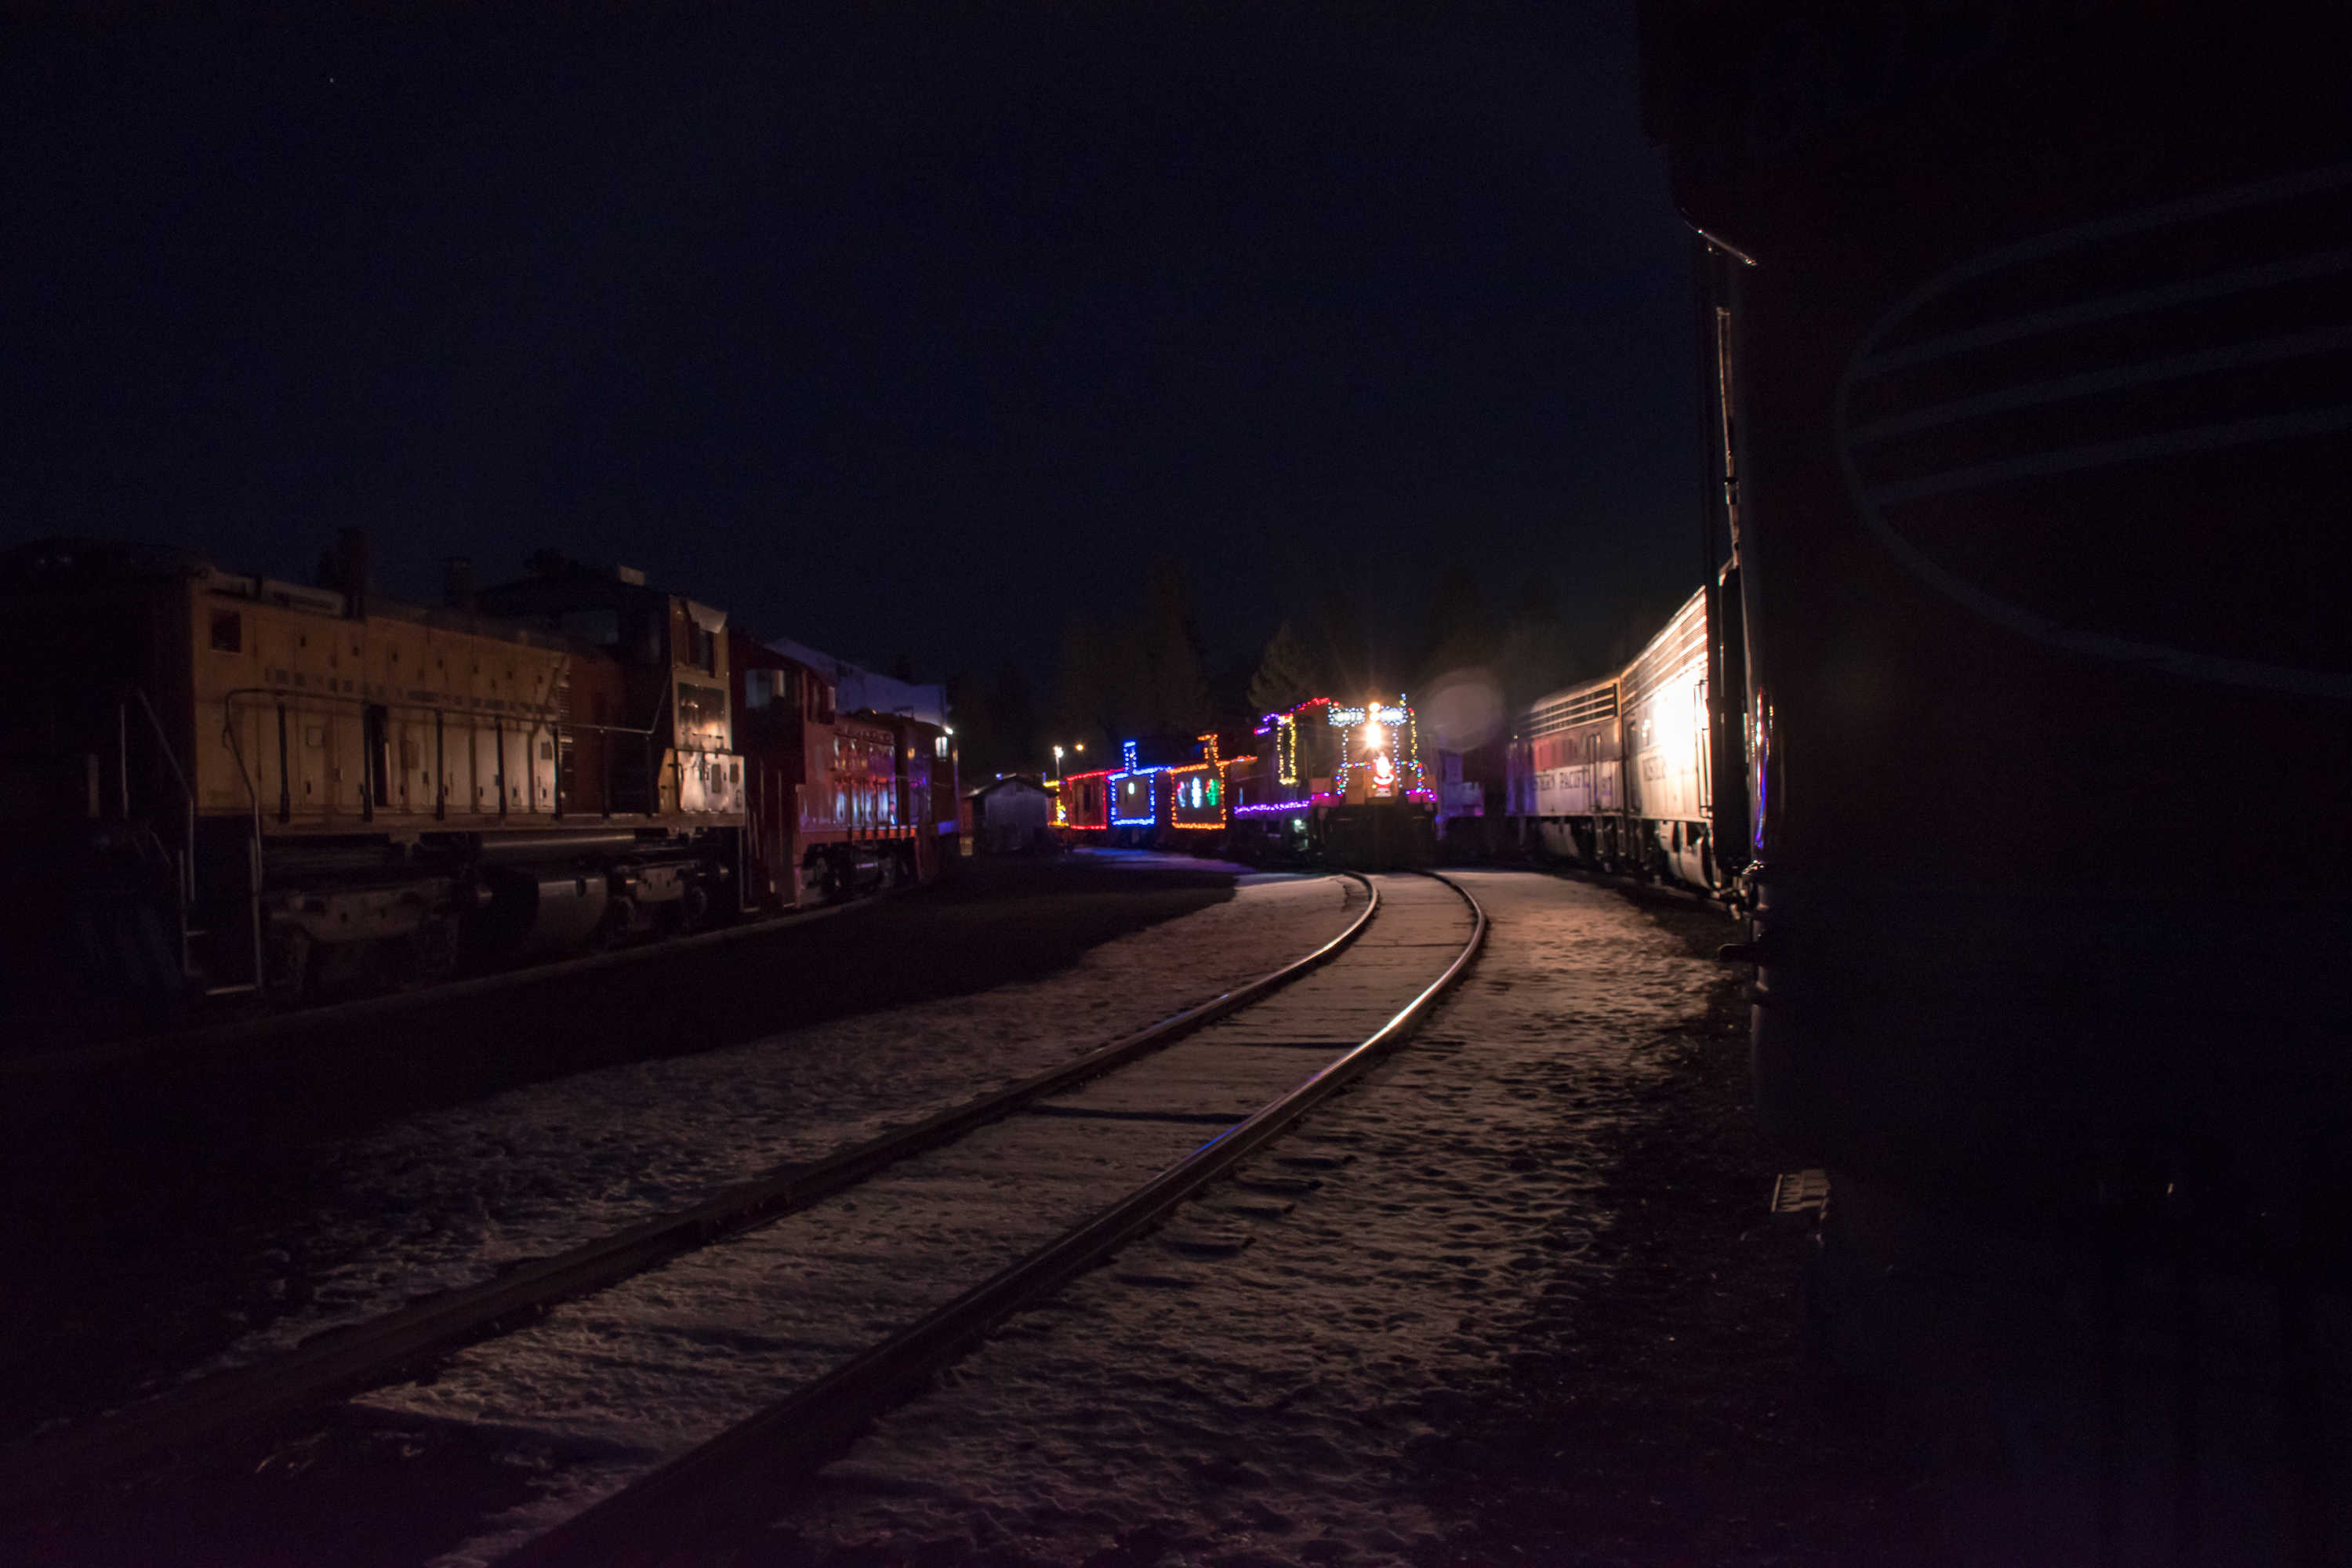
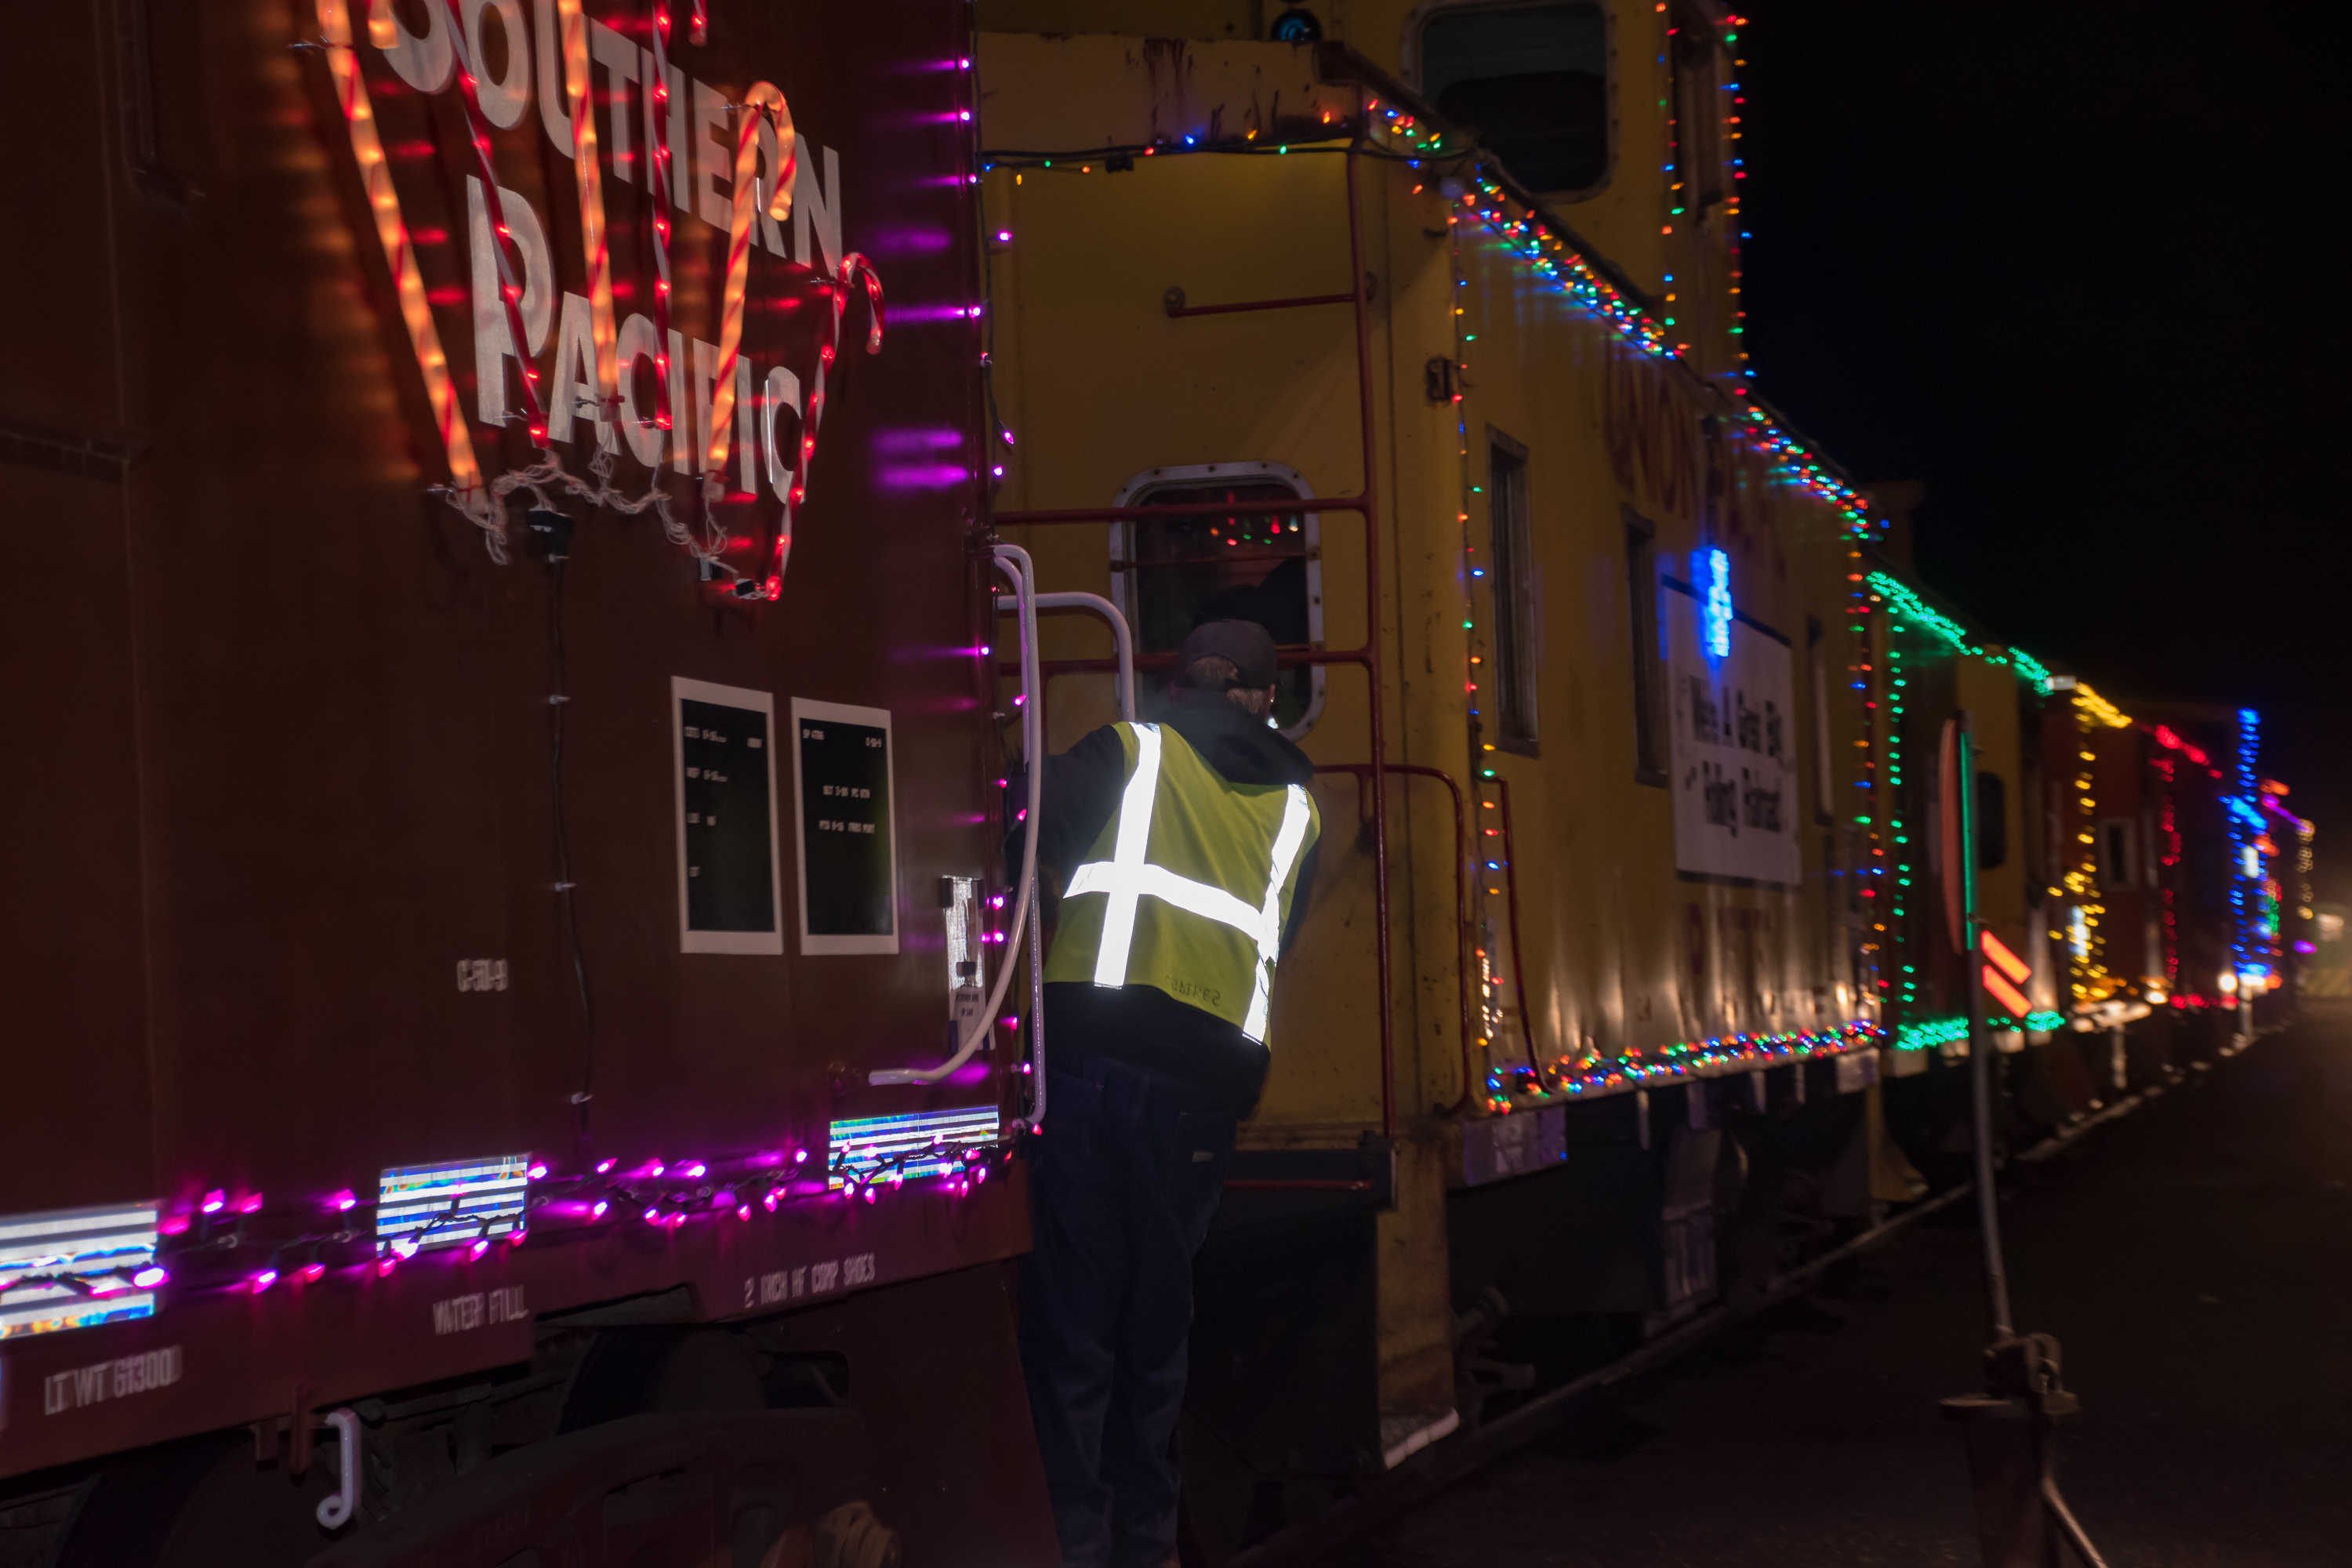
Image number 10 -- Caboose train shoving back to the platform past 805-A. - Greg Elems
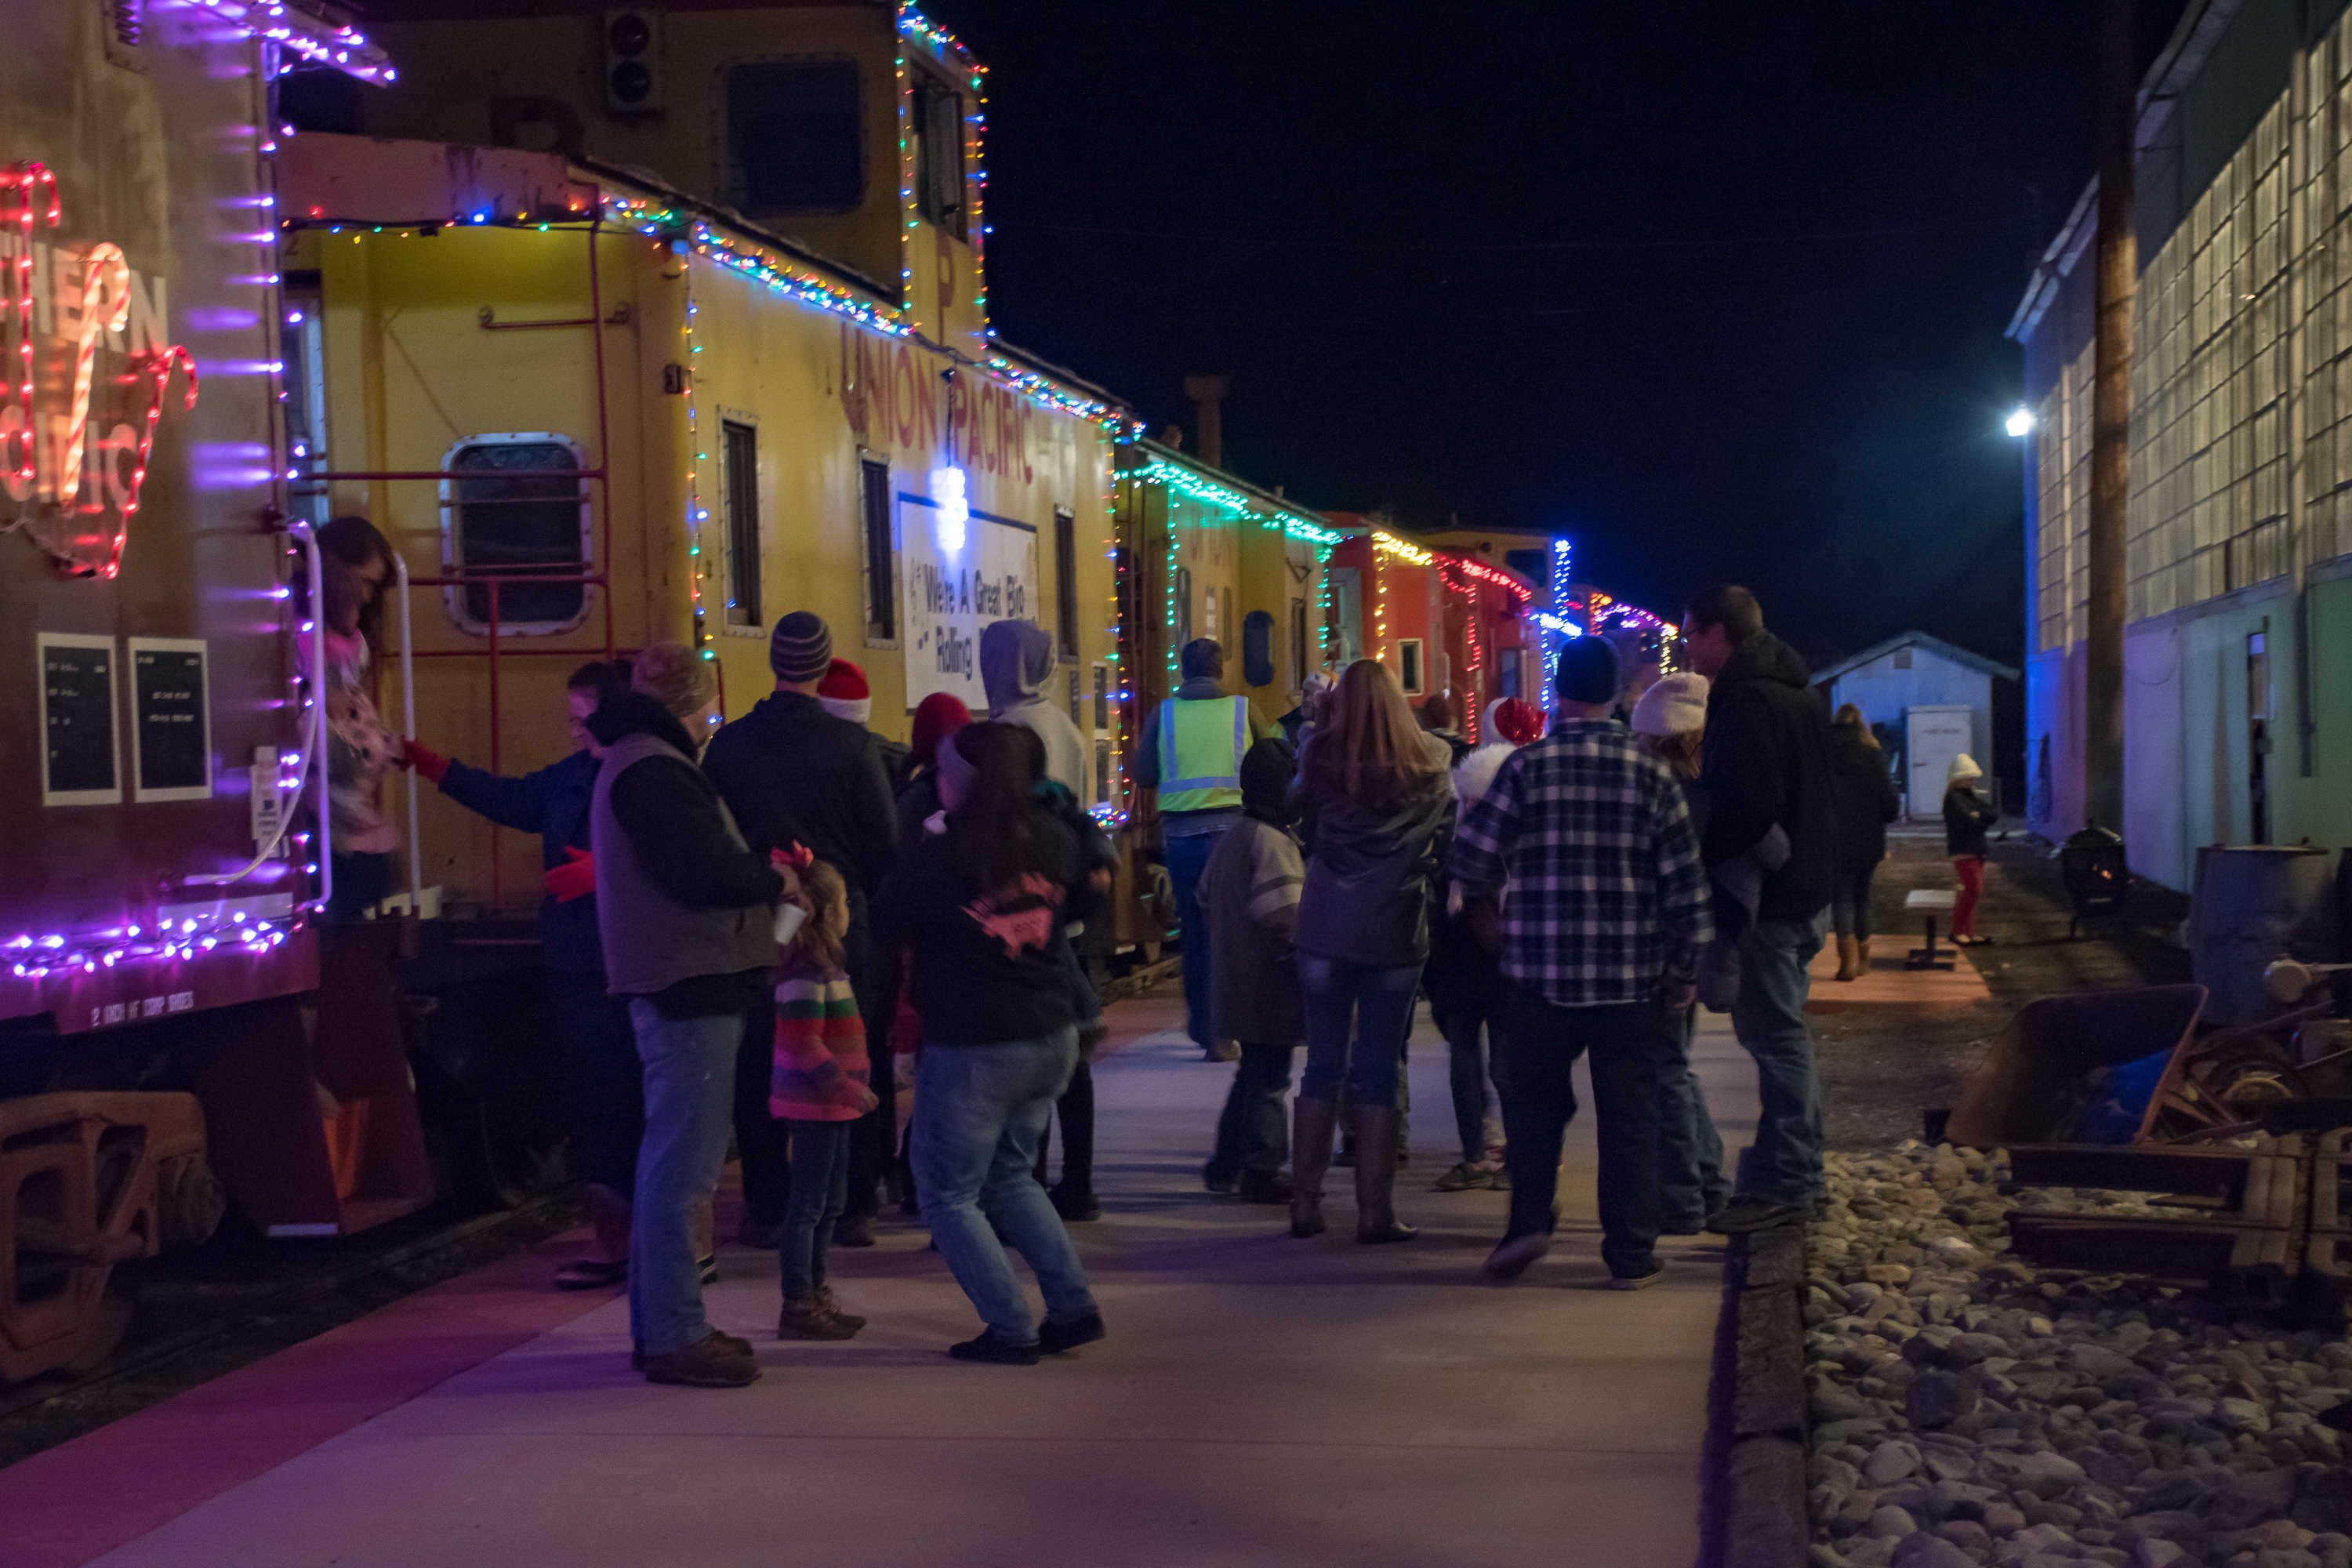
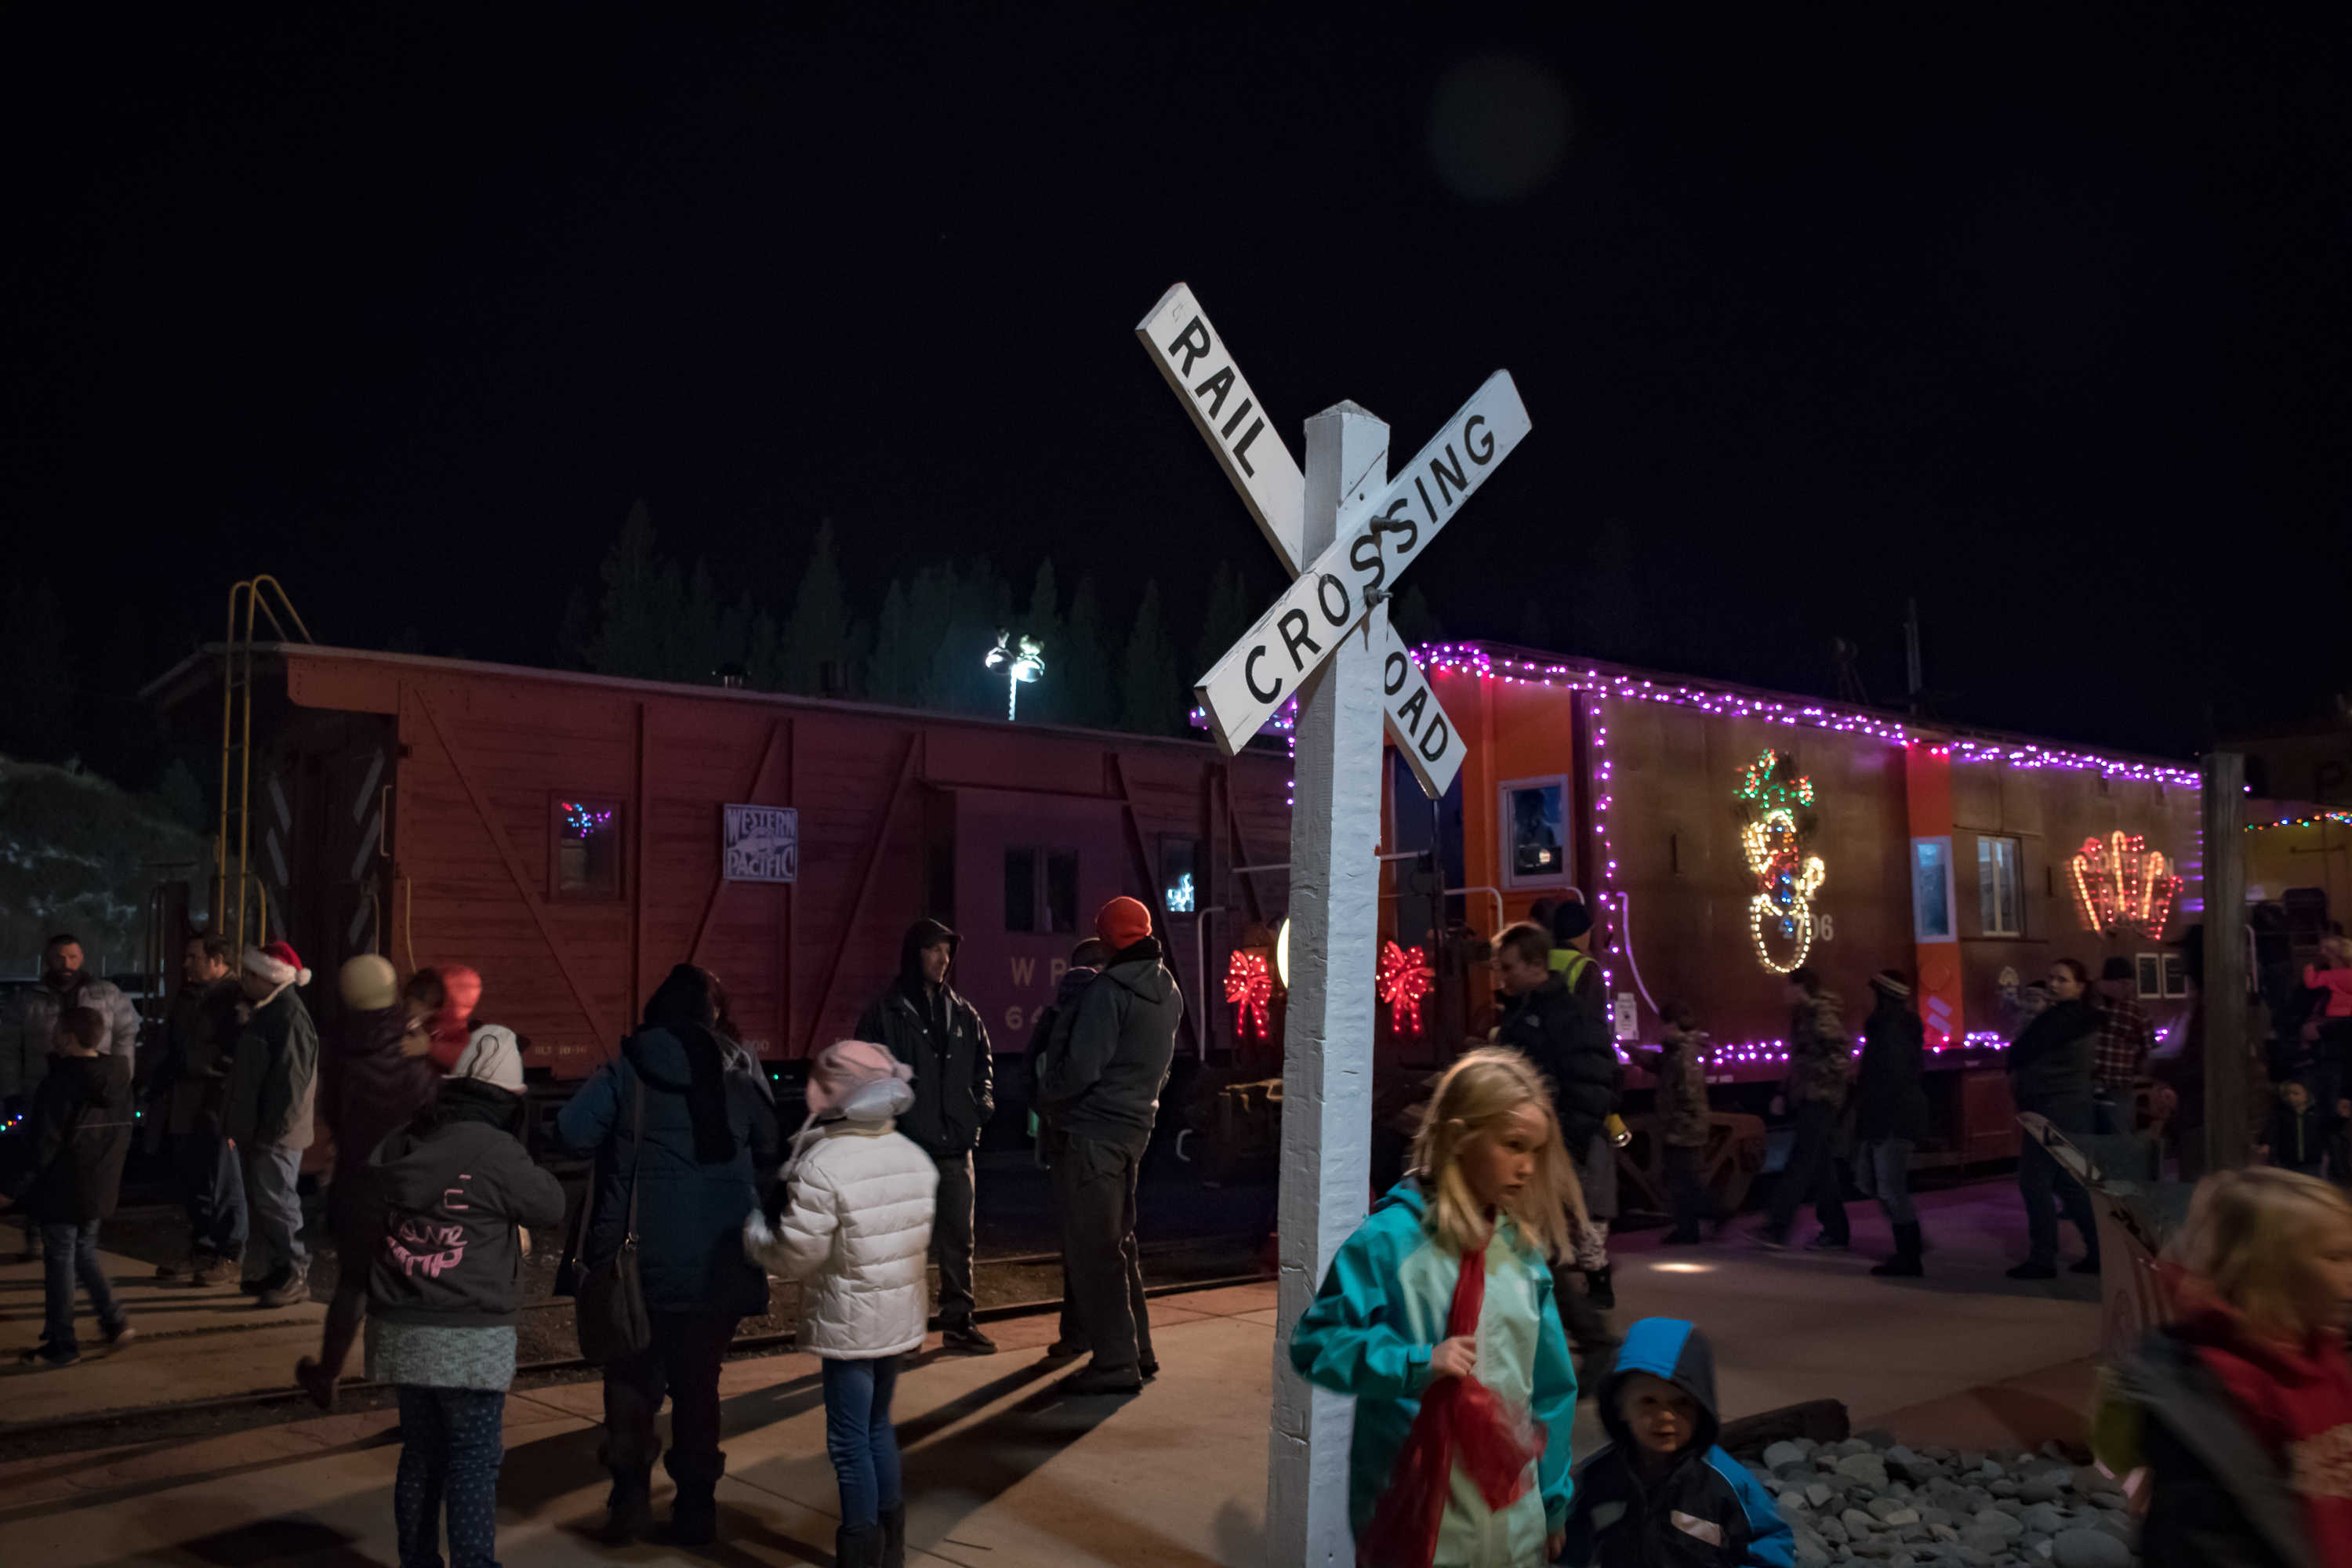
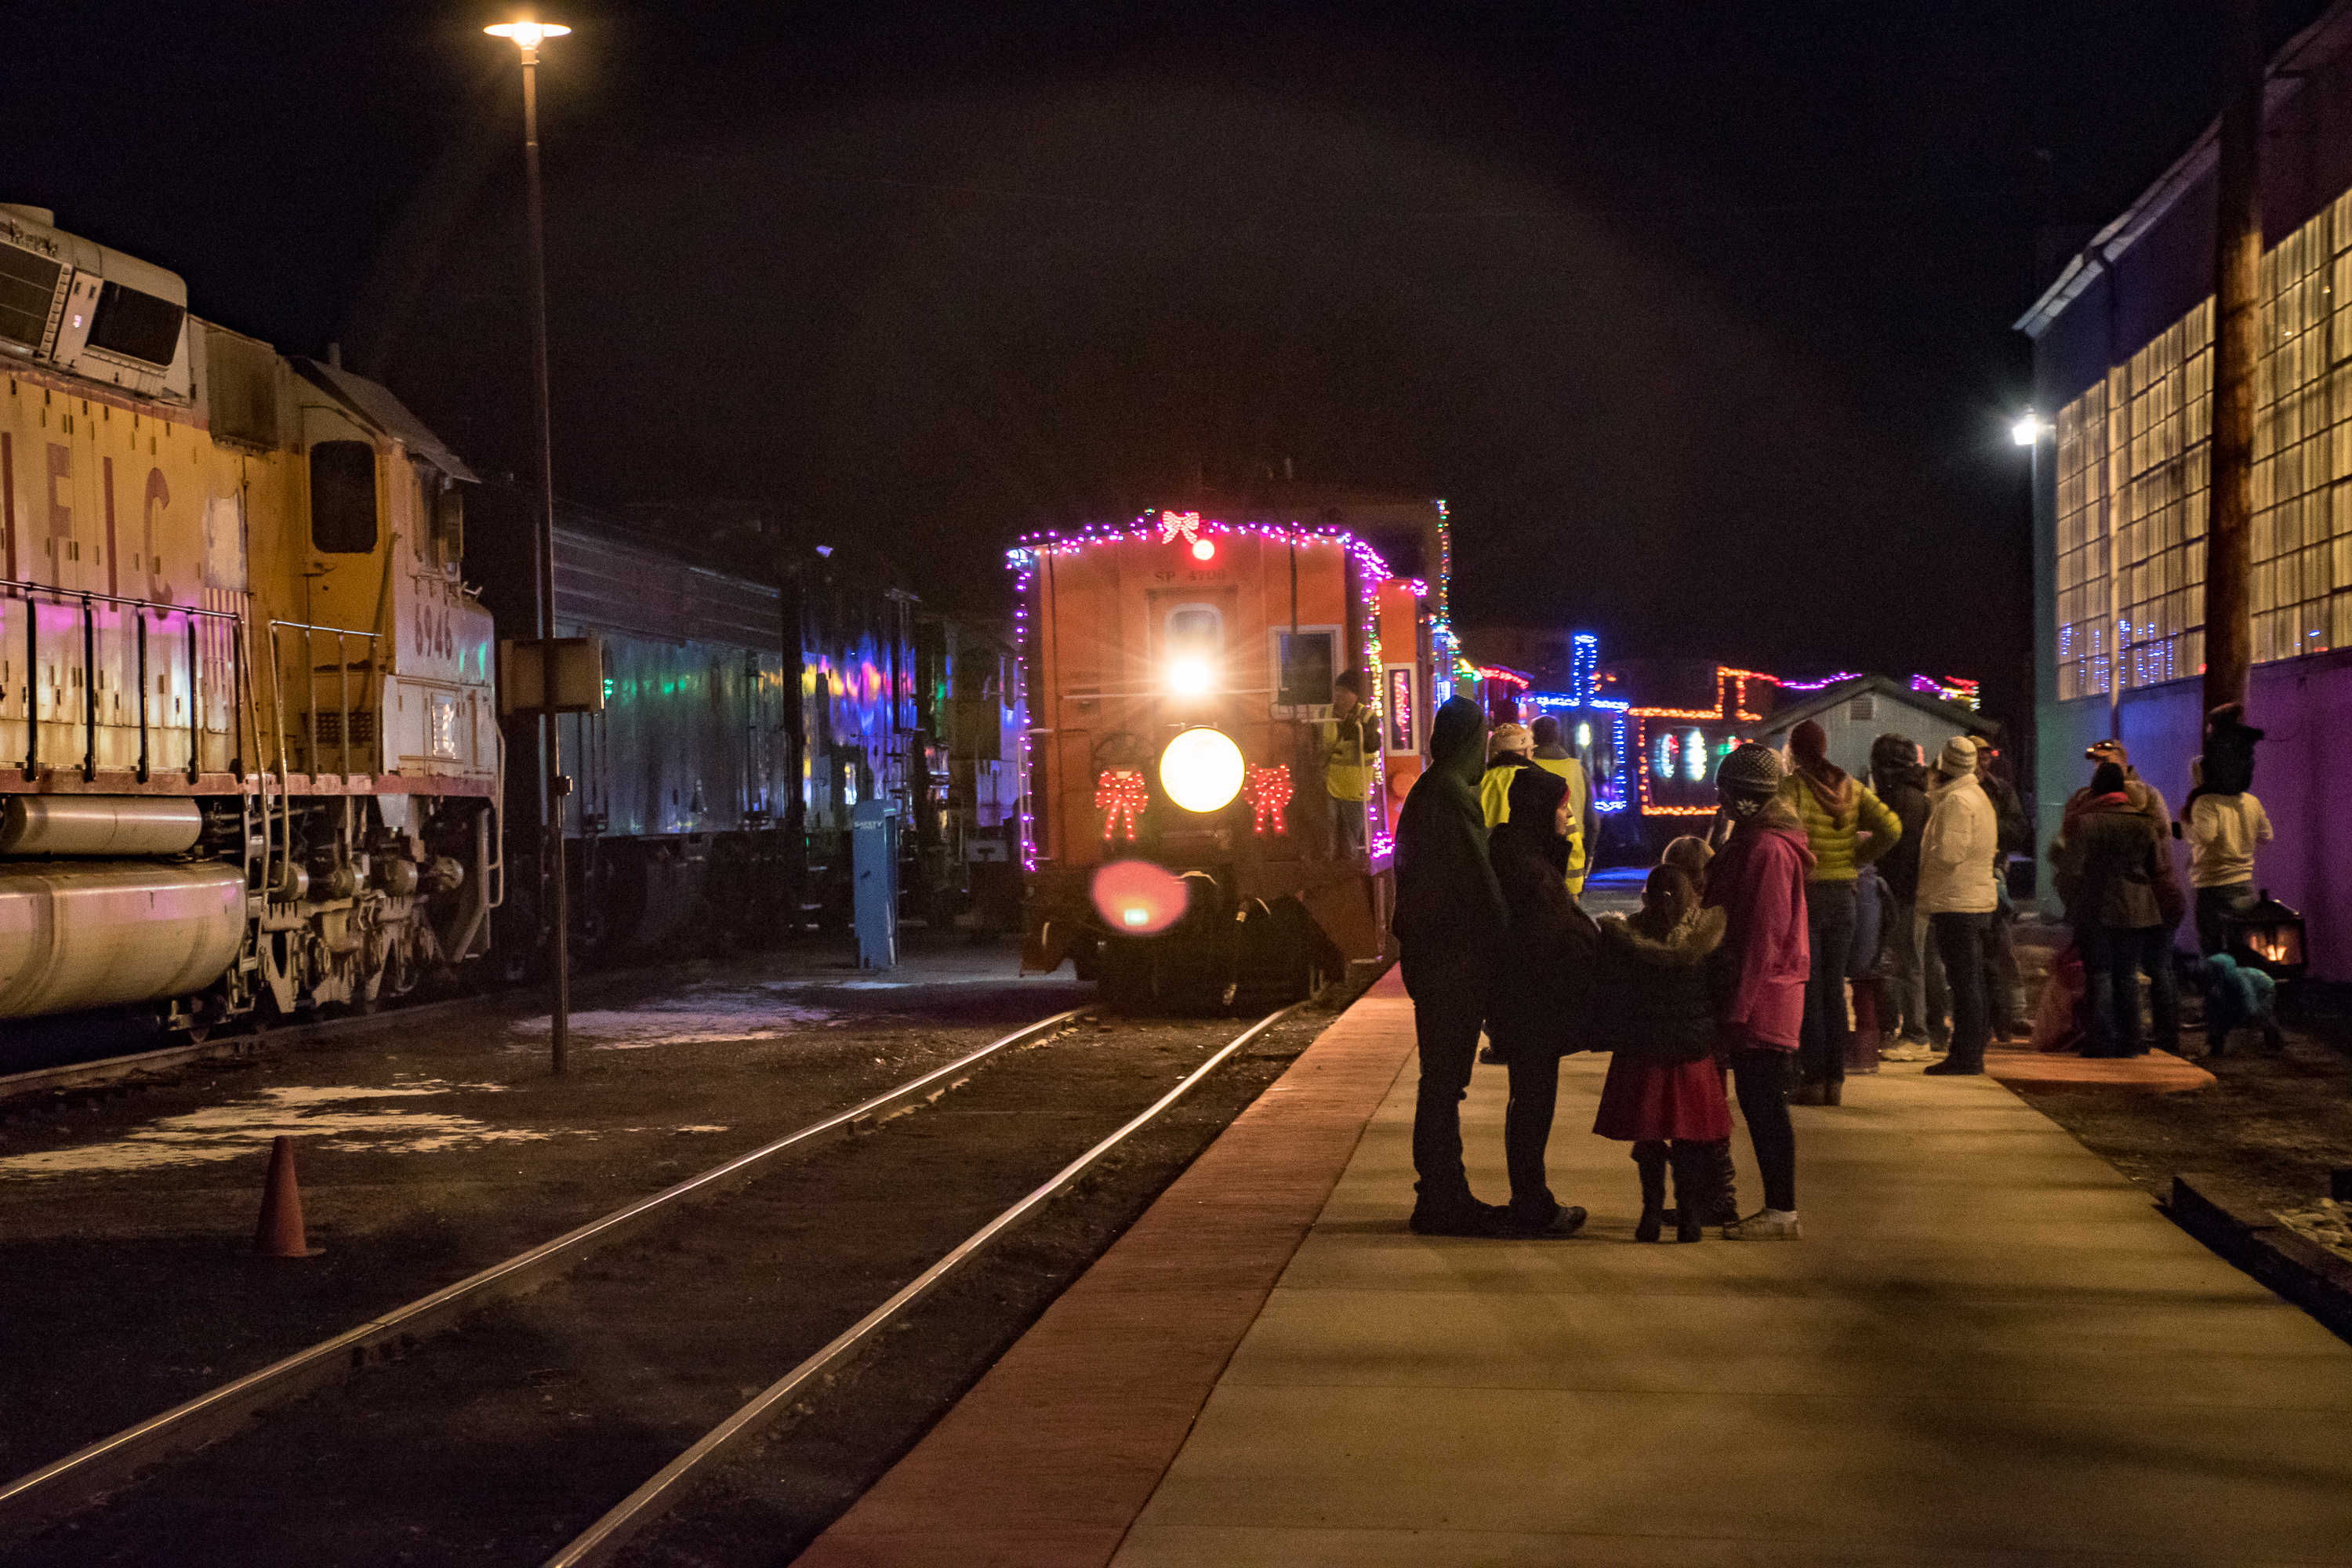
Image number 11 -- Crowds gathering for the return of the Santa train and waiting to board for their turn. - Greg Elems
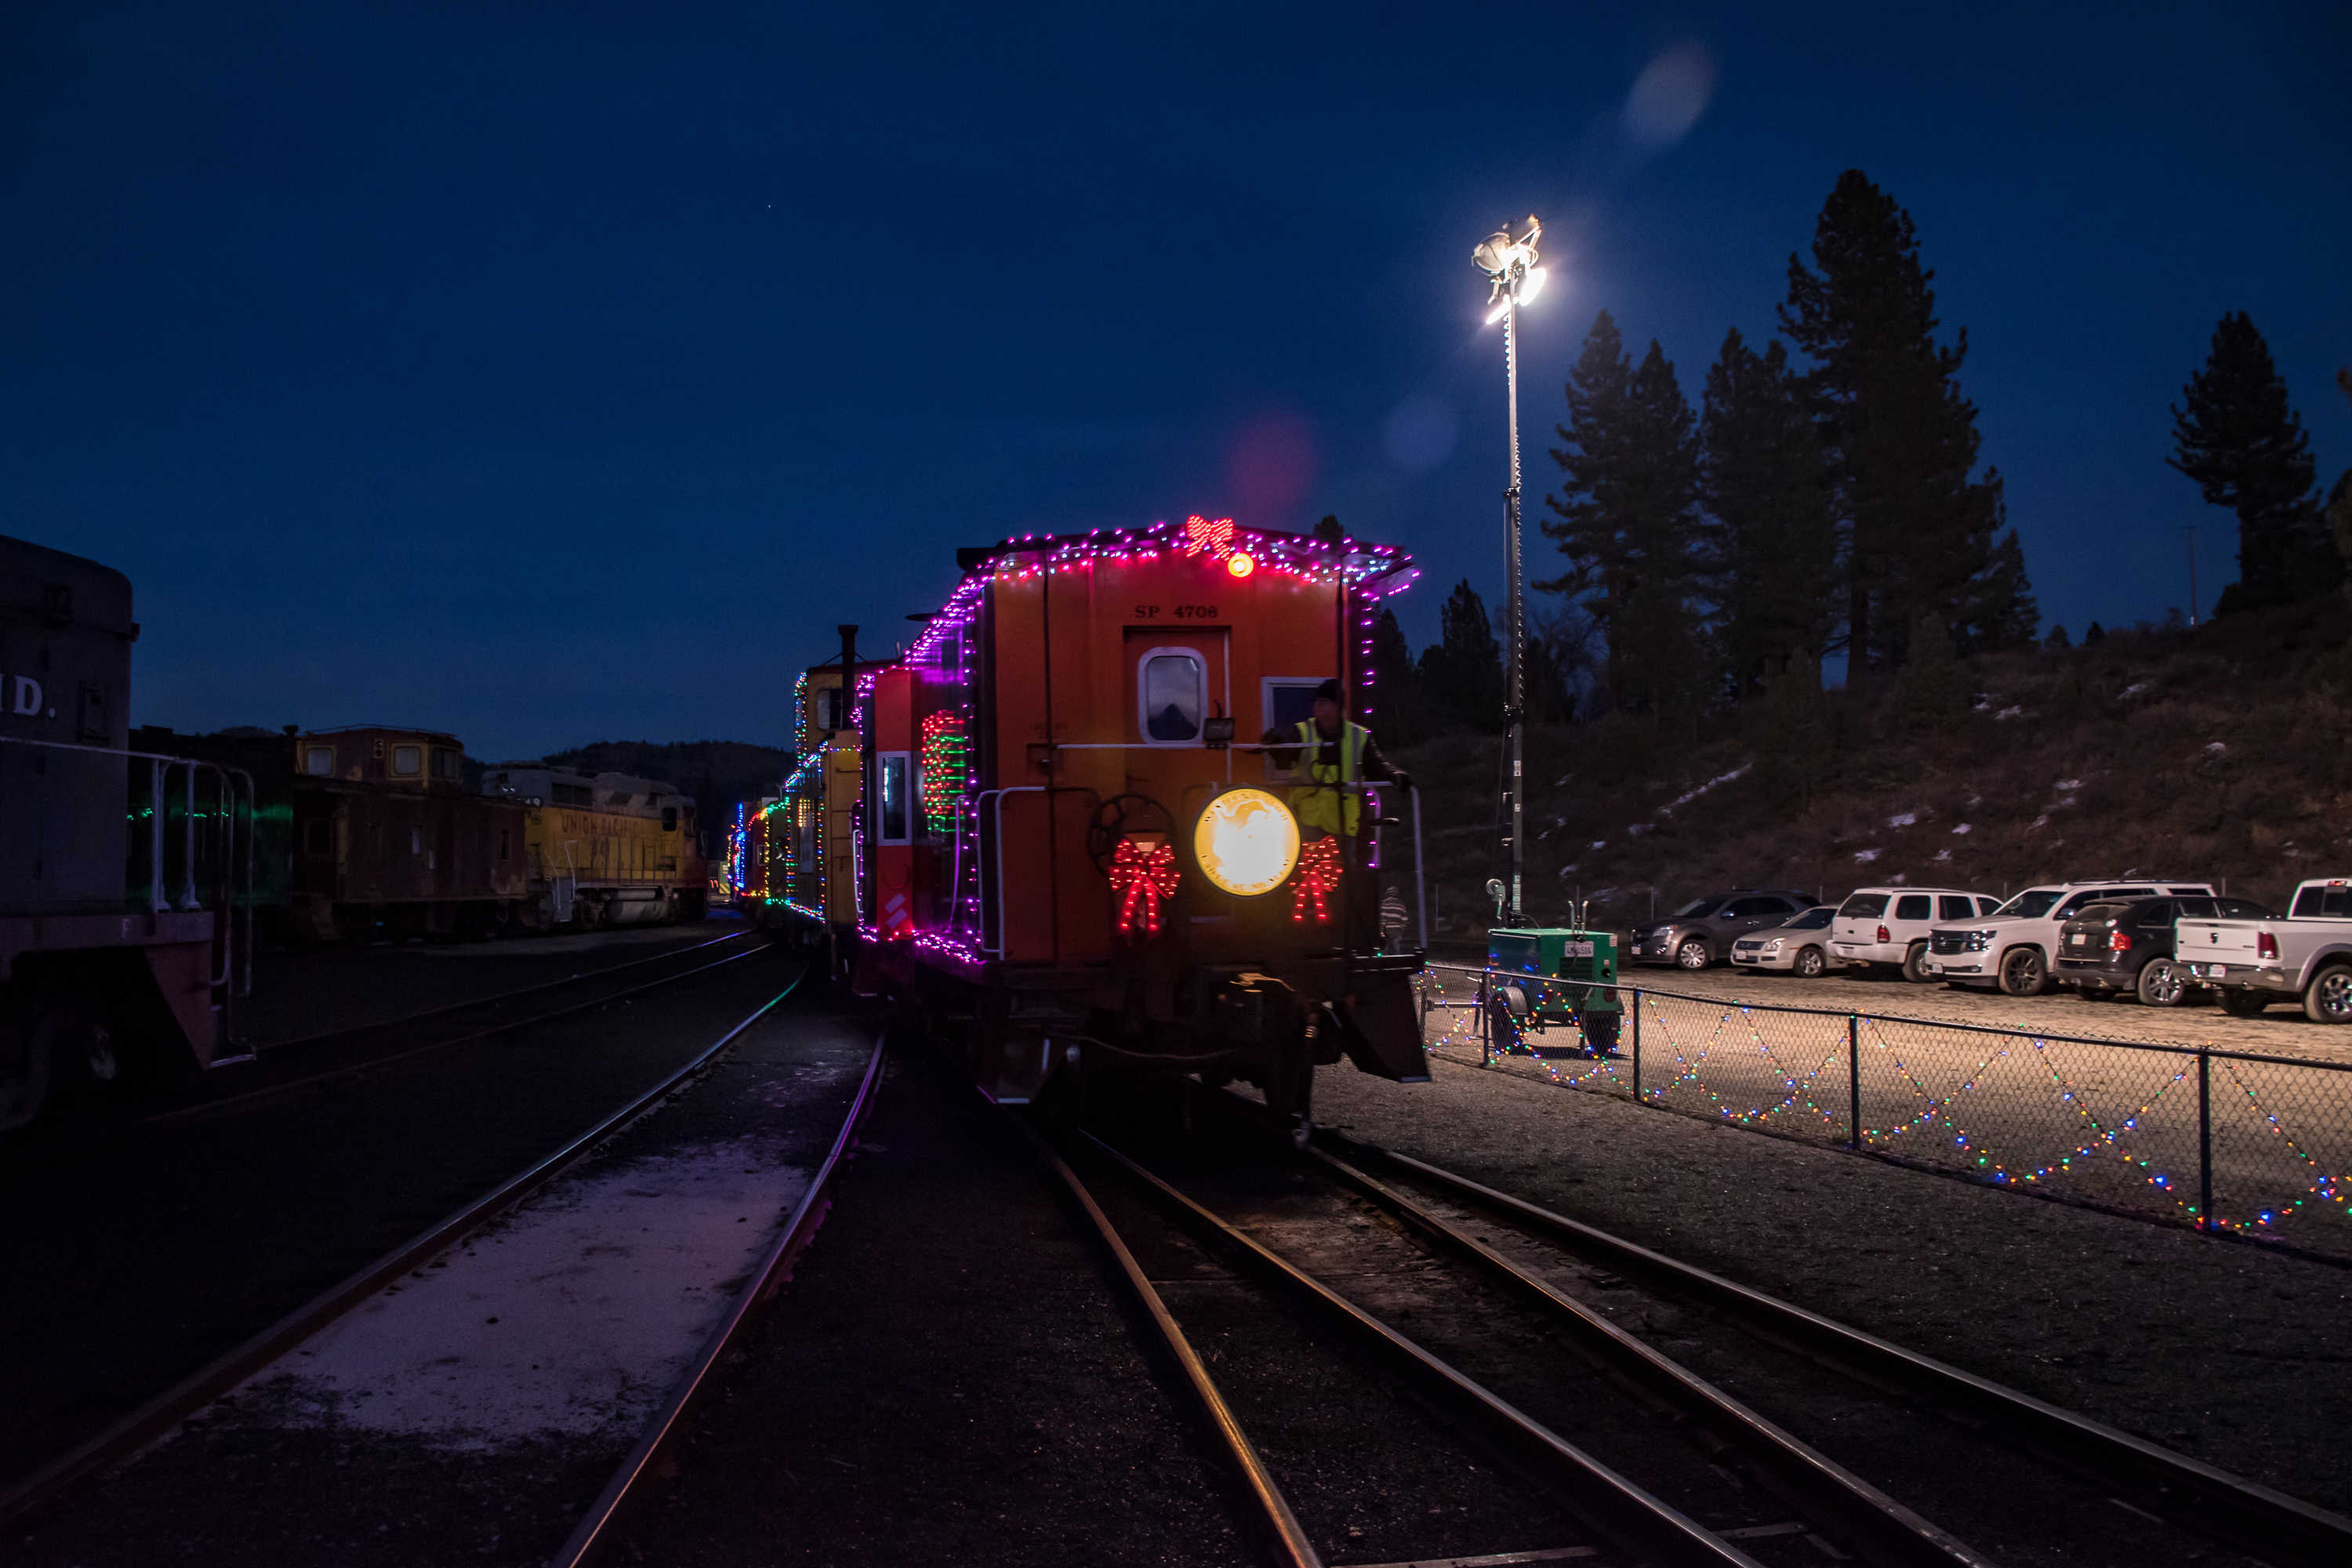
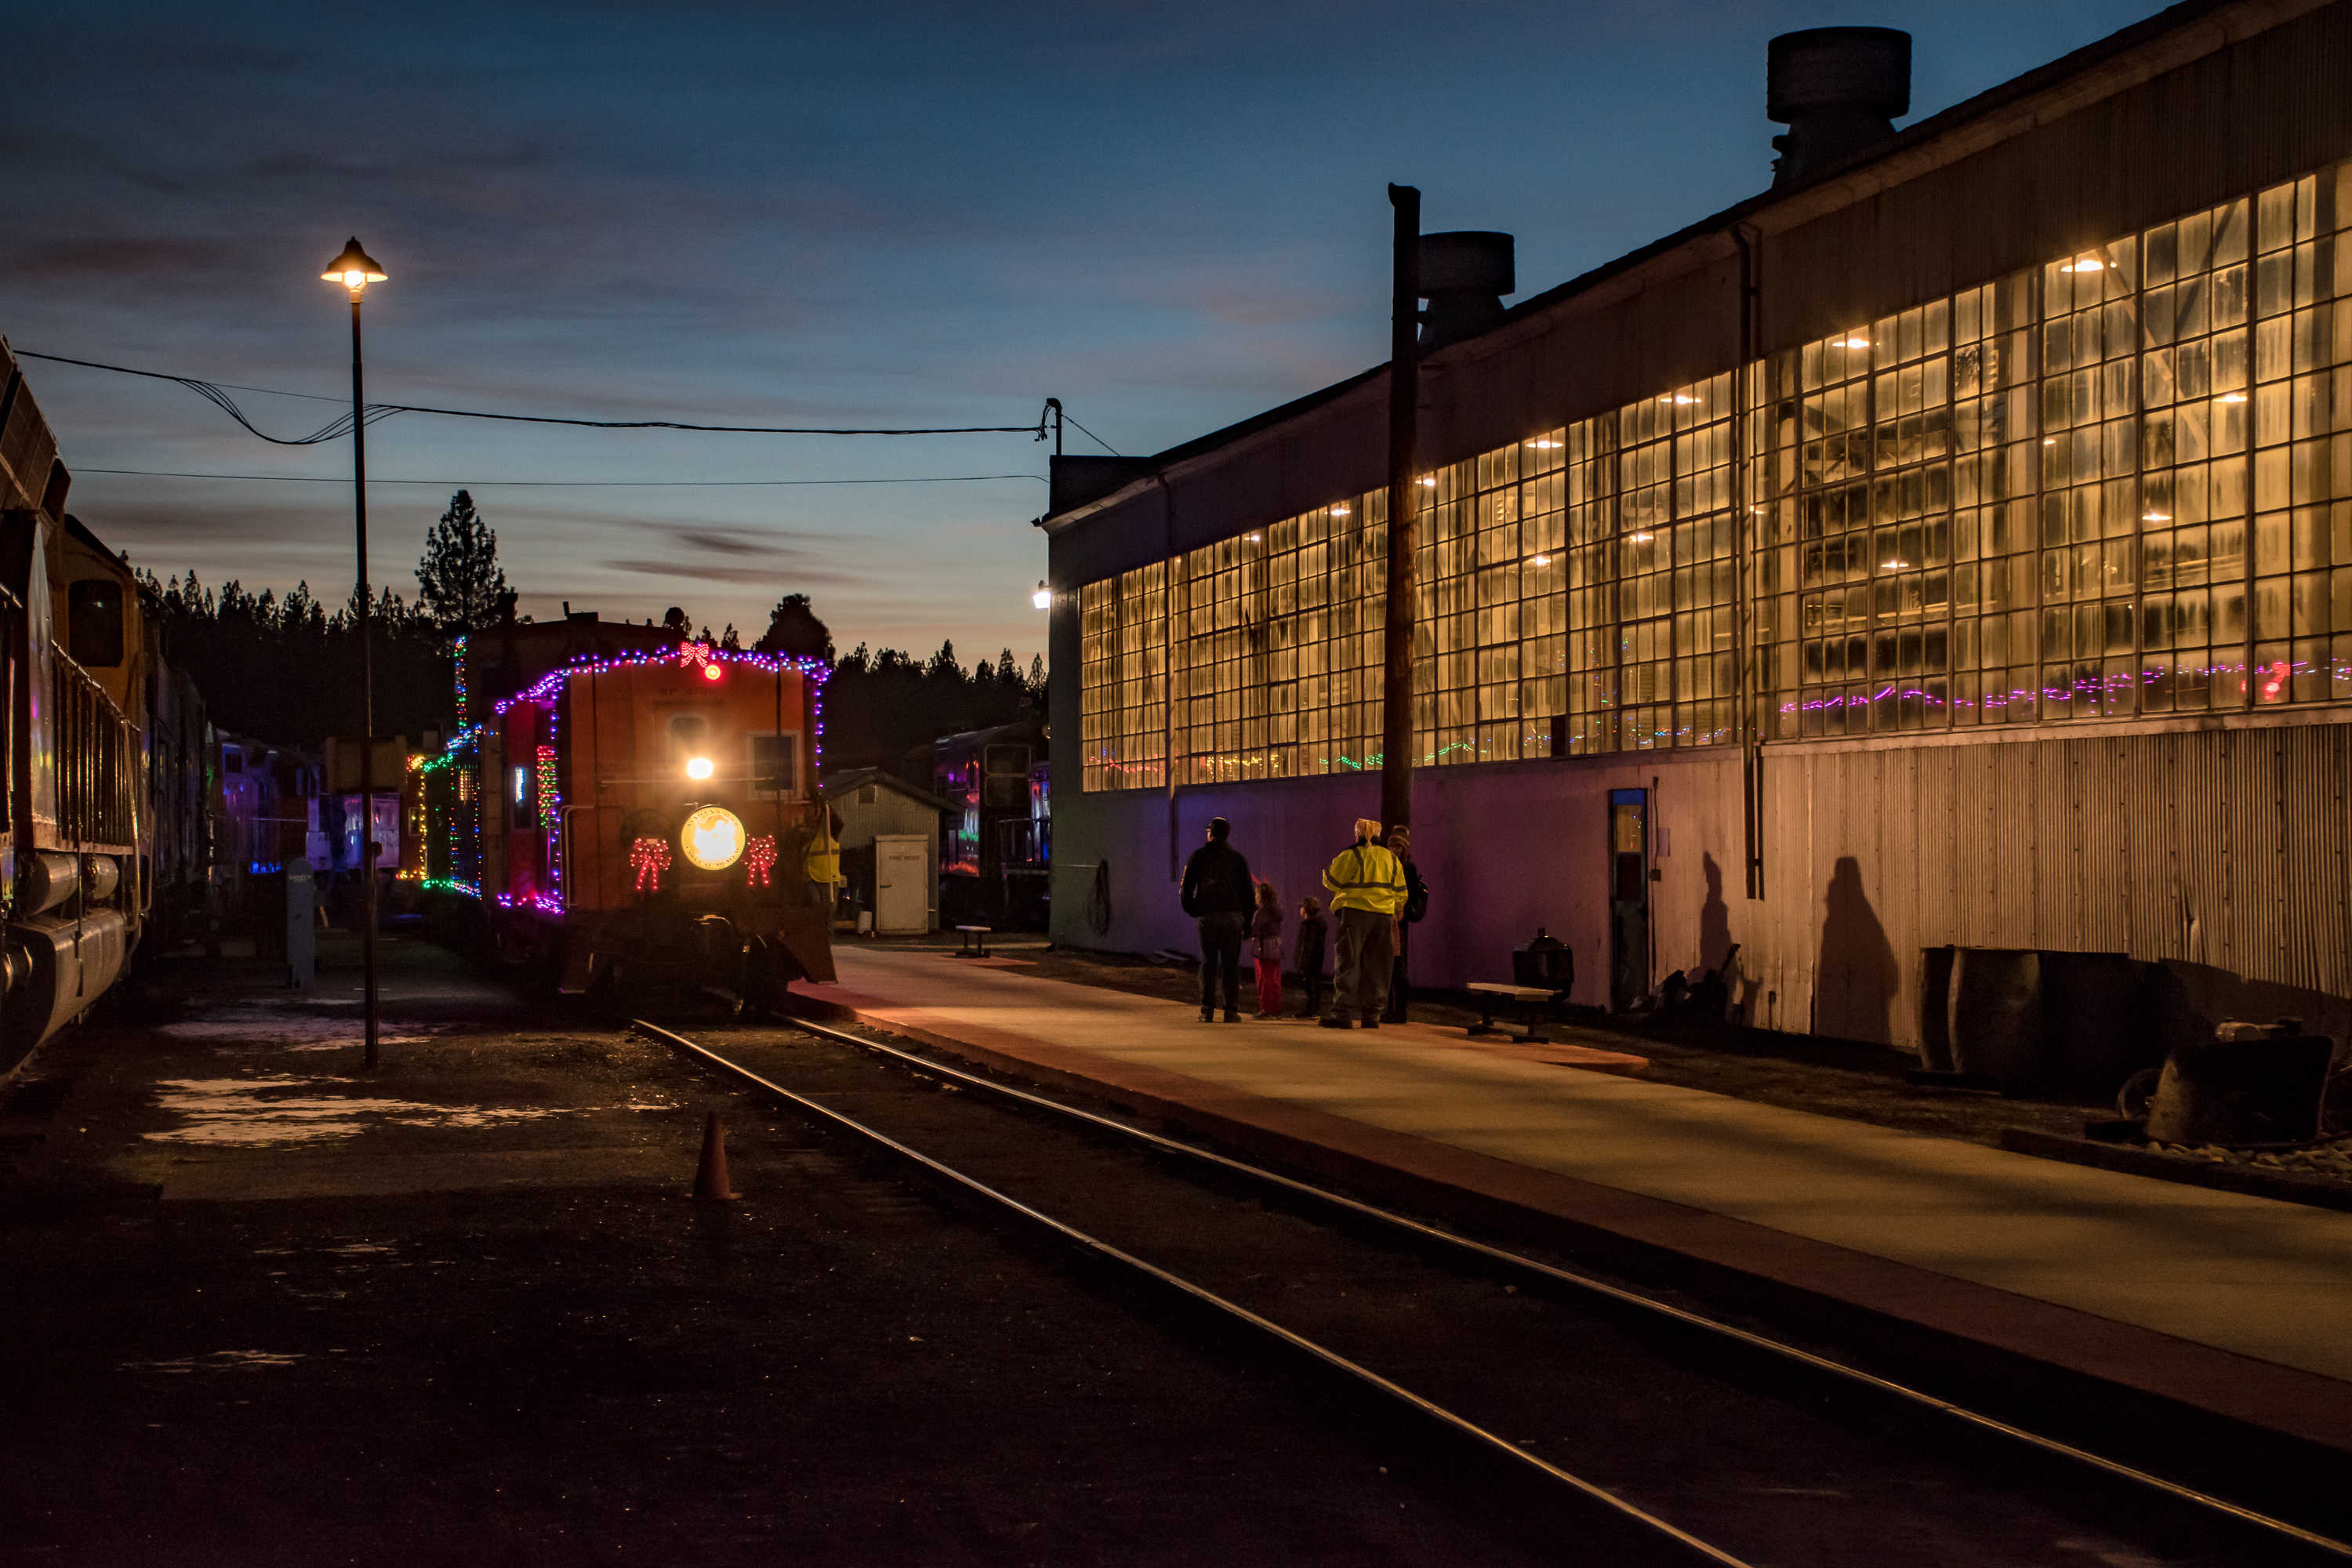
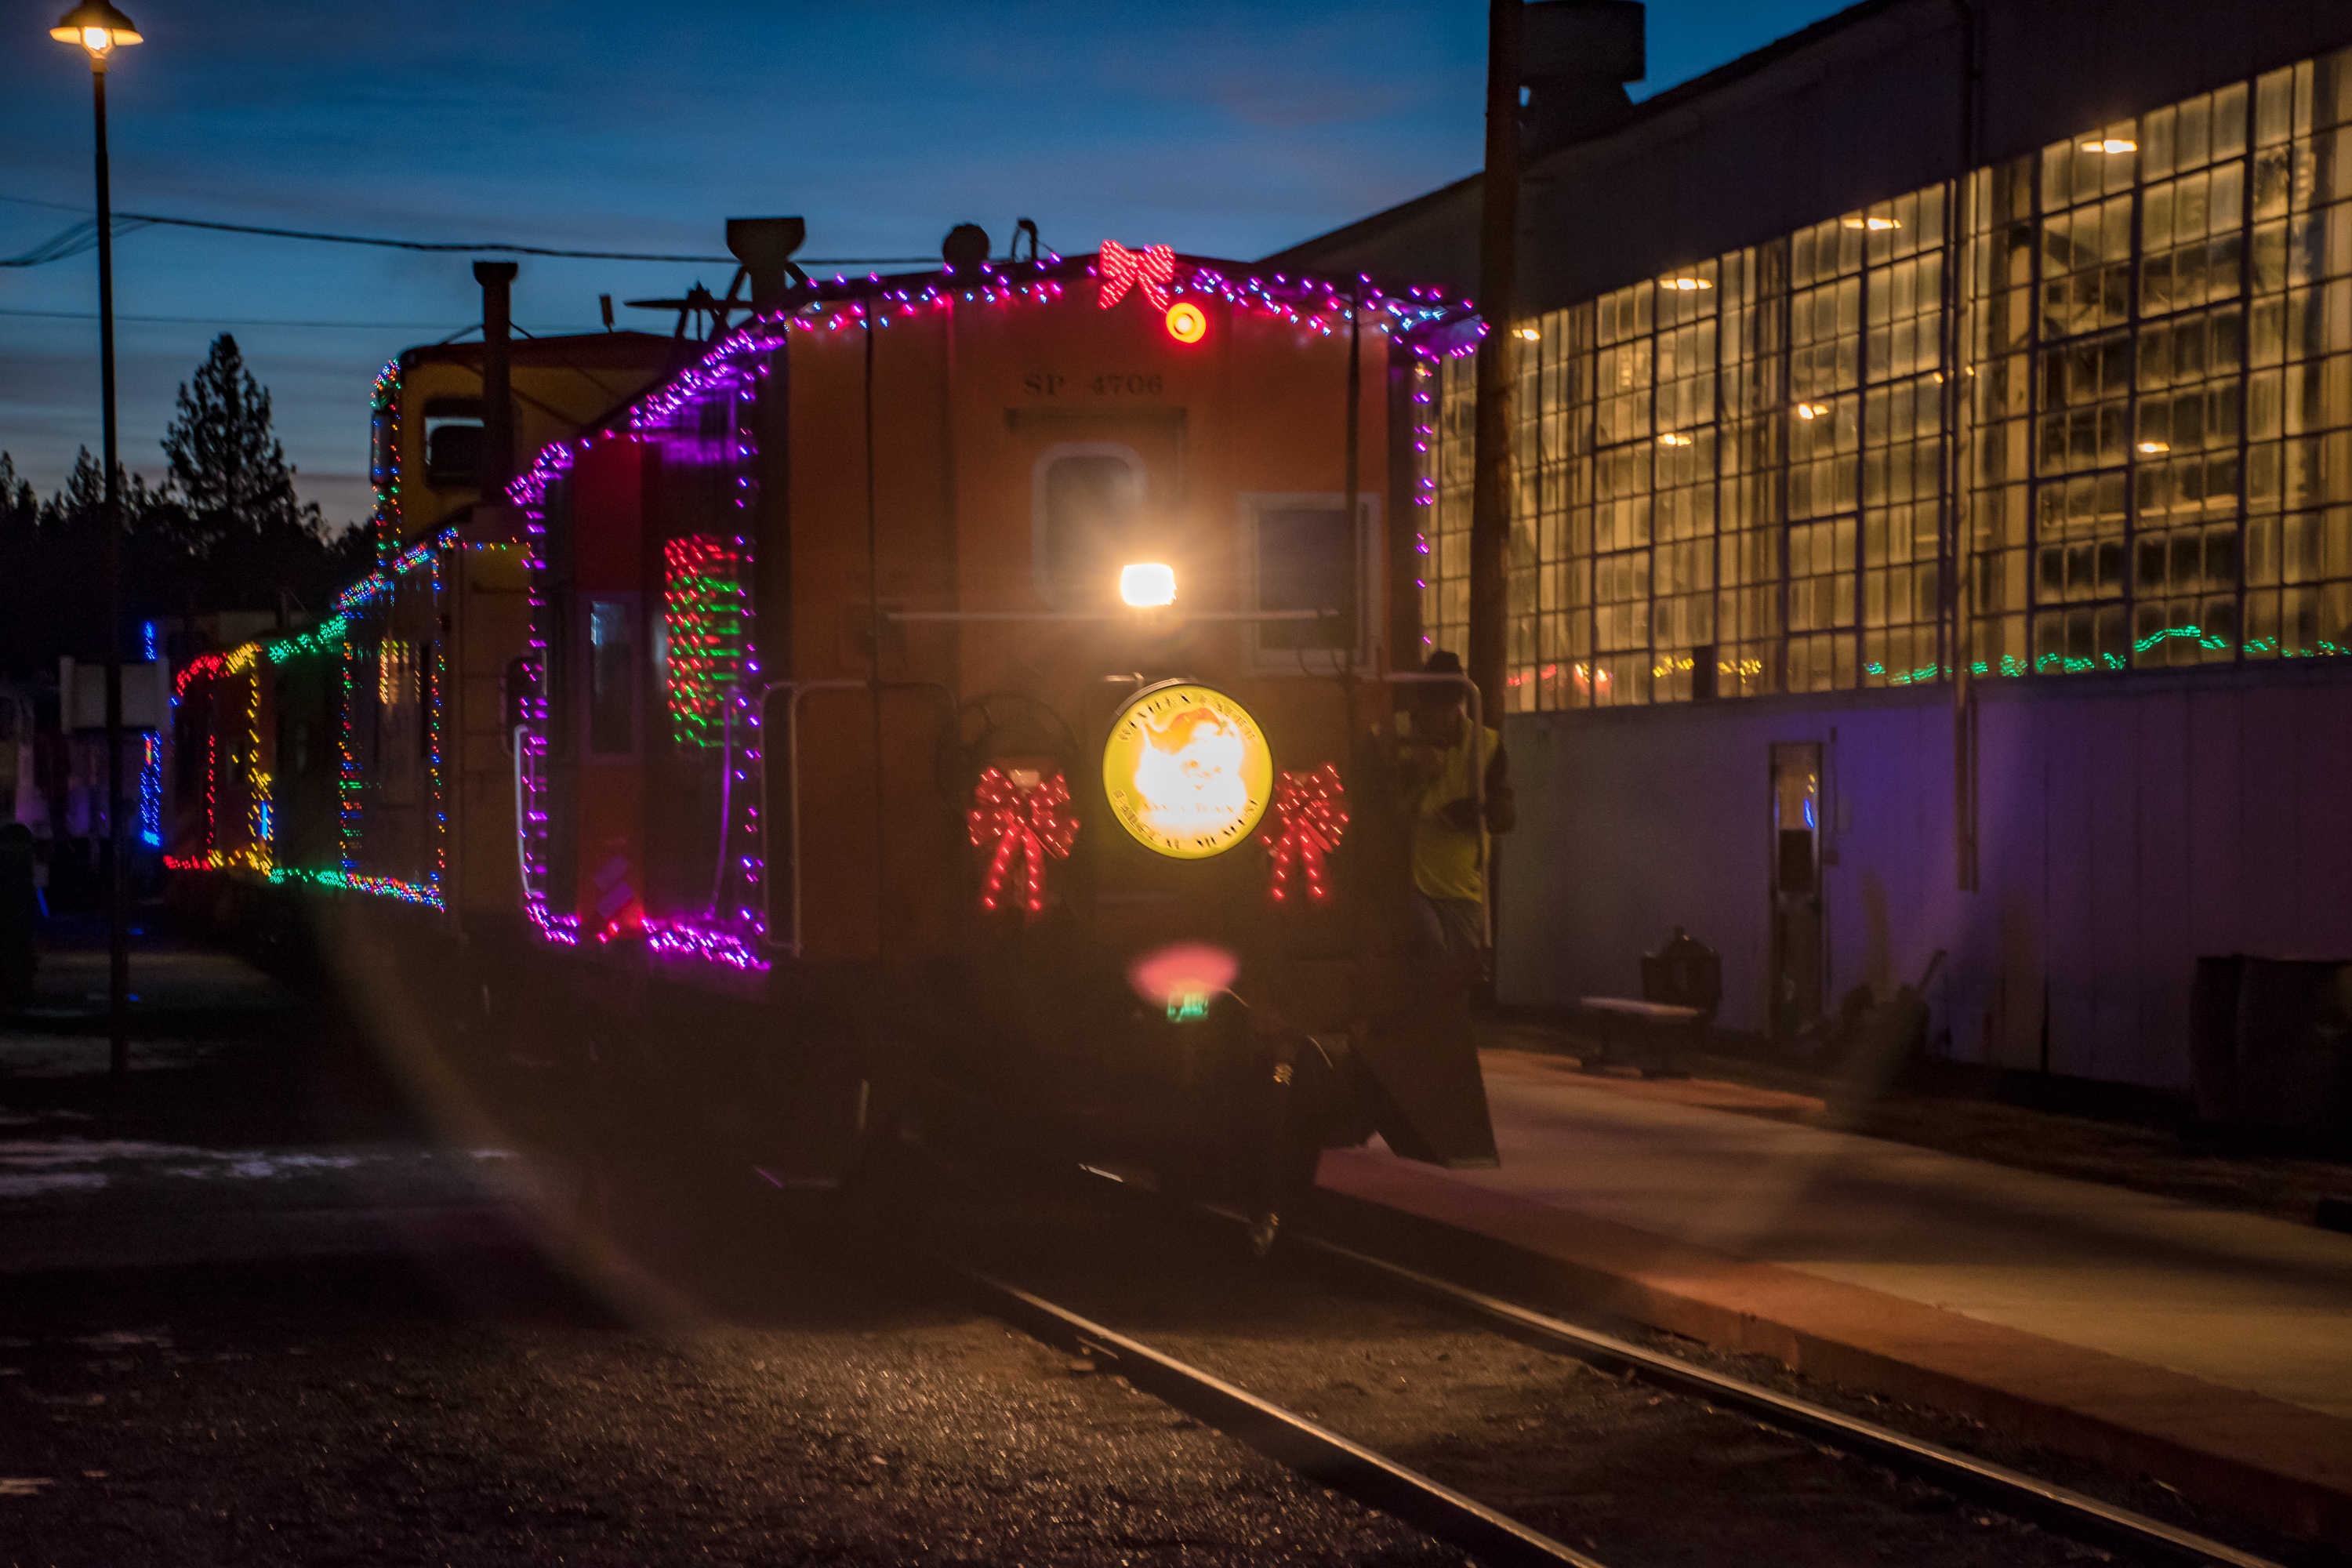
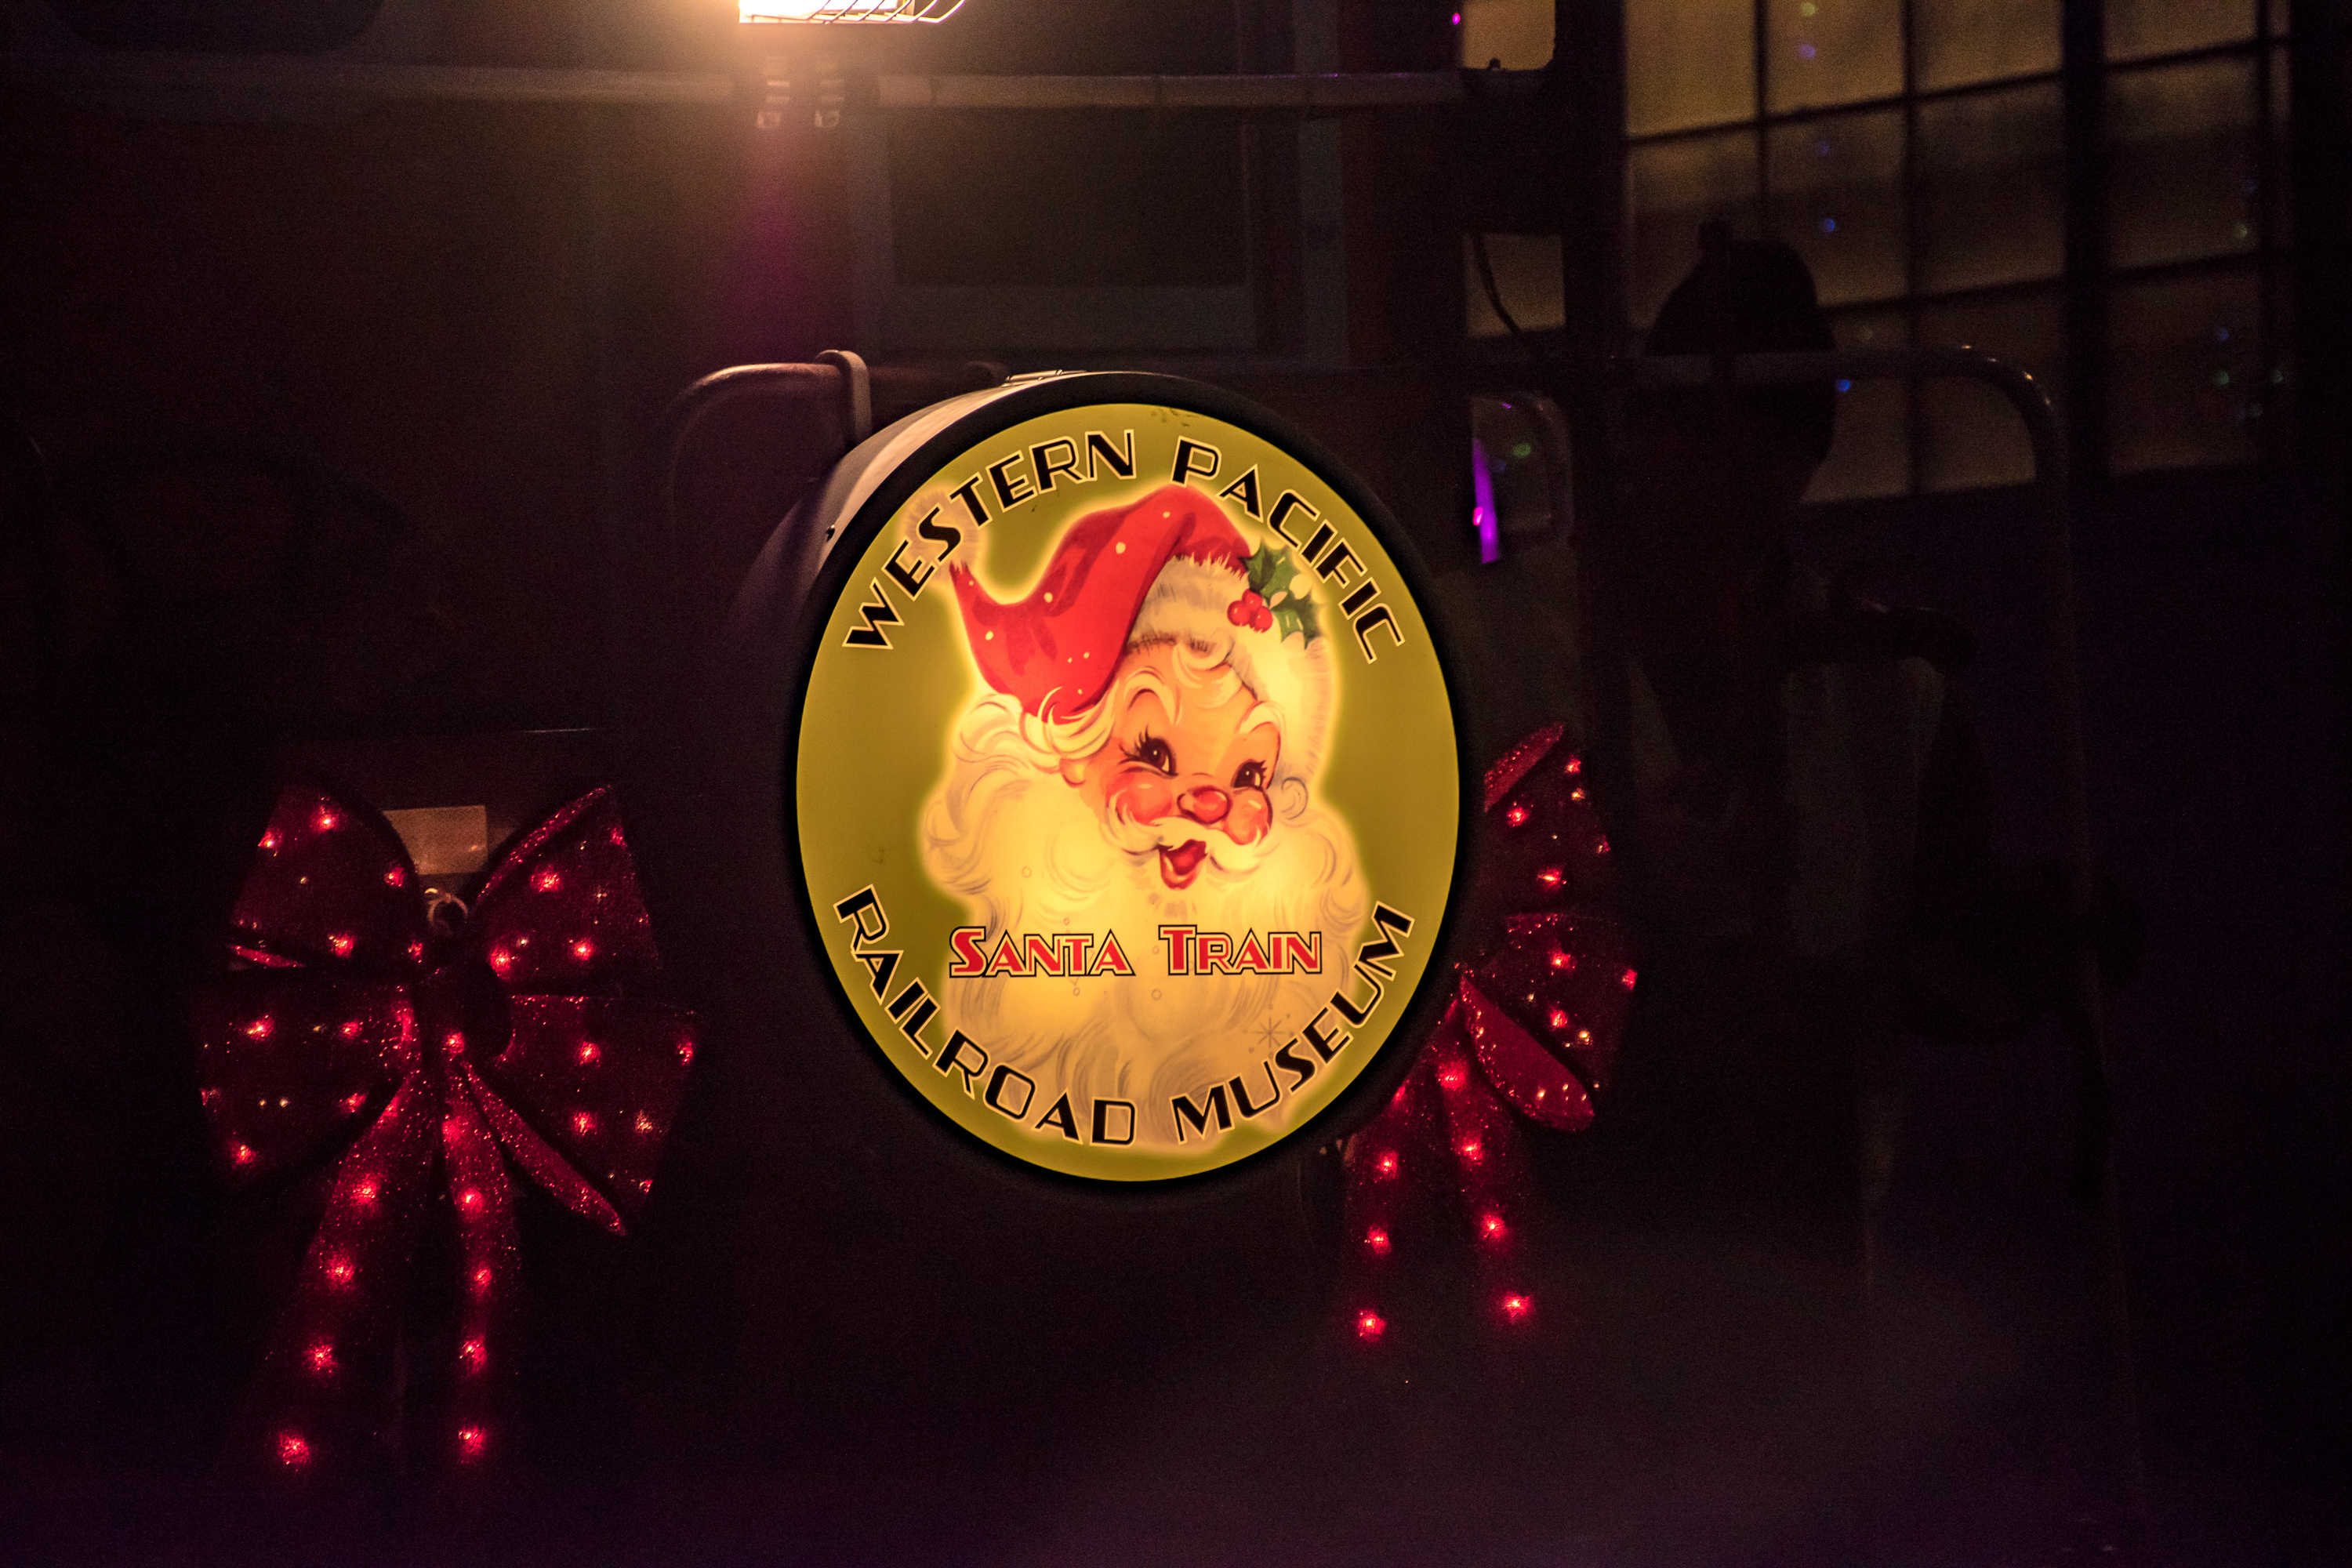
Image number 12 -- Photo by - Michael Clawson
Image number 13 -- Photo by - Michael Clawson
Image number 14 -- Photo by - Michael Clawson
Image number 15 -- Photo by - Michael Clawson
Image number 16 -- Photo by - Michael Clawson
Image number 17 -- Photo by - Michael Clawson
Image number 18 -- Photo by - Michael Clawson
Image number 19 -- Photo by - Michael Clawson
Image number 20 -- Photo by - Michael Clawson
Image number 21 -- Photo by - Michael Clawson
Image number 22 -- Photo by - Michael Clawson
Image number 23 -- Photo by - Michael Clawson
Image number 24 -- Photo by - Michael Clawson
Image number 25 -- Photo by - Michael Clawson
Image number 26 -- Photo by - Michael Clawson
Image number 27 -- Photo by - Michael Clawson
Image number 28 -- Photo by - Michael Clawson
Image number 29 -- Photo by - Michael Clawson
Image number 30 -- Photo by - Michael Clawson
Image number 31 -- Photo by - Michael Clawson
Image number 32 -- Photo by - Michael Clawson
Image number 33 -- Photo by - Michael Clawson
Image number 34 -- Photo by - Michael Clawson
Image number 35 -- Photo by - Michael Clawson
Image number 36 -- Photo by - Michael Clawson
Image number 37 -- Photo by - Michael Clawson
Image number 38 -- Photo by - Michael Clawson
Page last updated: Sun Jun 28 12:03:04 PM PDT 2026